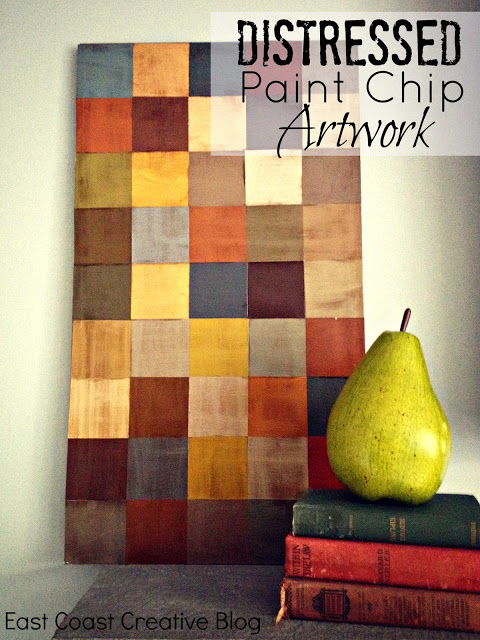


While meandering through blogs and design sites a few weeks ago, I found a super-cool paint chip wall. It got my wheels turning…

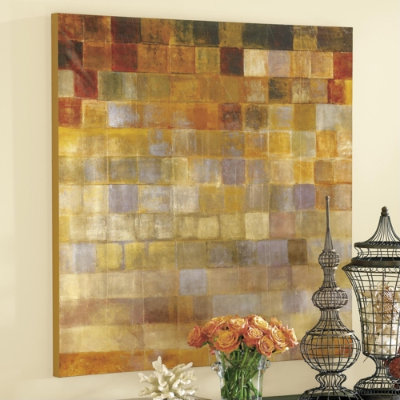
I started exploring ideas with paint chips and the potential is huge! I love the full wall and considered it for my office, but wasn’t 100% sold, so instead I tackled a DIY Wall Art project inspired by Life, Crafts, & Whatever. If you want to buy something similar it will cost you 300 smackers from Ballard Designs
Now for my version…
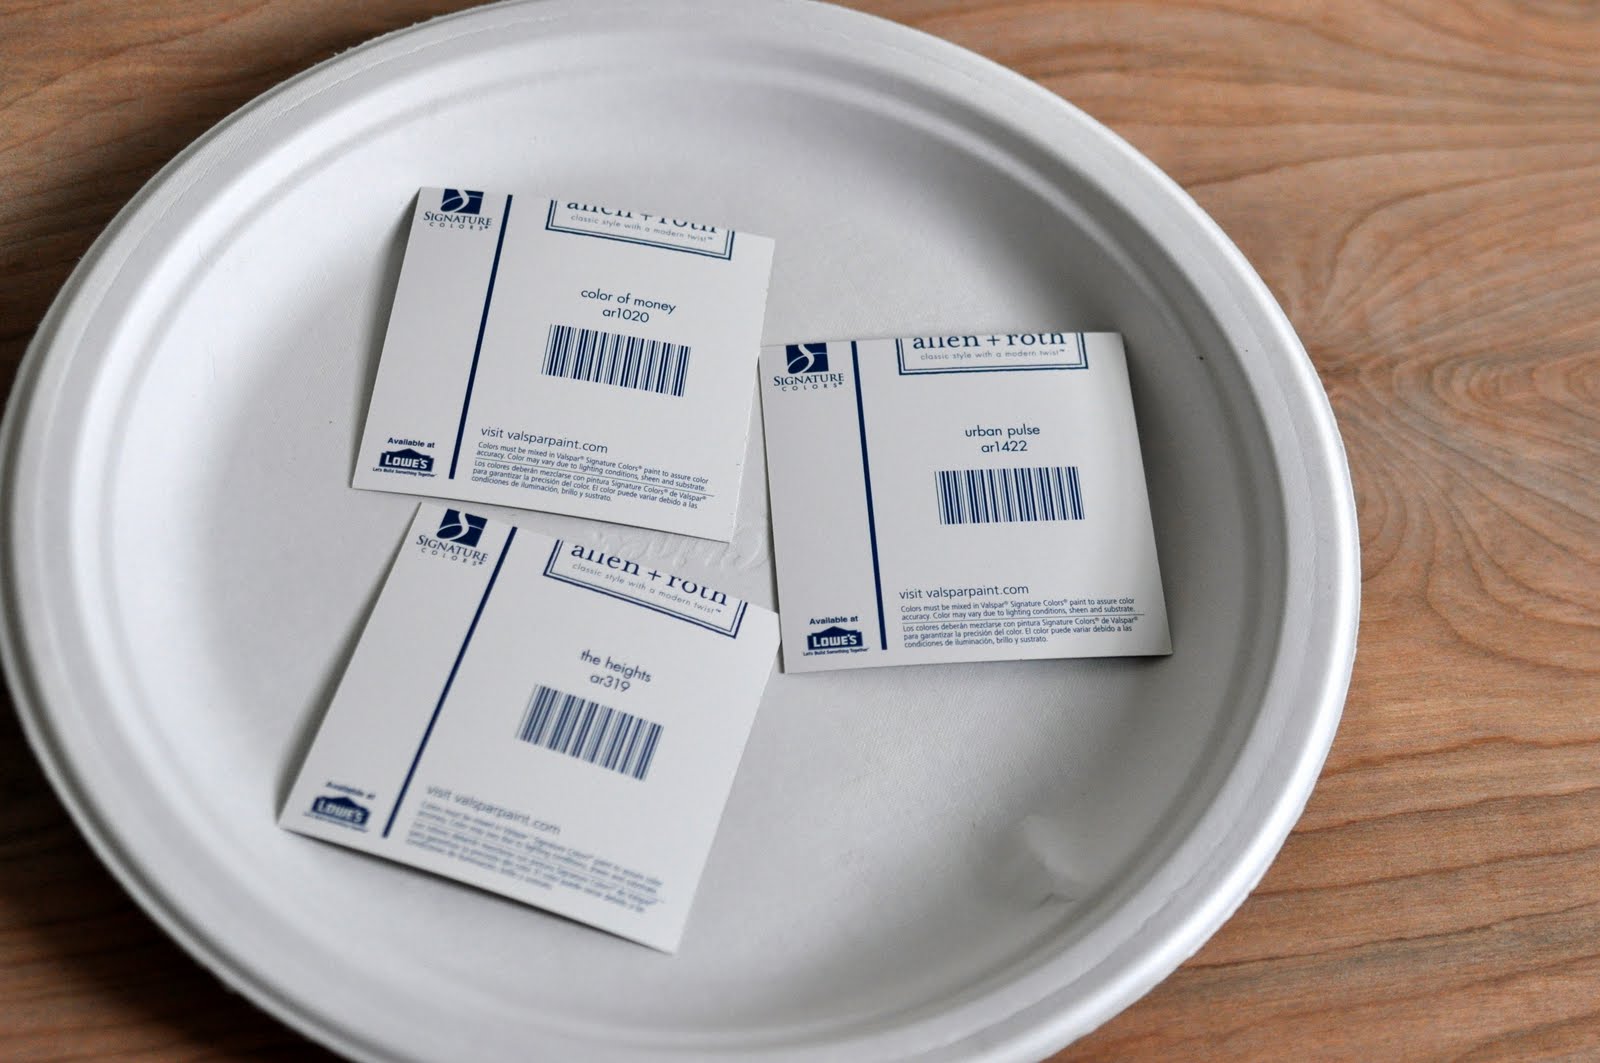
The first step was to visit Lowes with a really large purse! Paint chip samples are FREE, but I still felt a little shady while I took oodles of paint chips. I didn’t take more than one of any color, so it was legit. I’ll shamelessly plug my awesome Paint-Chip-Taking-Purse from Thirty One Gifts

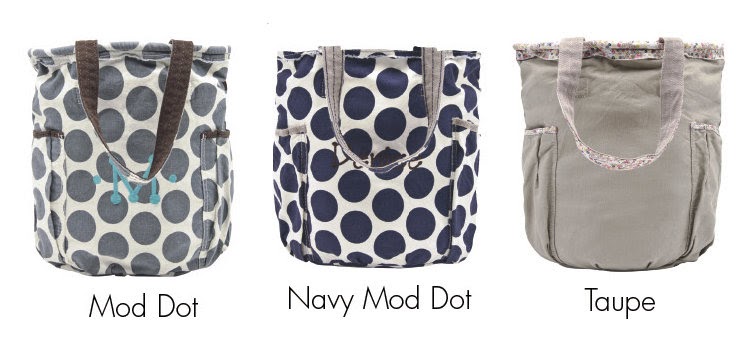
Want one? Contact my fav 31 consultants Mandy they even have new patterns I’m loving!
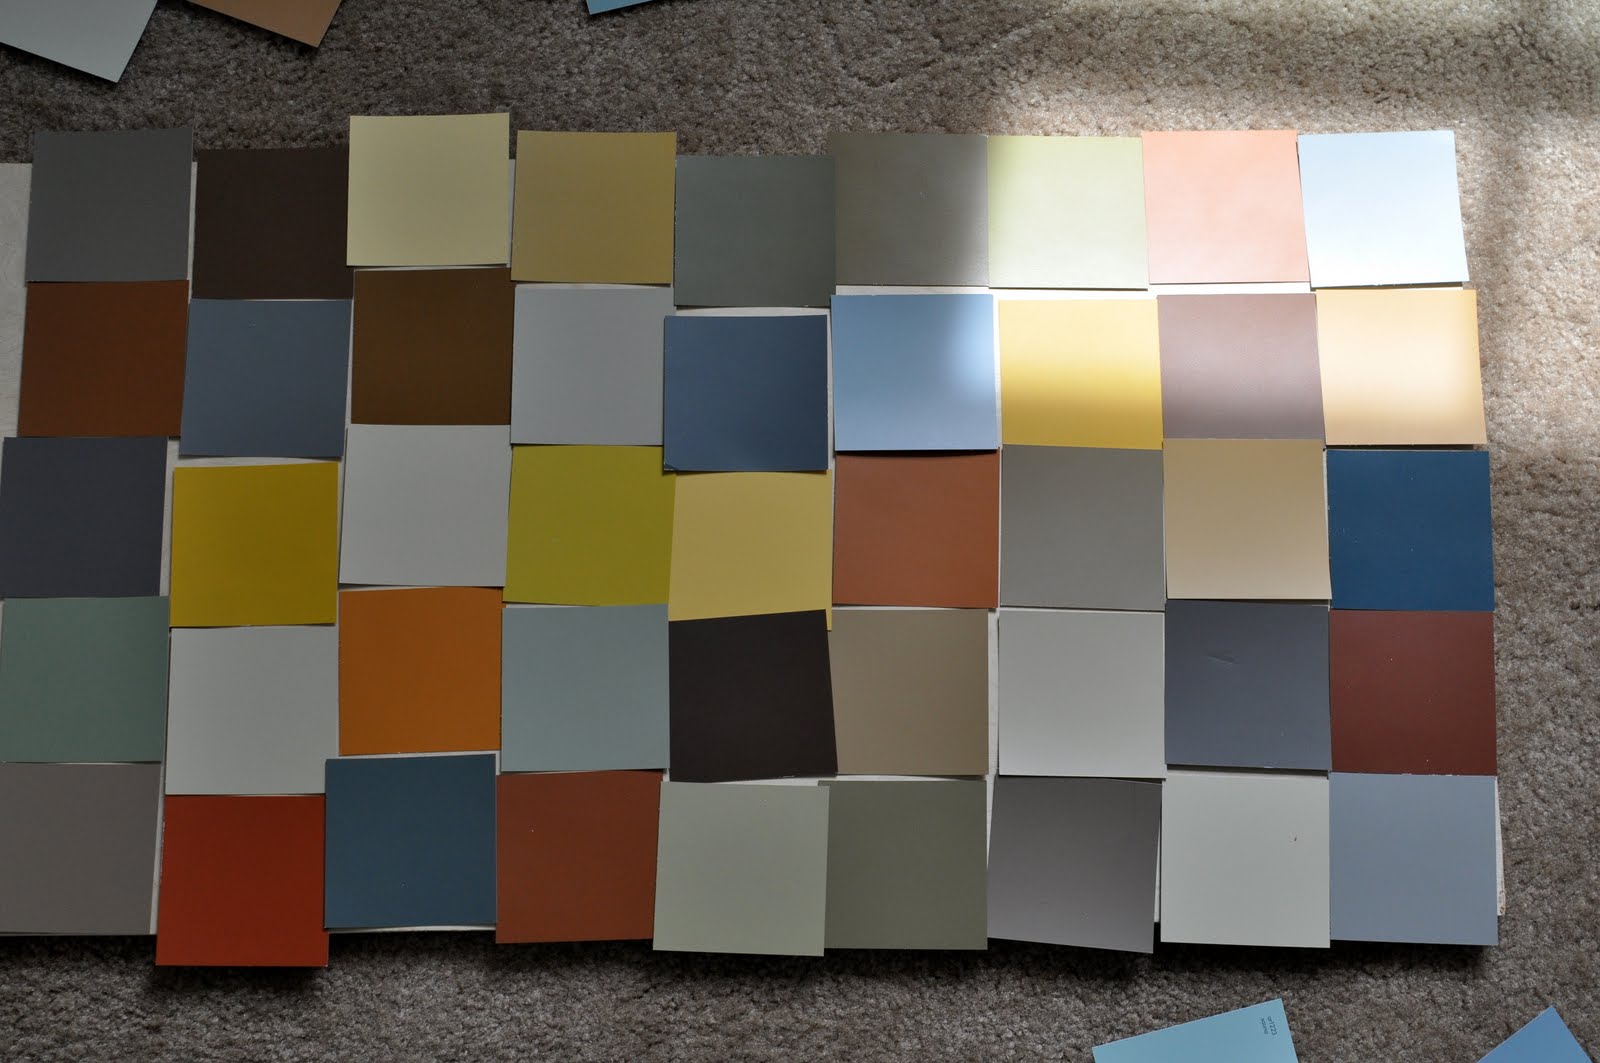
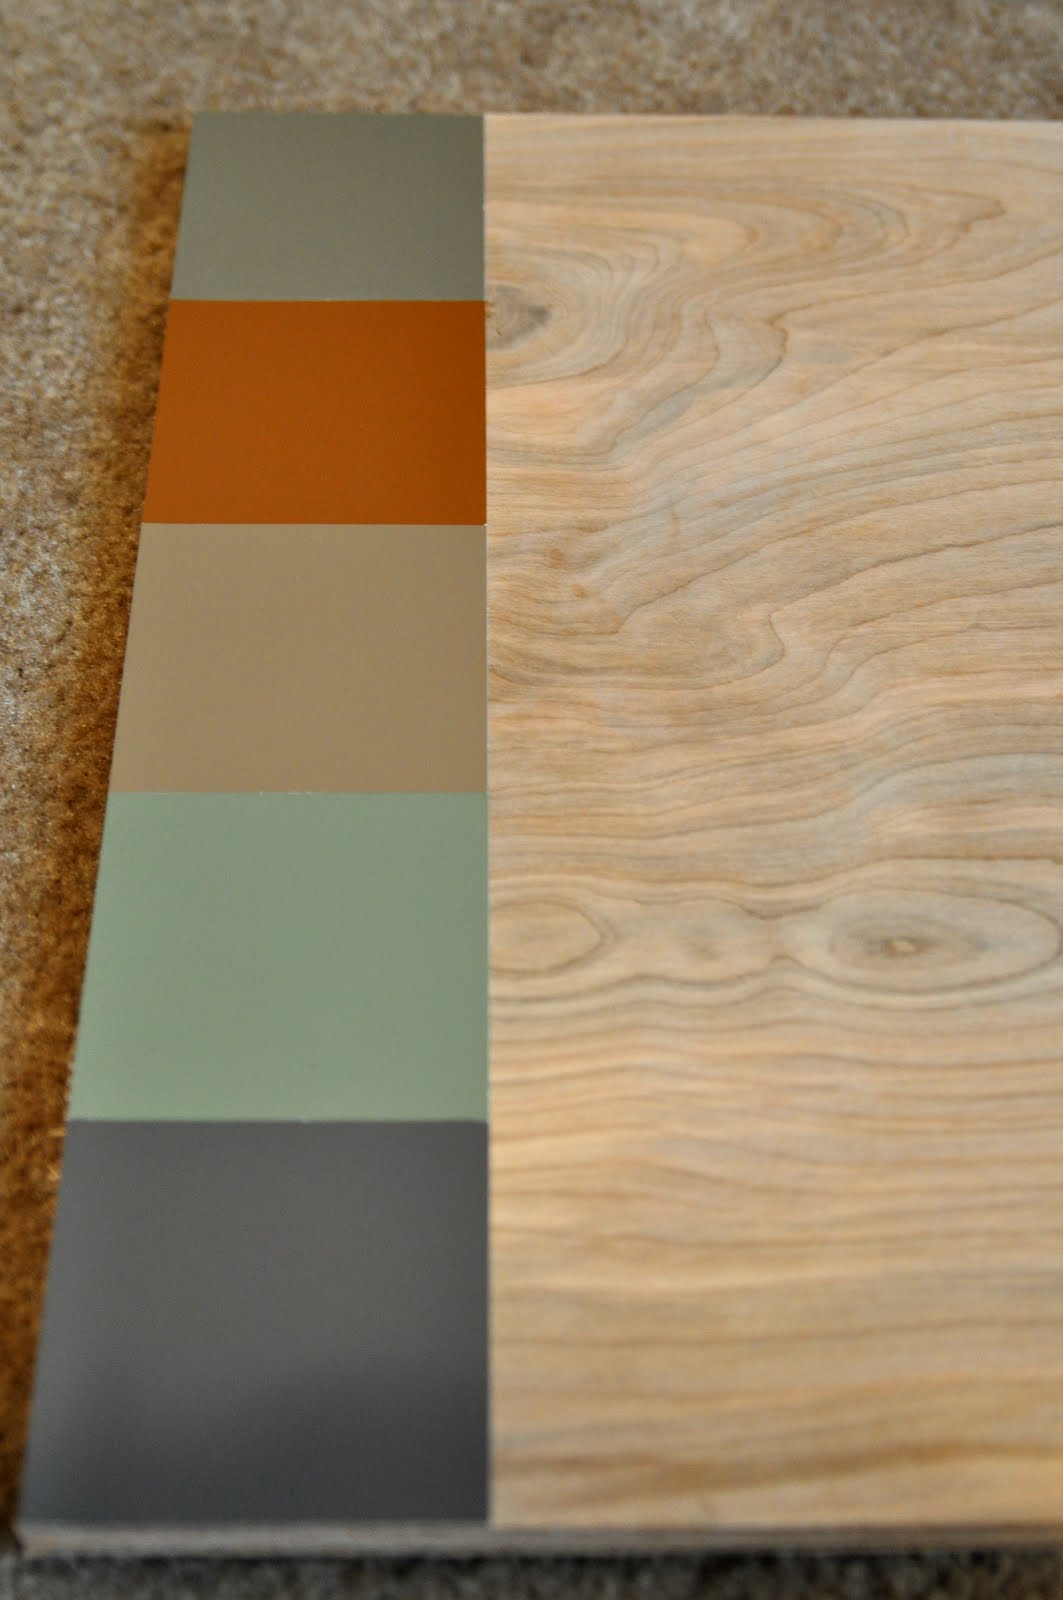
Once I got home, I tossed all the samples on the floor to choose the colors that made the cut…
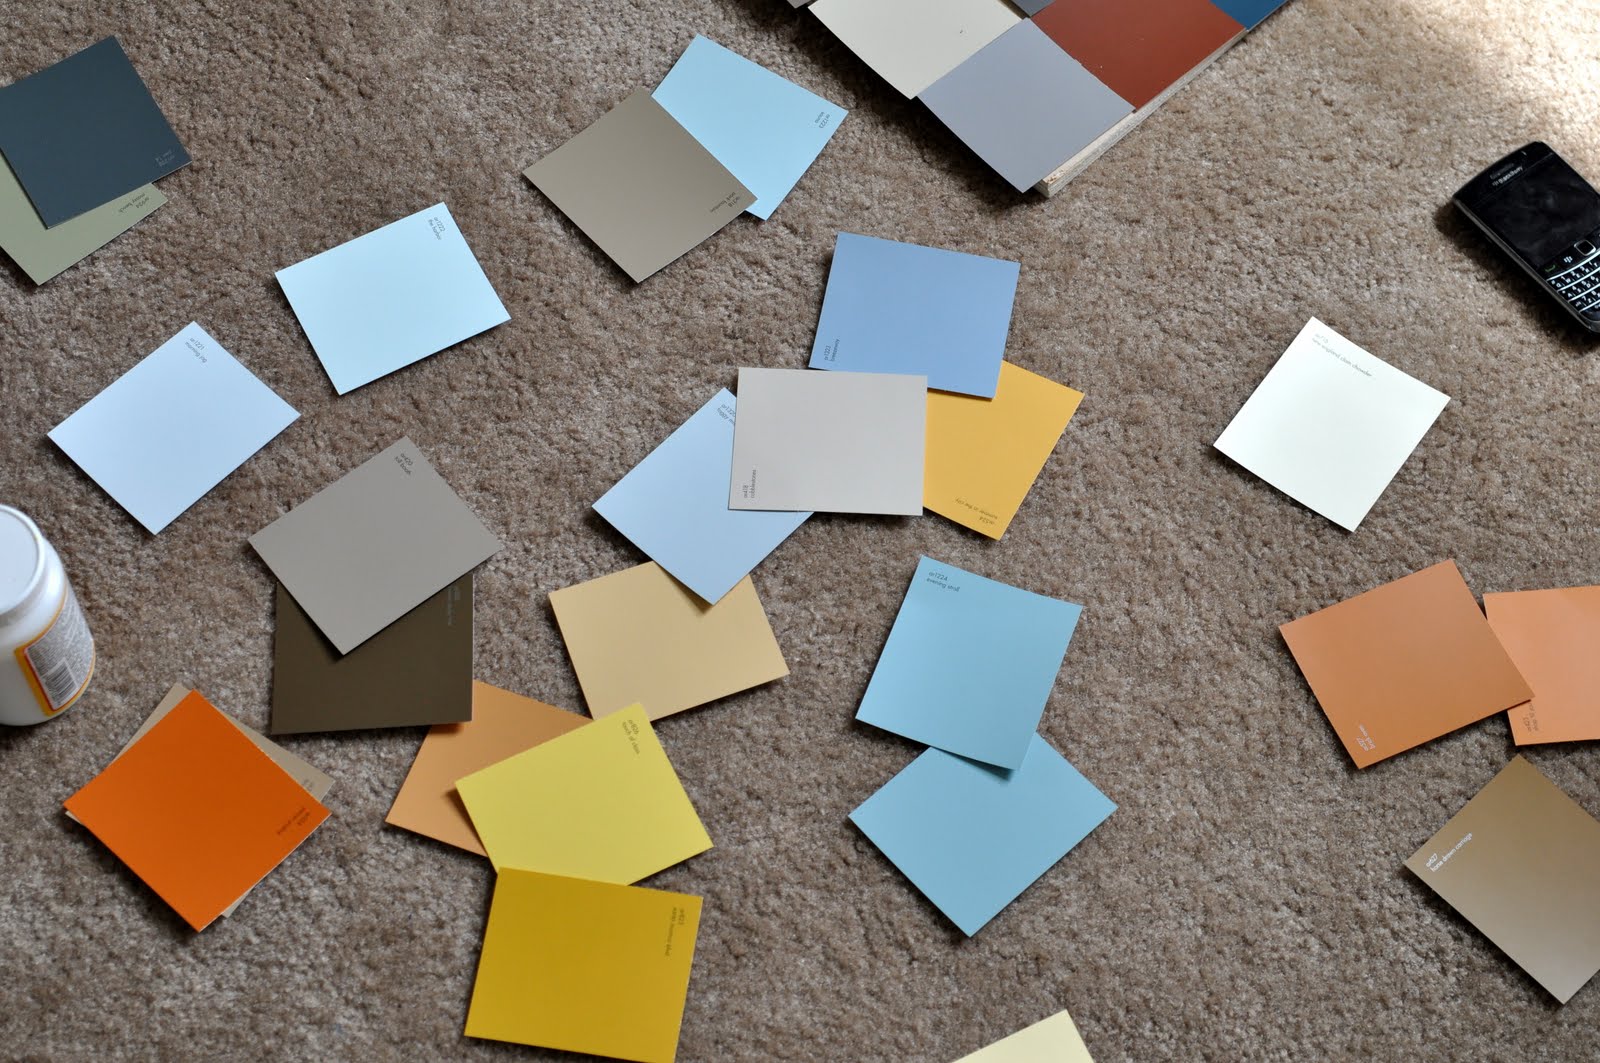
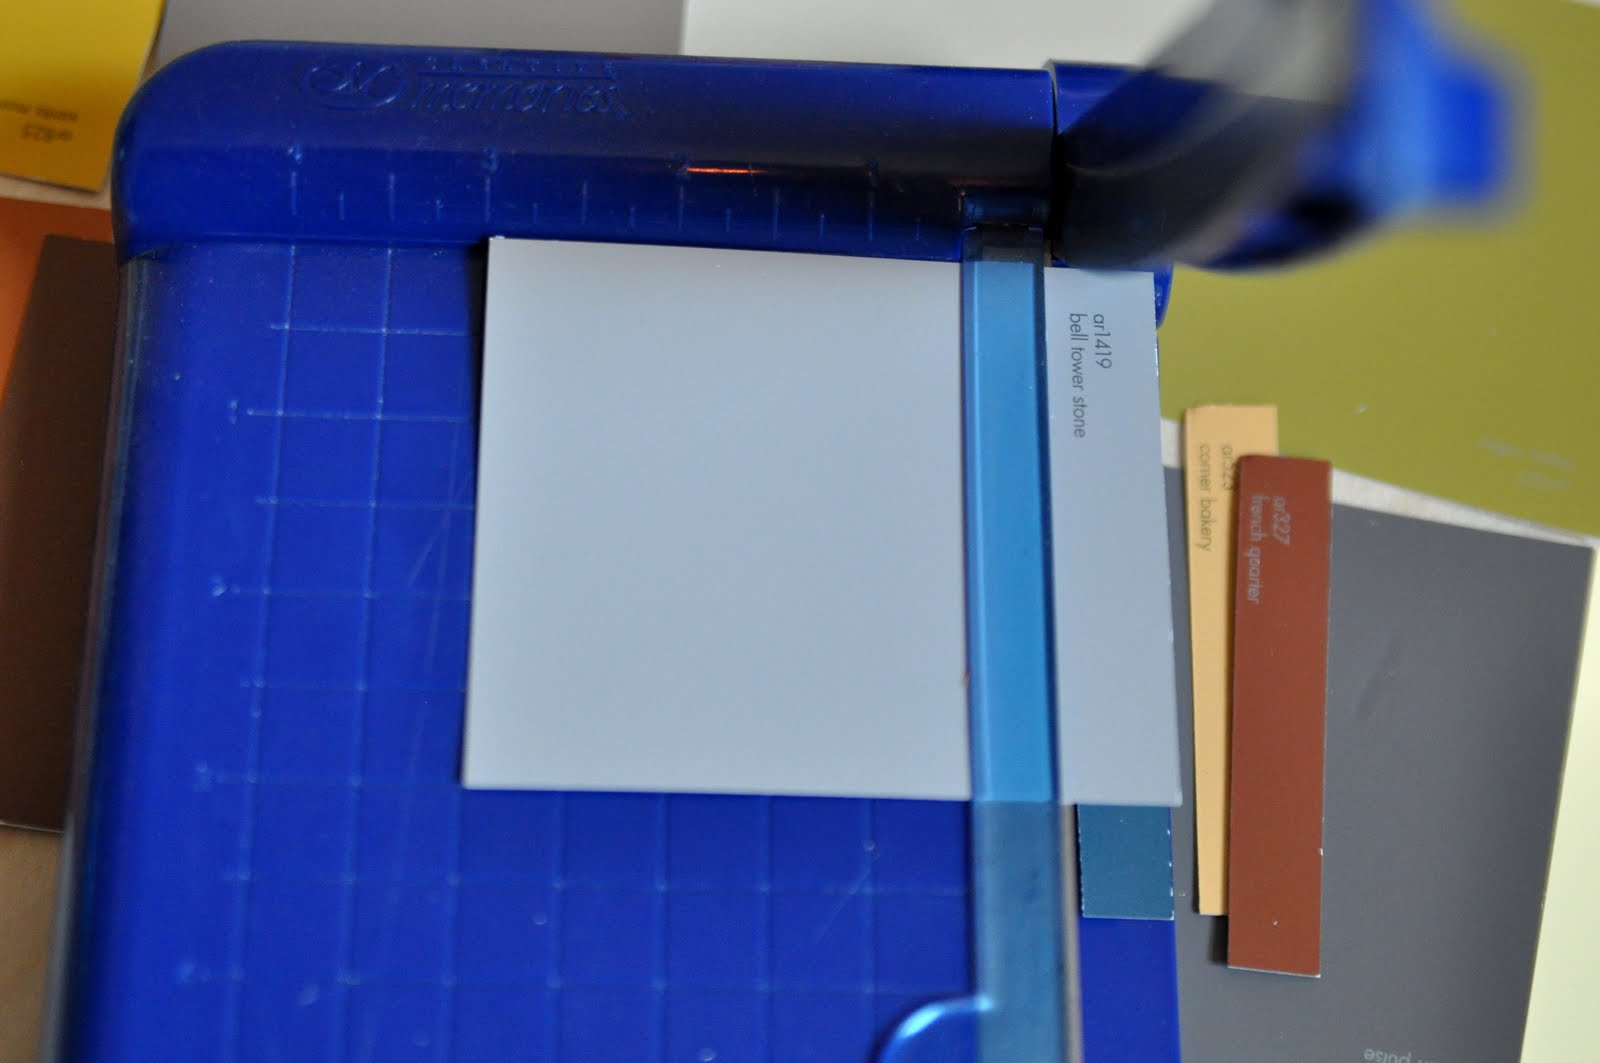
Next, I whipped out my little paper cutter and removed the paint names. I picked these chips because they were rectangular and I new I could cut the names off and still have 3×3 squares.
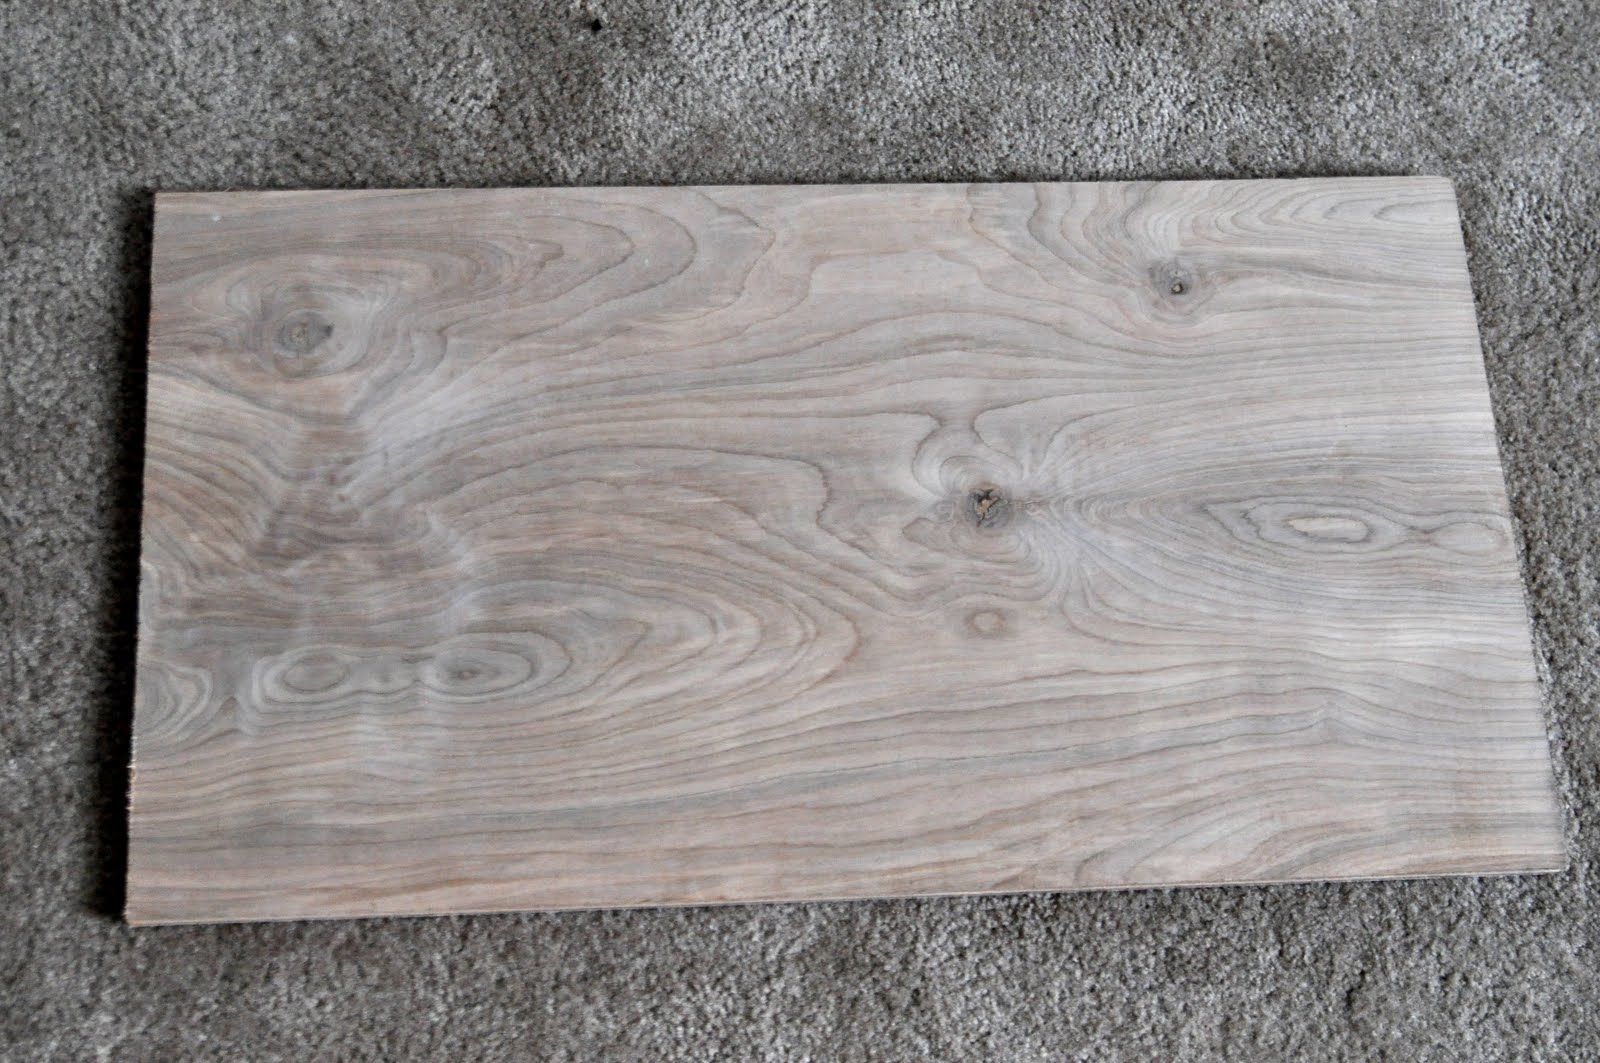
I quickly texted Eric to stop at Lowes and get me a 27×15 piece of plywood. Some women like their husbands to arrive home with flowers- I prefer plywood!
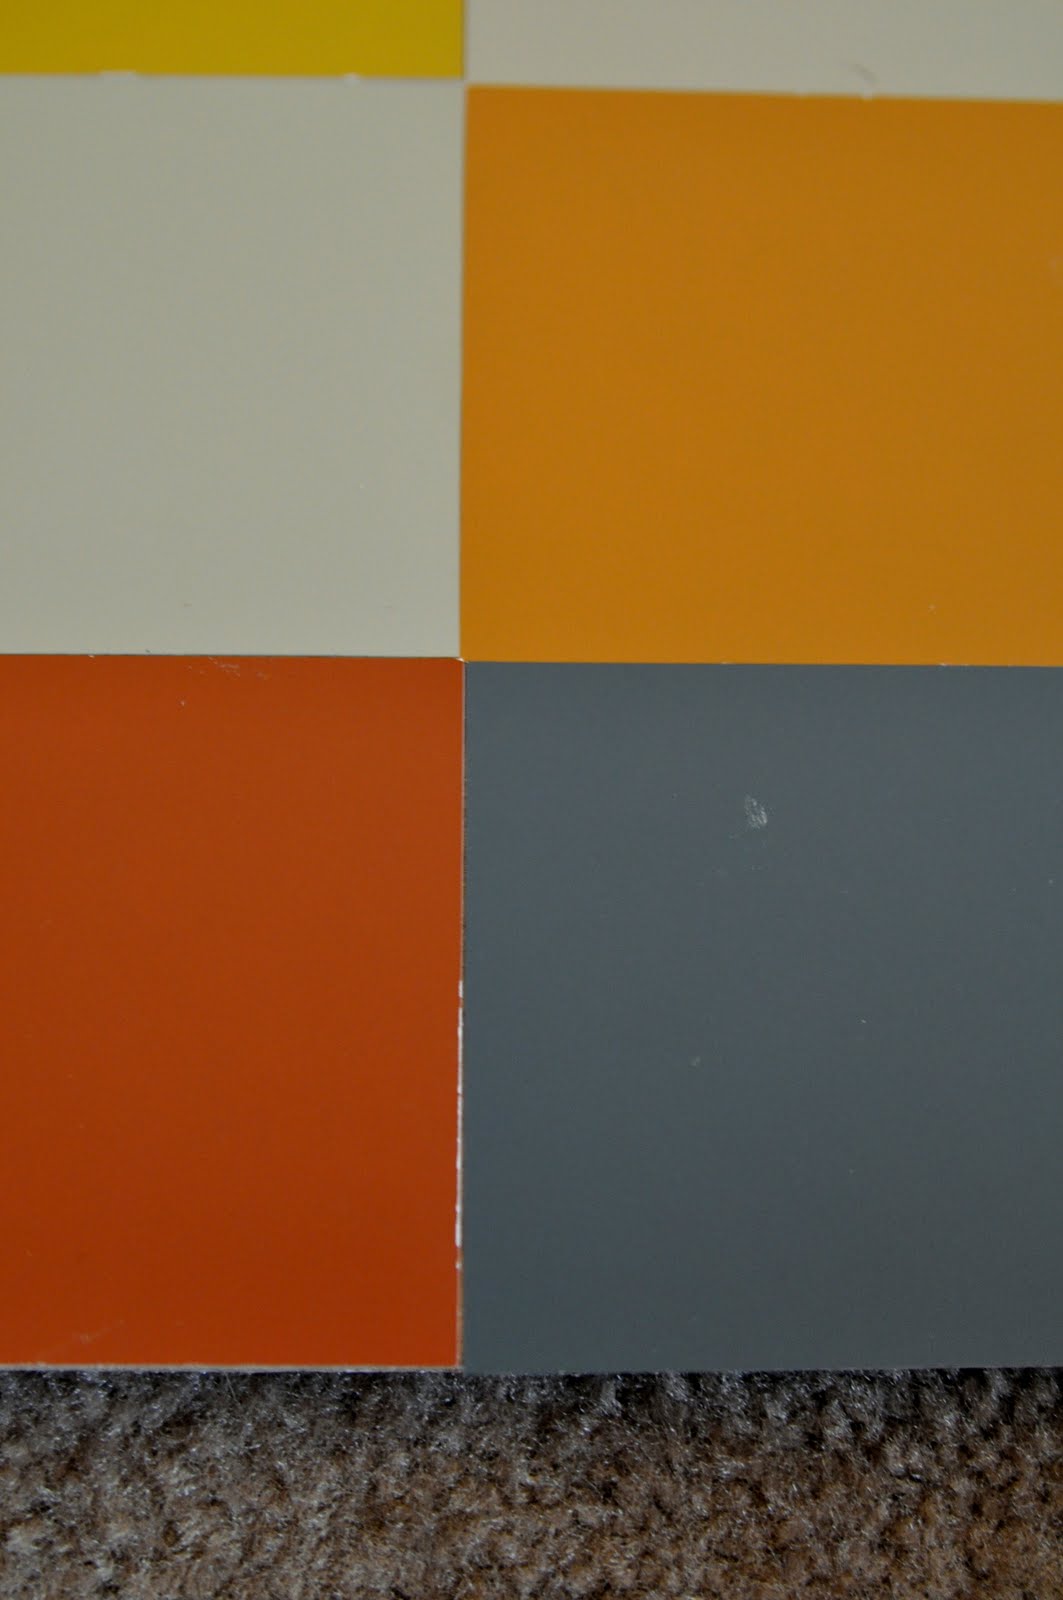
I figured out what layout I wanted… I eventually did move those two yellows that were too close together.
Spray adhesive is my nemesis, (I mange to get it everywhere and it’s impossible to get off my fingers) but it was essential for this project. The stickier the better! And if you’re wondering… yes I did this project in my bedroom on the carpet- I drive my hubs nuts!
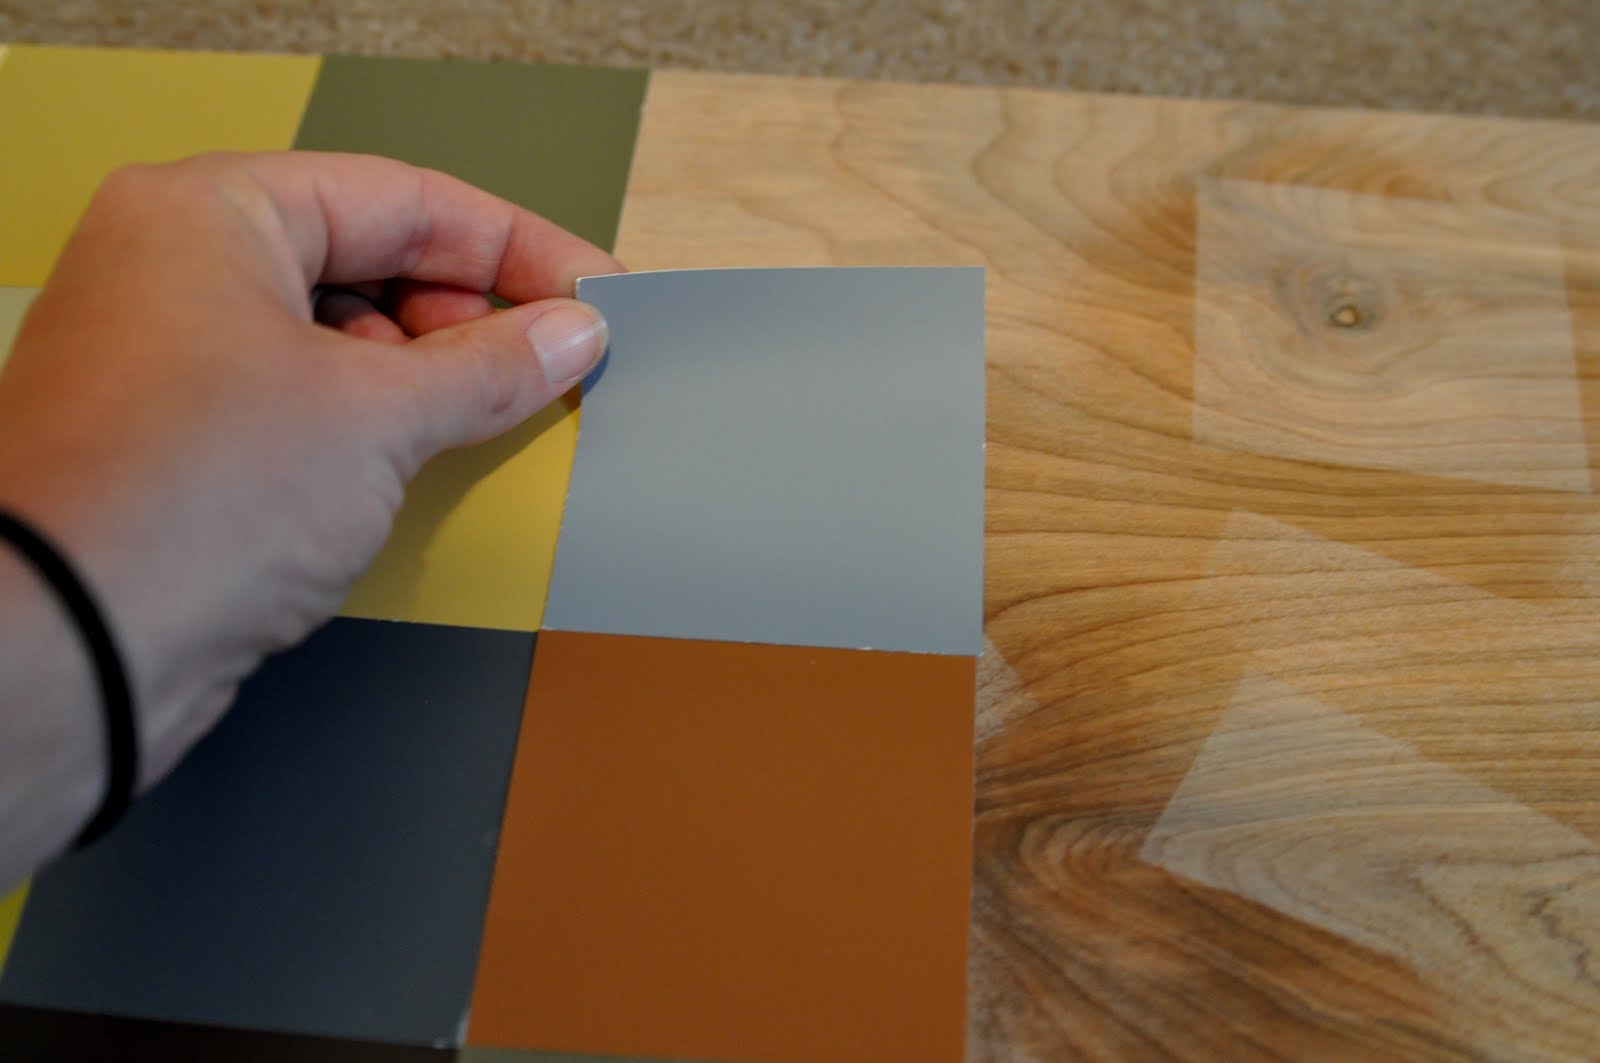
I worked one row at a time, so I didn’t mess up my pattern.
Now, if you know me, you know I’m laid back and easygoing, but I kinda like things to be perfect when it comes to DIY projects. I had to put my personal neuroses aside for this project and tell myself that it would look good in the end… see…that white crack showing would normally drive me nuts!
Spray, place, replace, replace again, remind myself it’s doesn’t have to be perfect, repeat… over and over!
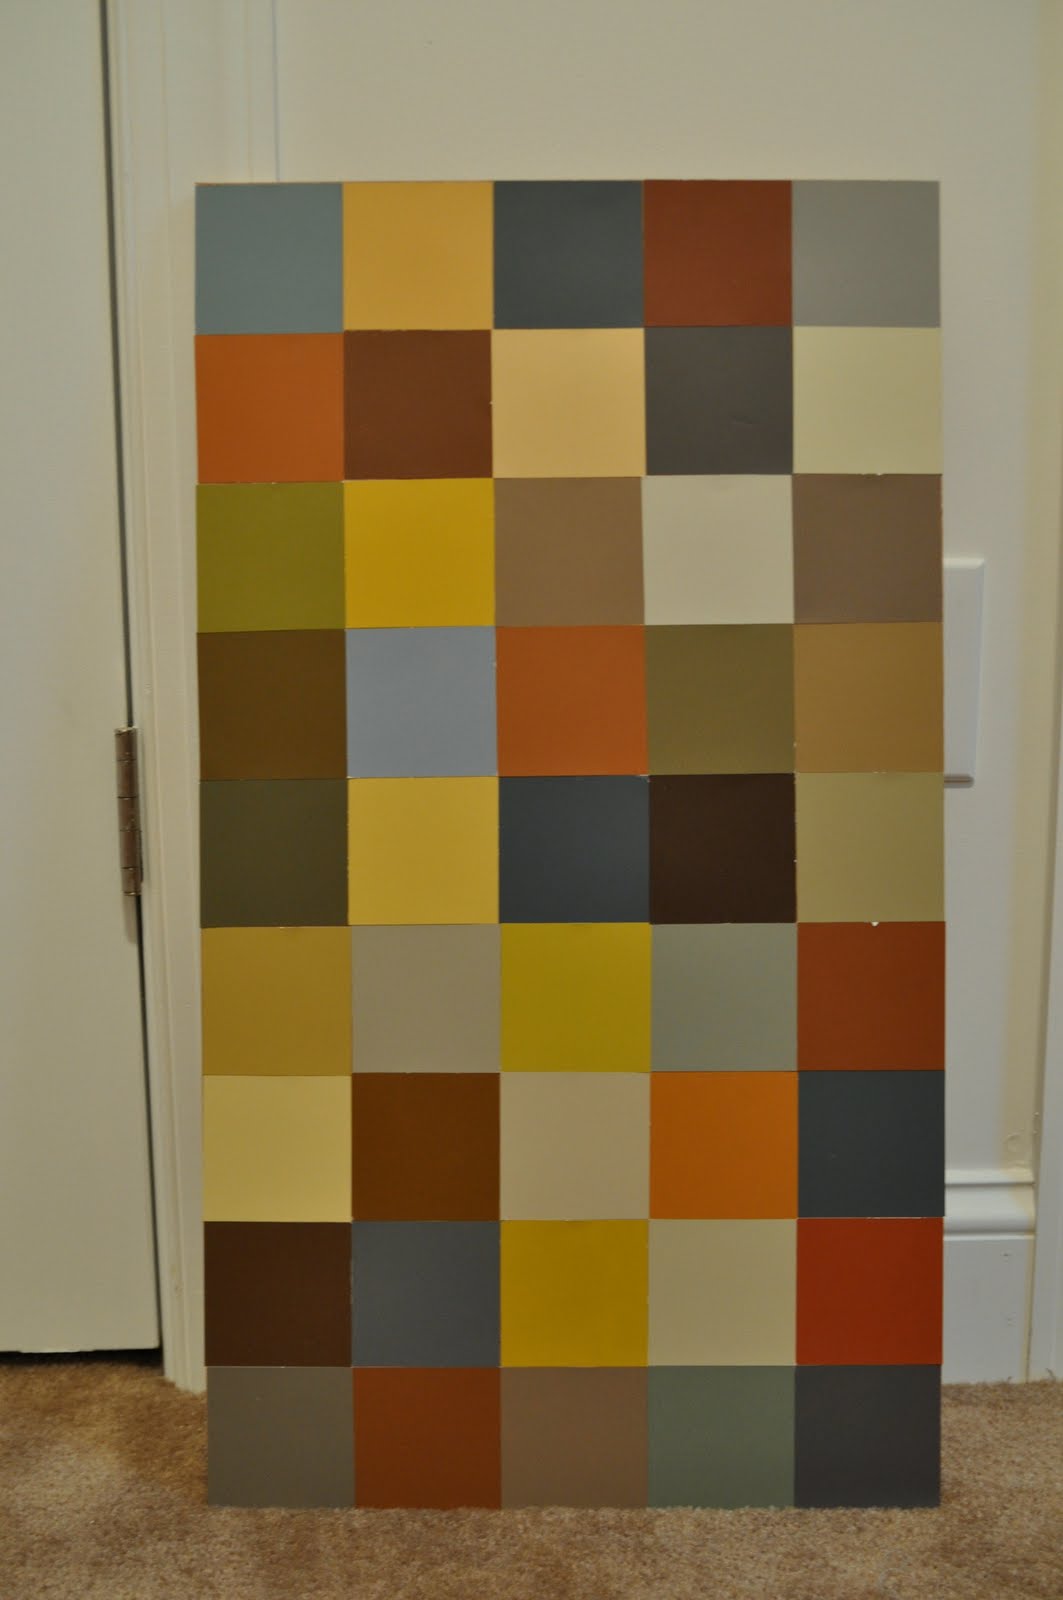
Ta-Da! The finished layout all stuck down.
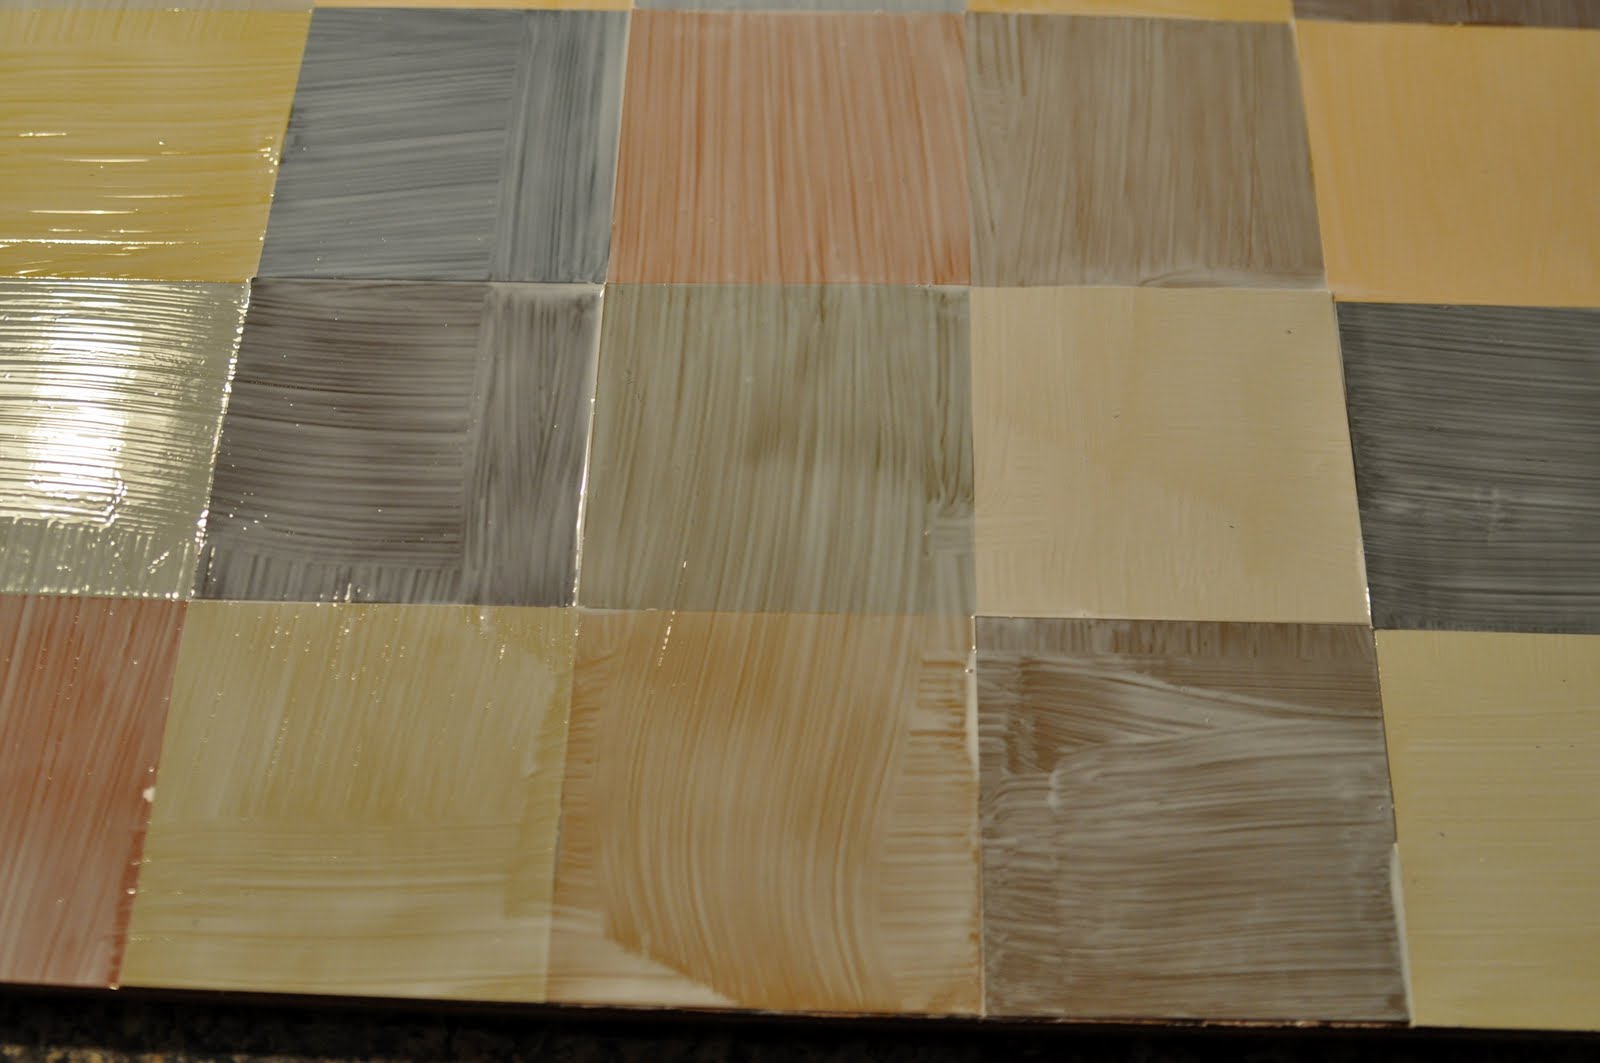
Next, I had to seal my art and add lots of yummy texture. Enter Mod Podge. It goes on cloudy and white, but dries clear- don’t panic!

I brushed it on evenly, but then went back and added texture by brushing vertically and horizontally.
I allowed two coats of mod modge to dry (about a 1/2 a day) and then it was time to stain. I was NERVOUS about this part because I was liking the project and was afraid to ruin it!
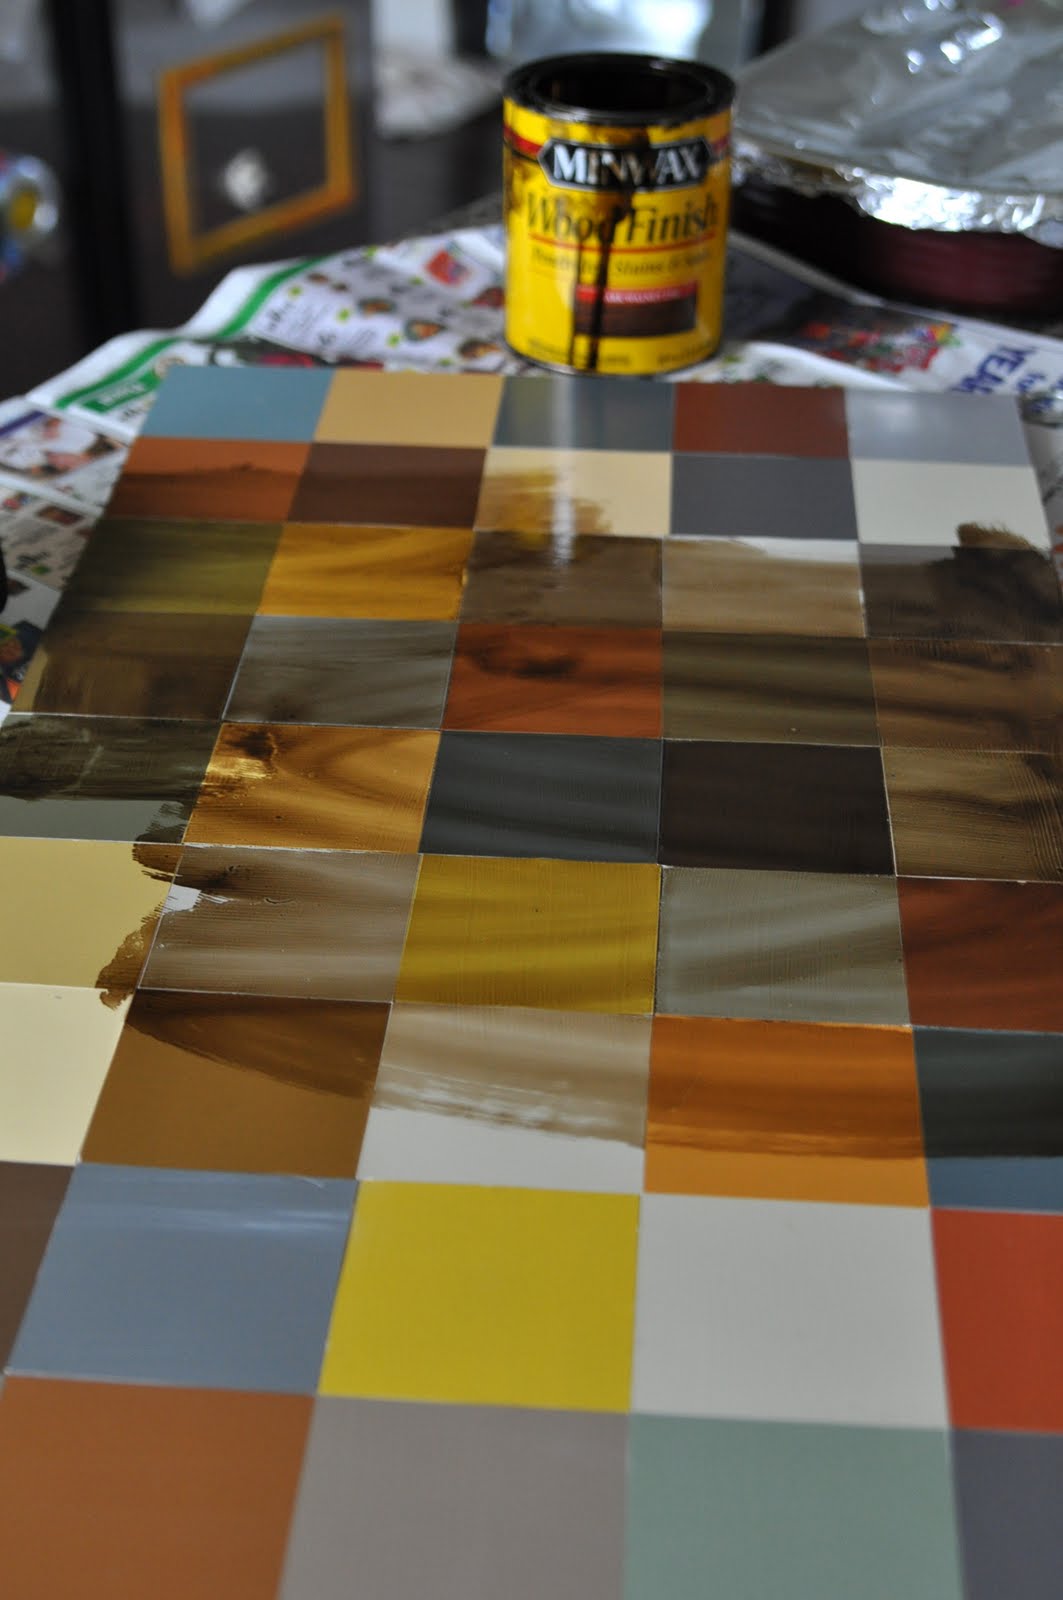
There I am… I just used a paper towel and rubbed it all over…This is apparently my nervous face.
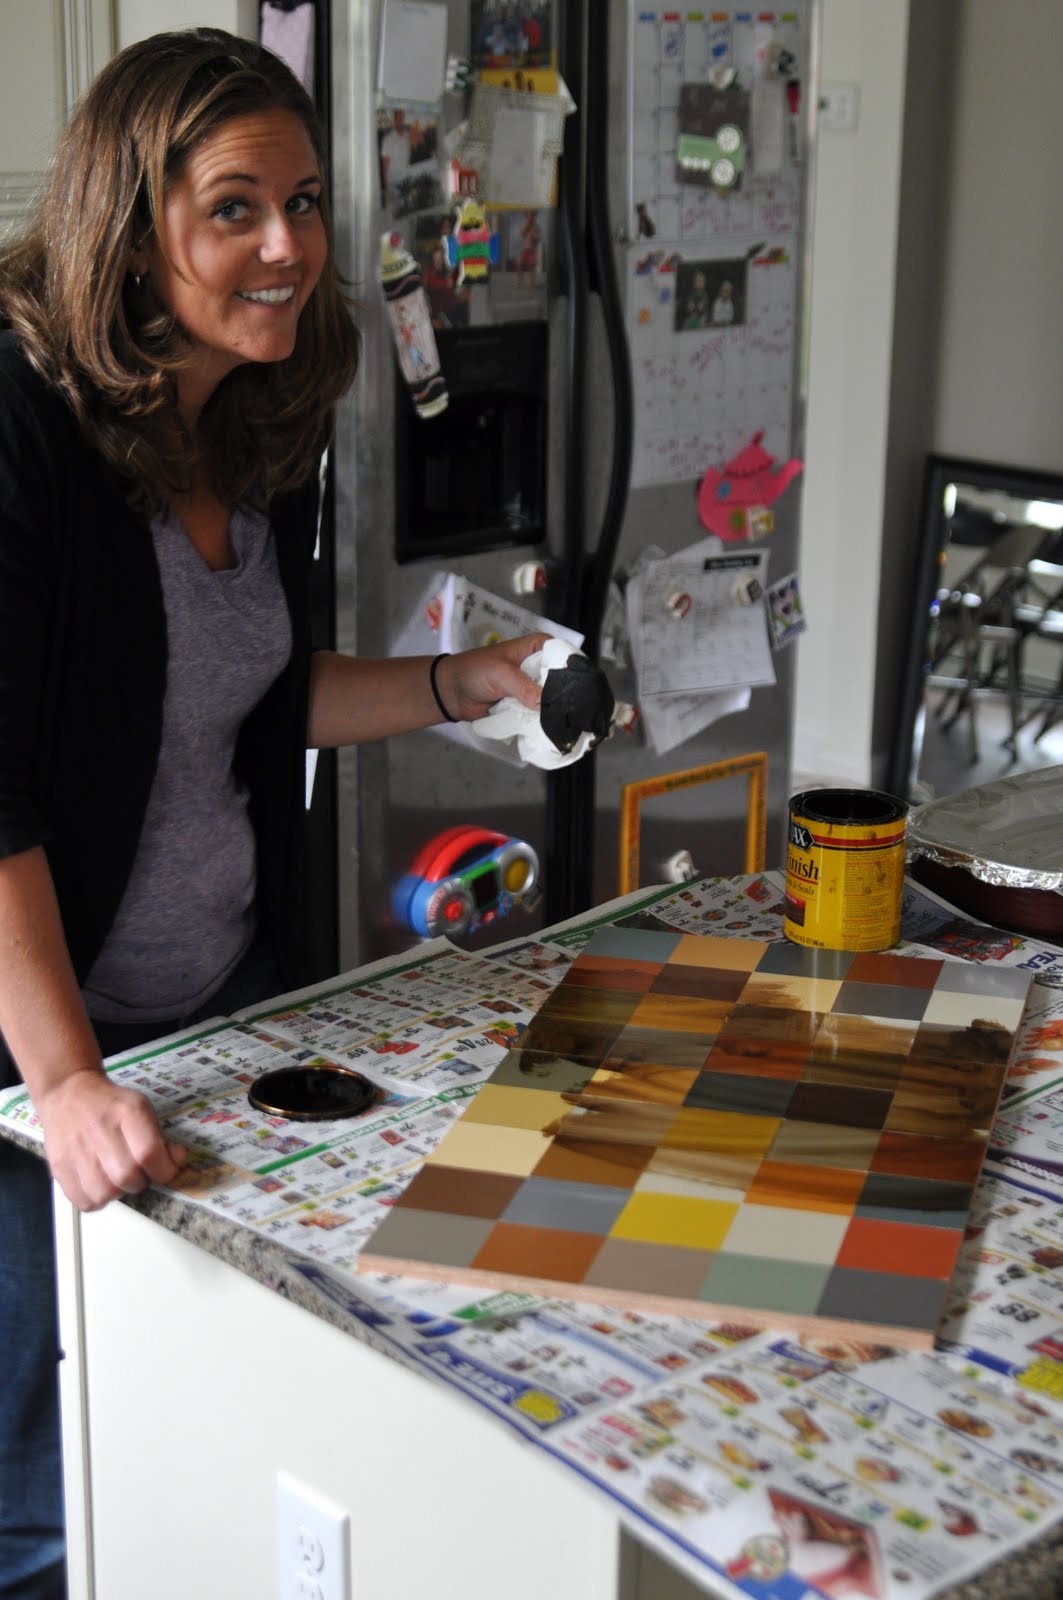
I covered the entire surface and then let it dry for about 15 minutes
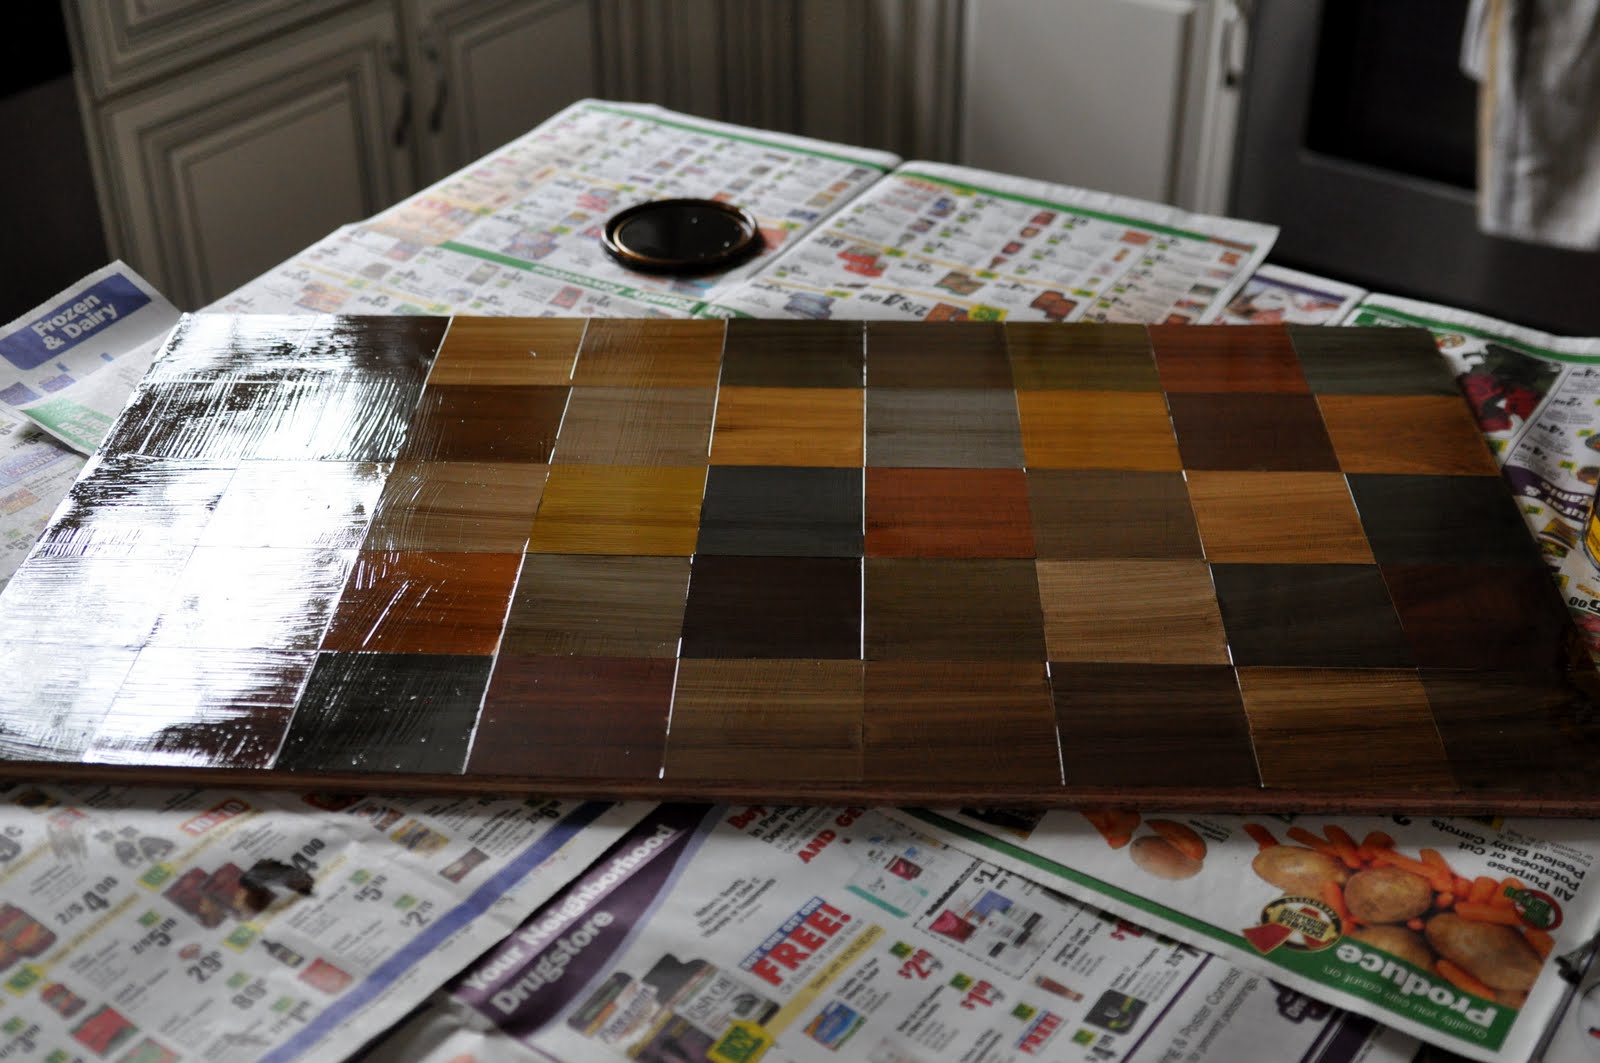
Then came the fun part! I wiped off some of the stain and created a “vintagey” look. After letting the stain dry for at least a few hours, I did one final coat of Mod Podge to seal it all together.

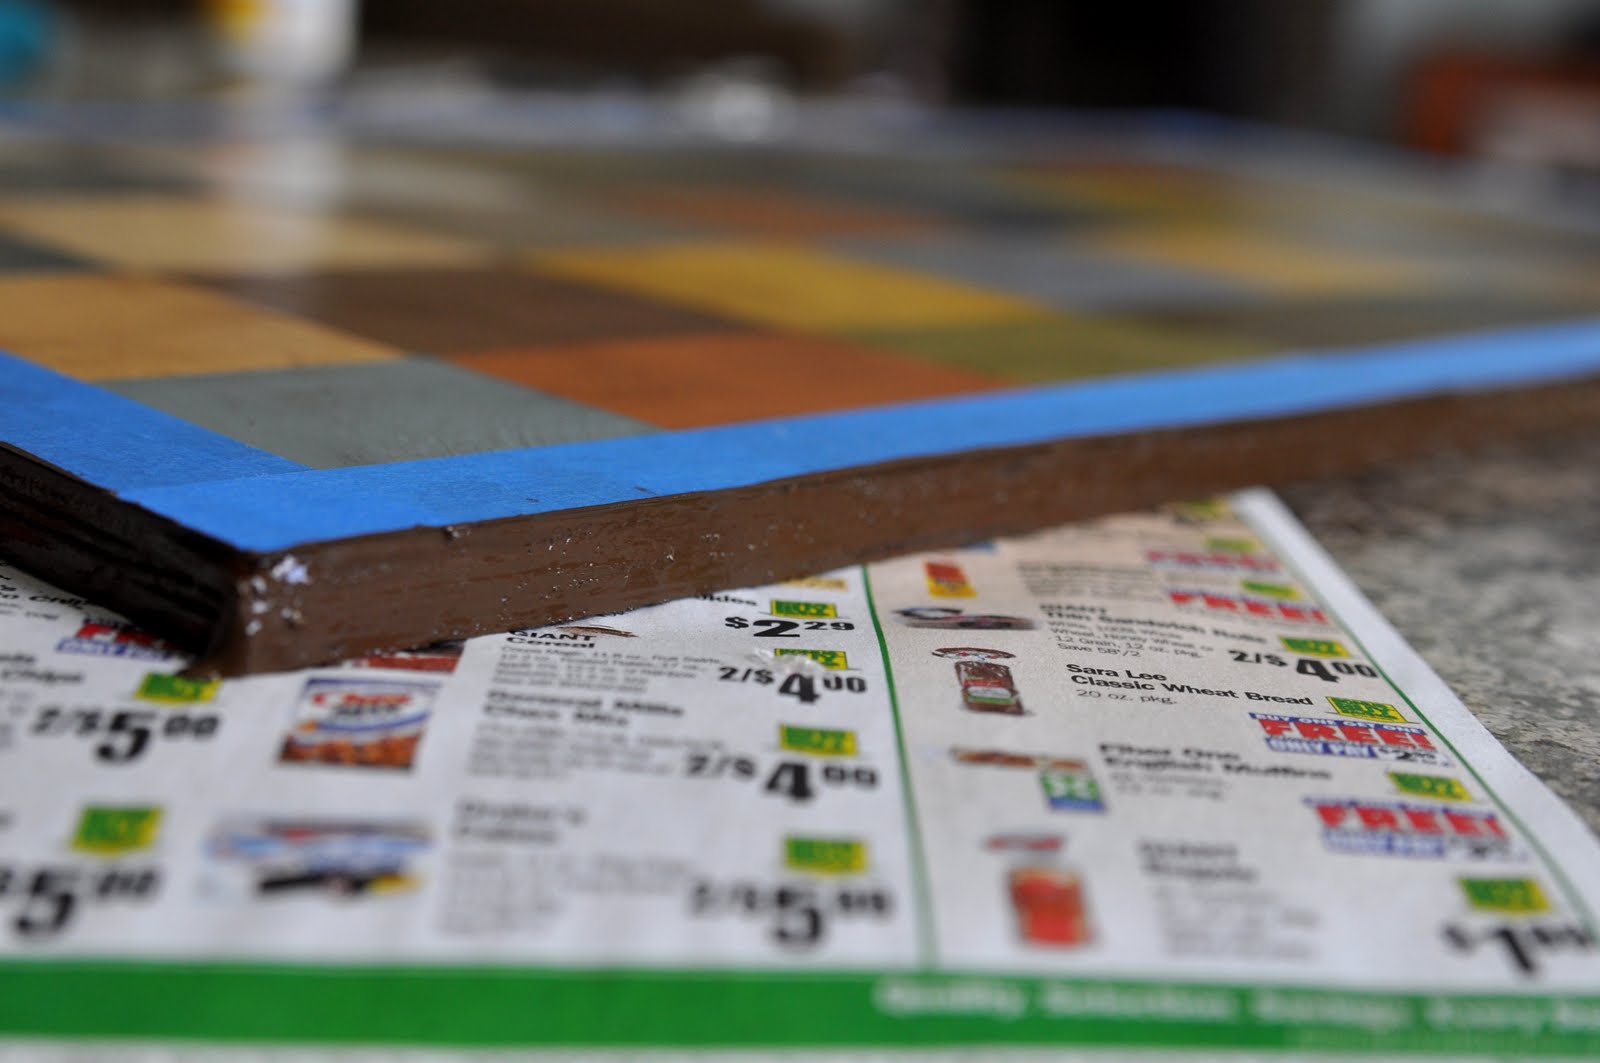
This wouldn’t be a DIY by Monica without some mistakes… I should have painted the edges first, but I was too excited to start, so I waited until the end, which meant I had to tape the top. Oh Snap.
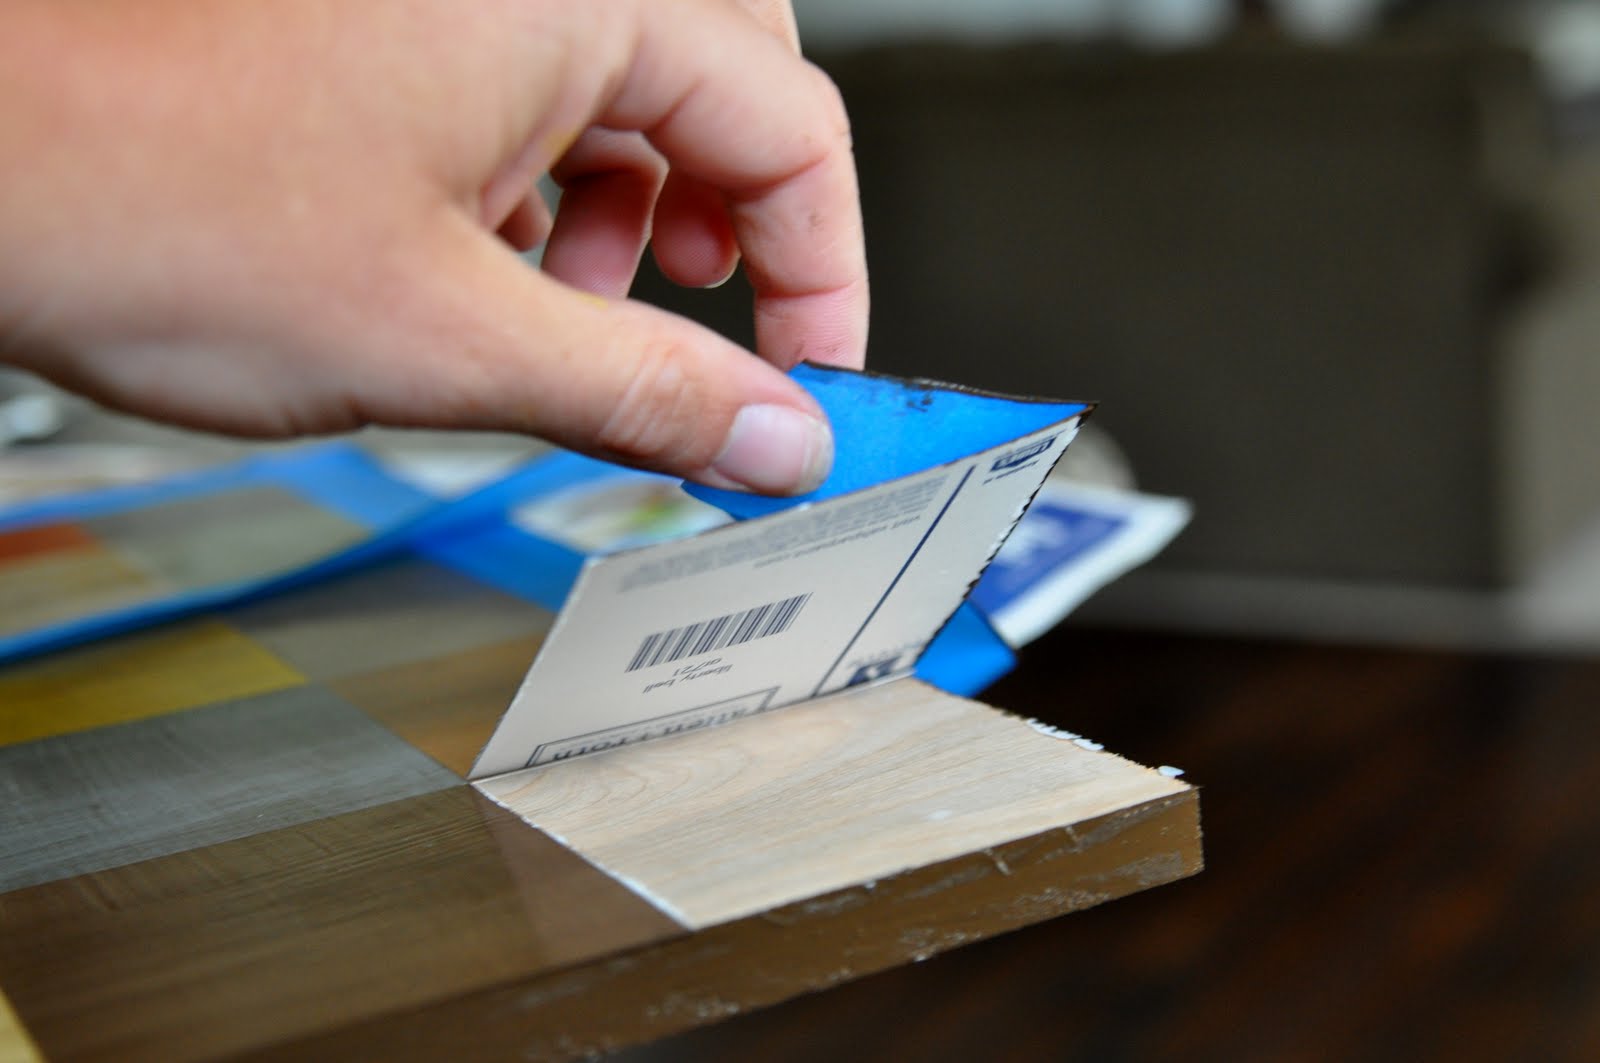
When pulling off the tape… AAARRRGGGG!!! I was not a happy camper! Thankfully, I’m used to making mistakes, so I’m good at fixing them.
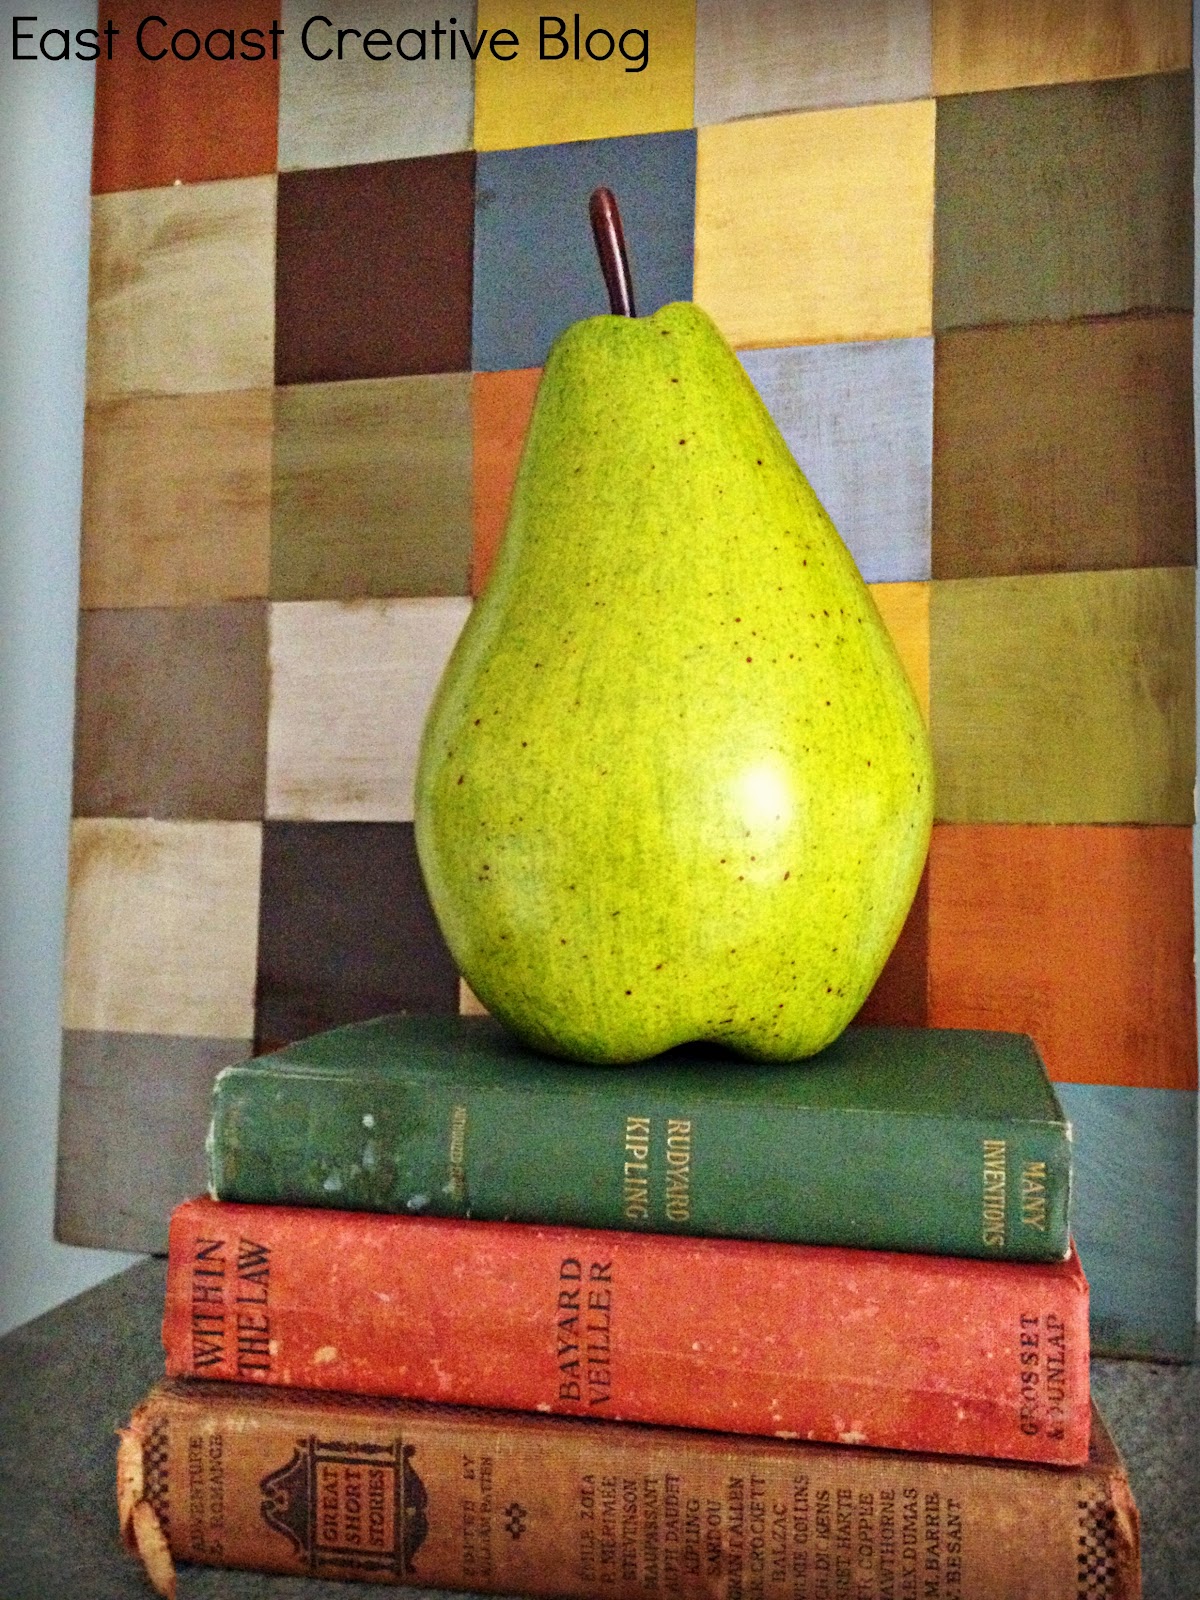
In the end, I LOVED how it turned out. It was almost free, has so many colors that I can use it anywhere (and yes, it has already been in two different rooms in my house), and was made.by.me- Gotta love that!
Oh, and have I introduced you to this fella? It’s a MASSIVE (about 8inches high) pear that I found at Marshalls. I was thinking of painting it, but once I got it home it occurred to me that I love bold color and this guy already had it going on!
Beside the fact that I loved this project, Kenzie (my 10 yr old) really liked it (and if you know Kenz, that’s a BIG deal), so we’re making a pink and grey one to match her bedroom.
So, what do you think?
What have you made with paint chips?
What have you made with paint chips?


OK, so I LOVE LOVE LOVE this.. those colors would go PERFECT in my living room/kitchen. We (more Me) are planning on knocking down a wall and I will be needing some artwork.. I have a ton of pics.. so I’m TOTALLY going to steal this idea and do it! Thanks for posting! I love it! I”ll keep you posted on how it comes out! If it’s bad, can I hire you? 🙂
You did a GREAT job!! I tried a project similar to this with paint samples…and failed miserably 🙂 Oh well!! Yours turned out beautifully!!!
A-M-A-Z-I-N-G!
Monica, it looks wonderful! Very inspiring.
It looks amazing Monica!
I’m totally inspired! I’m definitely going to steal this, if that’s okay, for my living room. We have a “blah” painting from Marshalls that we hung when we first moved in, but this makes me feel like I could do it! Thanks for the inspiration! Here’s to stealing some paint chips!
How cool is that? It turned out so well! Thanks so much for stopping by;)
Great imitation…at a must greater price, too…love your comment about making mistakes…I am also a pro at making them…makes us flexible people, doesn’t it?
Cheap, easy, practical, yet final result….classy!!!! Thanks for the step by step—I hope to try this.
This is gorgeous!! You did a fantastic job!! LOVE how cheap you were able to make it as well!! Don’t you just love mod podge!?! That stuff is awesome!! I found you at Christina’s Adventures! Thanks for linking up & showing off your great project!
You know I am always drawn to the paint chips in the store and always looking for fun things to do with them– this is NOW on my list!! It is just beautiful! So appreciate the great tutorial with free humor and pictures! Great job!
This. is. awesome. ‘Nuff said!
Oh my goodness!
We just finished picking out paint colors for our new house (like seriously yesterday: http://wwwfrozensunshine.blogspot.com/2011/05/appointment-arrangements-paint.html).
The left over paint chips went into the “craft stash” and will hopefully one day get to be something as beautiful as this.
What an awesome project!!!!
🙂
Wow – this is awesome! I have seen artwork in stores with that design and it is always too pricey. I have to try this. I have featured you on my blog this week. You can see it here – http://literallyinspired.blogspot.com/2011/05/linky-laundry-list-1.html
I already commented on this…so you know I love it and am jealous that my paint chip art didn’t turn out nearly as cute 😉 BUT I wanted to thank you for linking to “20 Below Thursday”!! 🙂
I want to thank you for posting this! I love it! I just made one myself by following your tutorial. I used a 2×2 piece of plywood and 64 paint chips that I trimmed to squares. It is gorgeous!
thanks again:)
Gorgeous, this is great! You’ve taken paint chips to a new super-glossed level! Visiting from the DIY club.
-caroline @ c.w.frosting
This is a great piece of diy artwork. It turned out beautifully and it was cheap. Great idea and I am glad you shared.
Thanks for linking to my blog! Yours looks so good! I love that you even posted your mistakes so people can learn from them.
that looks great! love the finish you gave it!
that looks great! love the finish you gave it!
Your tutorial is fabulous. This is a great project! I was working on a paint stirrer project and the guy kept telling me to take more they are free, but I felt shady (I even tried to pay – good thing we don’t live near each other or Lowes would have no stirrers or paint chips!
Beautiful piece of art! I am a new follower.
Holly
504 Main
I feautured this on my blog today! Thanks for the wonderful tutorial!
Great combination of colors you have. I hope I can see more from you.
I definitely want to try this!
I got my stuff today to start this project. Wood is stained and getting ready to cut out my squares. Decided to go with Better homes and Gardens Editor choices Paint Colors. I am going with the Savory Spice colors.
Awesome! It looks like art that one would pay hundreds of dollars for. I am going to steal this idea too! Nice job. Thanks for sharing.
Wondering what color stain you used? this is great i really want to try this 🙂
I’m making this right now 🙂 I’m getting ready to do the spray adhesive, with latex gloves.
Love this idea! I would have never thought of distressing it with stain! Perfect for my house! Thanks!!
I completed this project and my first 2 turned out AWESOME with matte mod podge. I loved them so much I decided to do 2 more and they did not turn out at all- my husband bought the 2nd bottle of mod podge for me but it was still matte but in a different color bottle- have no idea what happened. Thanks for sharing though. I can’t wait to hang my art!
I am going to do this, but I am going to use a canvas instead of a wooden board. I thought with the canvas, all I have to do is throw up a couple of nails…will see how that works.
How did the canvas work? I’m thinking of doing the same. Mostly for the ease of hanging…and there is no cutting of plywood.
I actually bought a canvas as well, but then changed my mind and had a piece of MDF board cut at Home Depot. Worked great, but yes, then you do have to put something on the back of it to hang it. I did mine in shades of purples. After I had all the squares glued down, I used a paint brush and a silver ink pad (the kind used for scrapbooking). I got plenty of ink on the brush but brushed some off it off on scratch paper first and then just went over each square kind of making an “x” motion over and over. I liked how this turned out. I will post pics on my Pinterest board as soon as it is completely done if anybody wants to check it out.
Very creative idea you have shared. Things that are needed are just around the house, and I think its not that difficult to do.
I have done some paint chip art but not something this big. I love that you sealed it with mod podge.
It came out great! I’m also in love with your giant pear- so colorful & fun!
It came out great! I’m also in love with your giant pear- so colorful & fun!
Love that – I’ve been wanting to make some type of paint chip artwork for a while! Such a creative idea. I like that you put stain over the top too!
This looks like so much fun – I’m starting my own today. I want to try to integrate some leftover bronze metallic glaze into the final finish on mine. And I had to quote you to my boyfriend on “Some women like their husbands to arrive home with flowers- I prefer plywood!” lol I hoard leftover pieces from DIY projects for just this purpose.
This looks like so much fun – I’m starting my own today. I want to try to integrate some leftover bronze metallic glaze into the final finish on mine. And I had to quote you to my boyfriend on “Some women like their husbands to arrive home with flowers- I prefer plywood!” lol I hoard leftover pieces from DIY projects for just this purpose.
I really enjoyed this paint chip project! can’t wait to try it myself! BTY, Your funny, you should have your own DIY show:)
its looking great
Buy wall pictures of seascape and landscape canvas designs for wall art and decor. Prints on canvas created for outstanding wall art home and office decor. Buy seascape canvas prints, beach prints on canvas, forest canvas designs and sunset wall pictures and many more canvas designs. See more http://www.globalnaturecrafts.com
[…] image source and instructions […]
[…] Looking for something to do with all those paint chips you’ve gathered over the years? Make this DIY Paint Chip Wall Art – inspired by East Coast Creative! […]
The different types of designs available with reputed companies include floral prints, geometrical
prints, abstract prints and landscape prints. This is an amazing way
to show off your favourite family portrait. You don’t have to have any special artistic ability to create the fabulous wall
hangings that will impress your friends and family.
I’ve done projects like this in the past. My only suggestion is to make the background of what your applying the chips to BLACK instead of white. Then your chips if they aren’t perfect it looks better then white showing thru.