
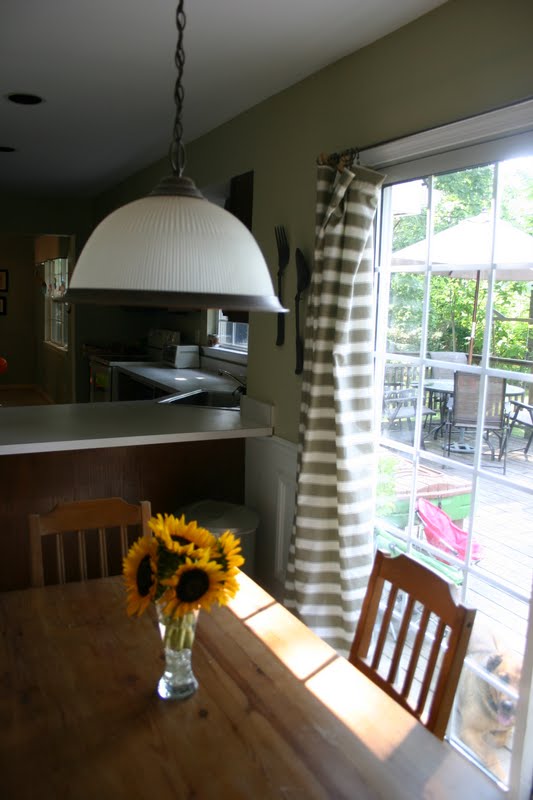
And now for the long awaited kitchen update….sort of. We’re planning on finishing painting our cabinets sometime this decade because they need four coats each and are taking forever! this week in time for our daughter’s 4th birthday party, but in the meantime, I made some progress on the lighting situation in our breakfast area. You may recall that this is what the light looked like before we made the big change.:
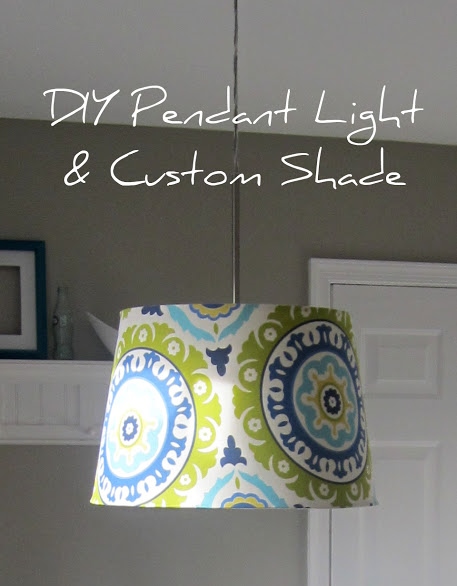
And now, for only $40, we have a gorgeous, huge, custom pendant light:
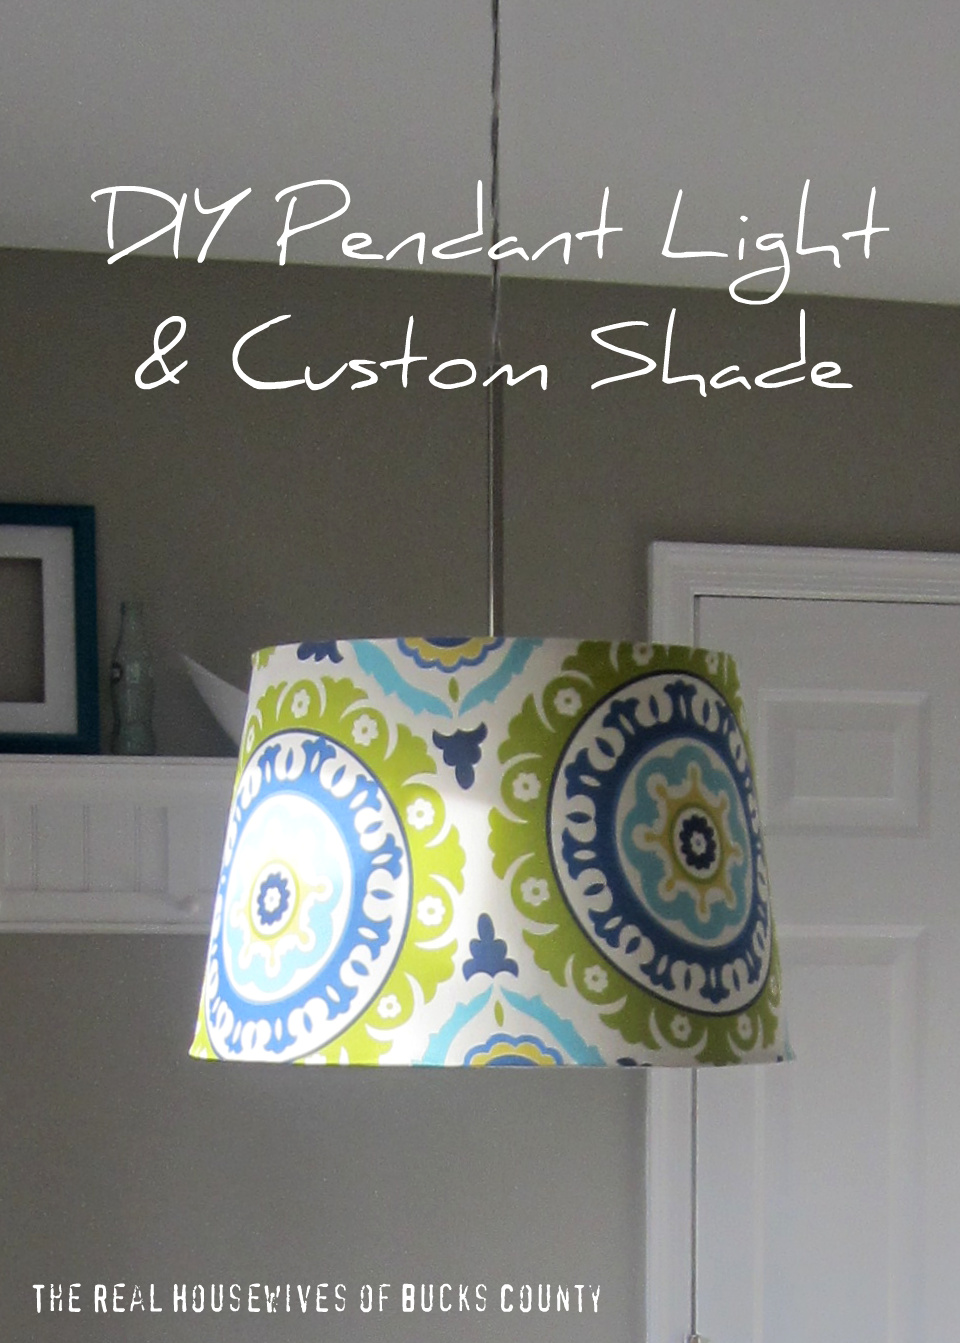
Pin It
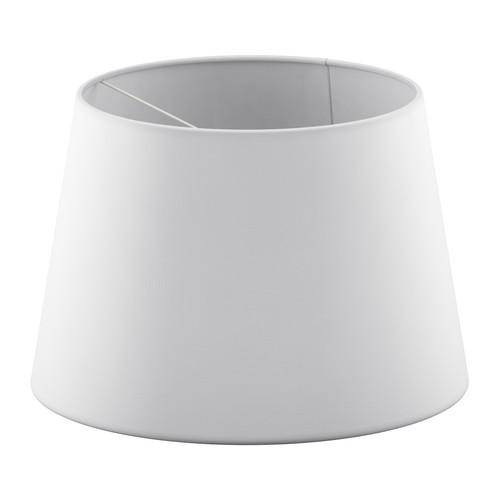
I purchased this Ikea Jara Shade for $20, and Januari light kit to go with it.
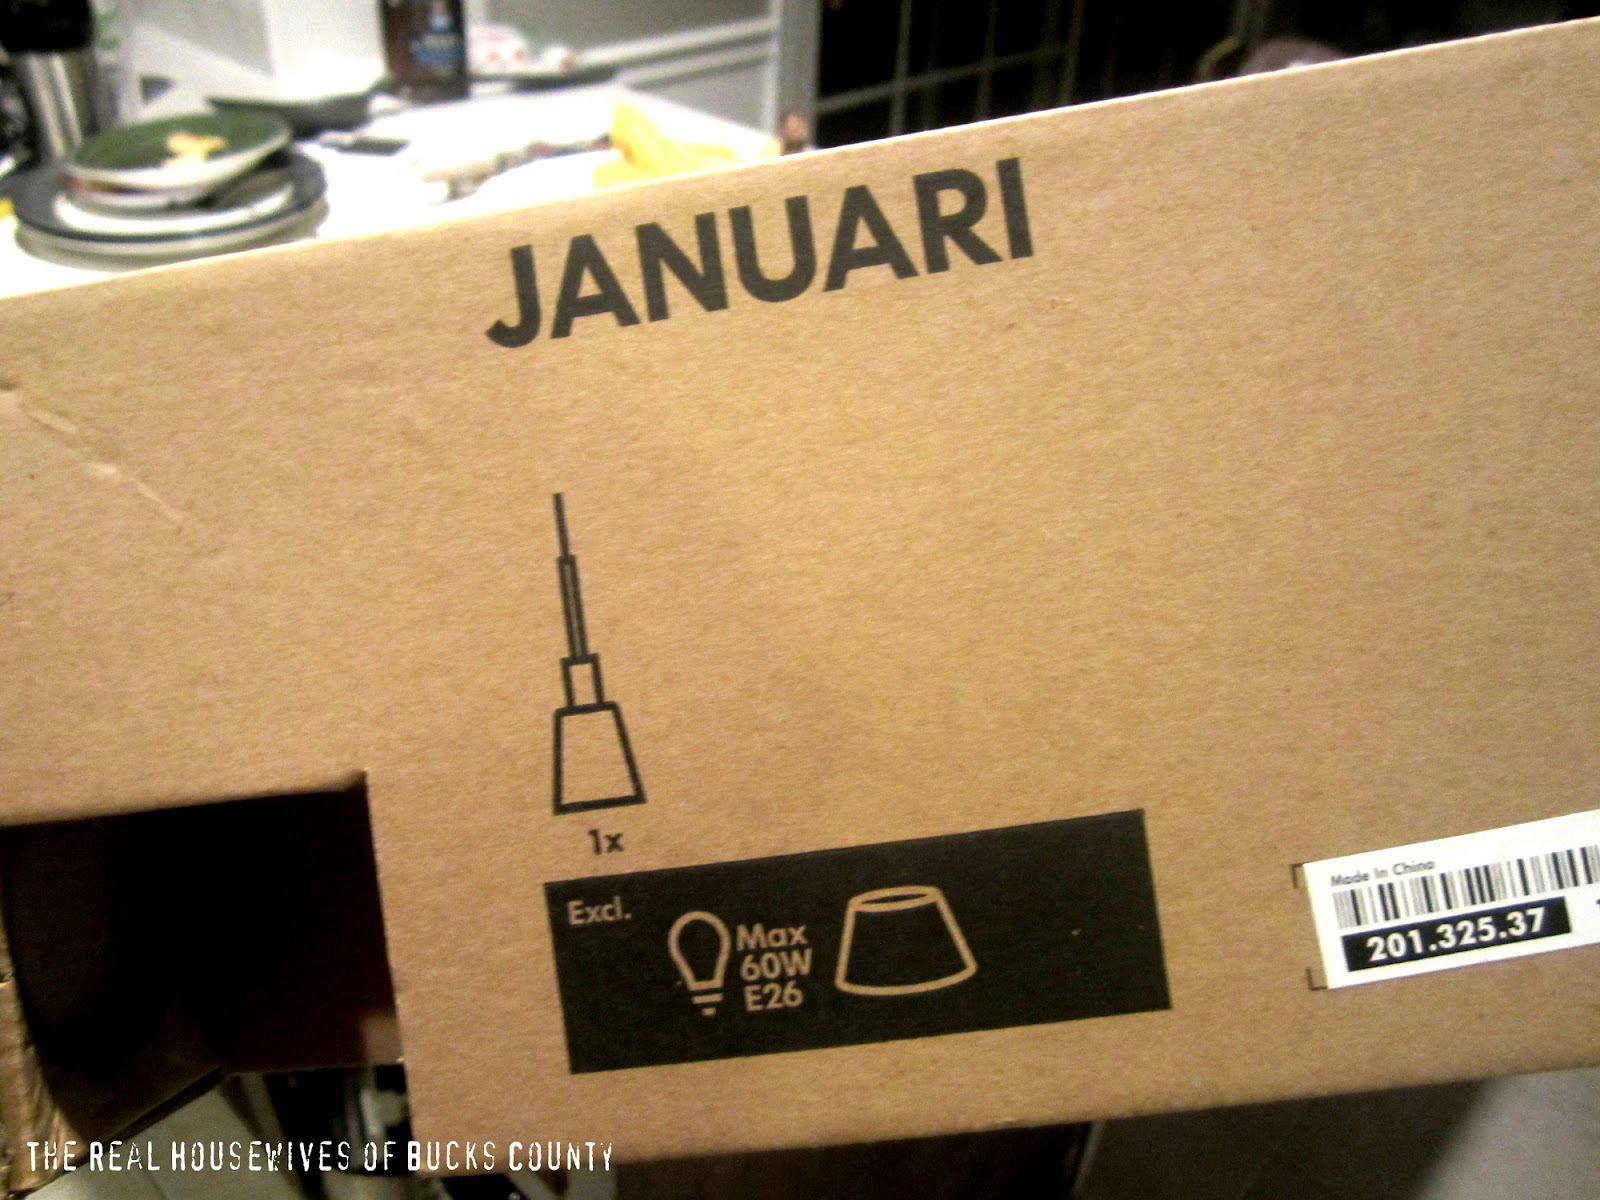
Unfortunately, this light kit is intended to be plugged into the wall, but we knew that for only $10 we could make it work.

We consulted with my father-in-law who is an electrician and he told us that as long as the light kit was the same voltage as the existing wiring, we should be fine. The typical voltage of an outlet is 120W, and so was the light kit, so we were good to go. We measured the length of the wire that we needed and then my hubs snipped the wire. (If you want to be extra sure, check with an electrician before attempting this!)
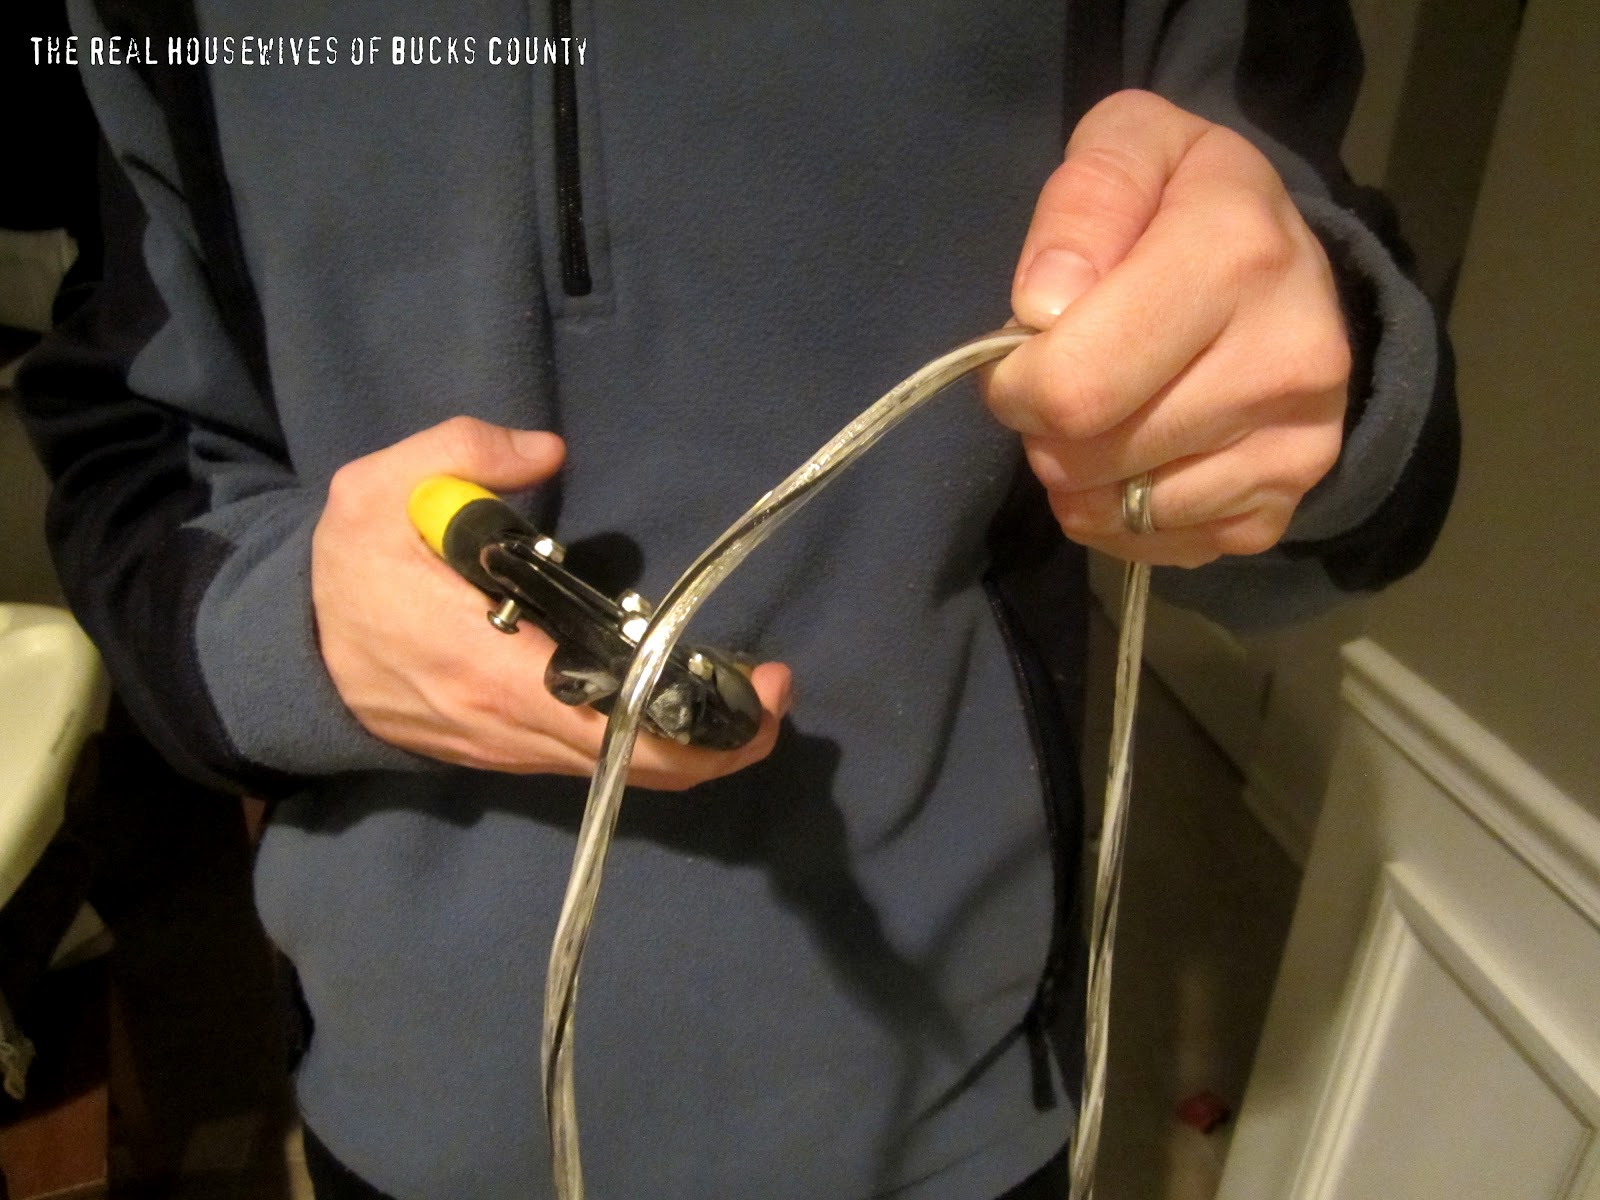
Then, my husband used the nut/screw/thingy (?) from the old light fixture and threaded the wire through, separated the individual wires by color, and attached them to the existing wiring (white wire to white wire, black wire to black wire) with a wire nut.

We hung it just to be sure it worked:
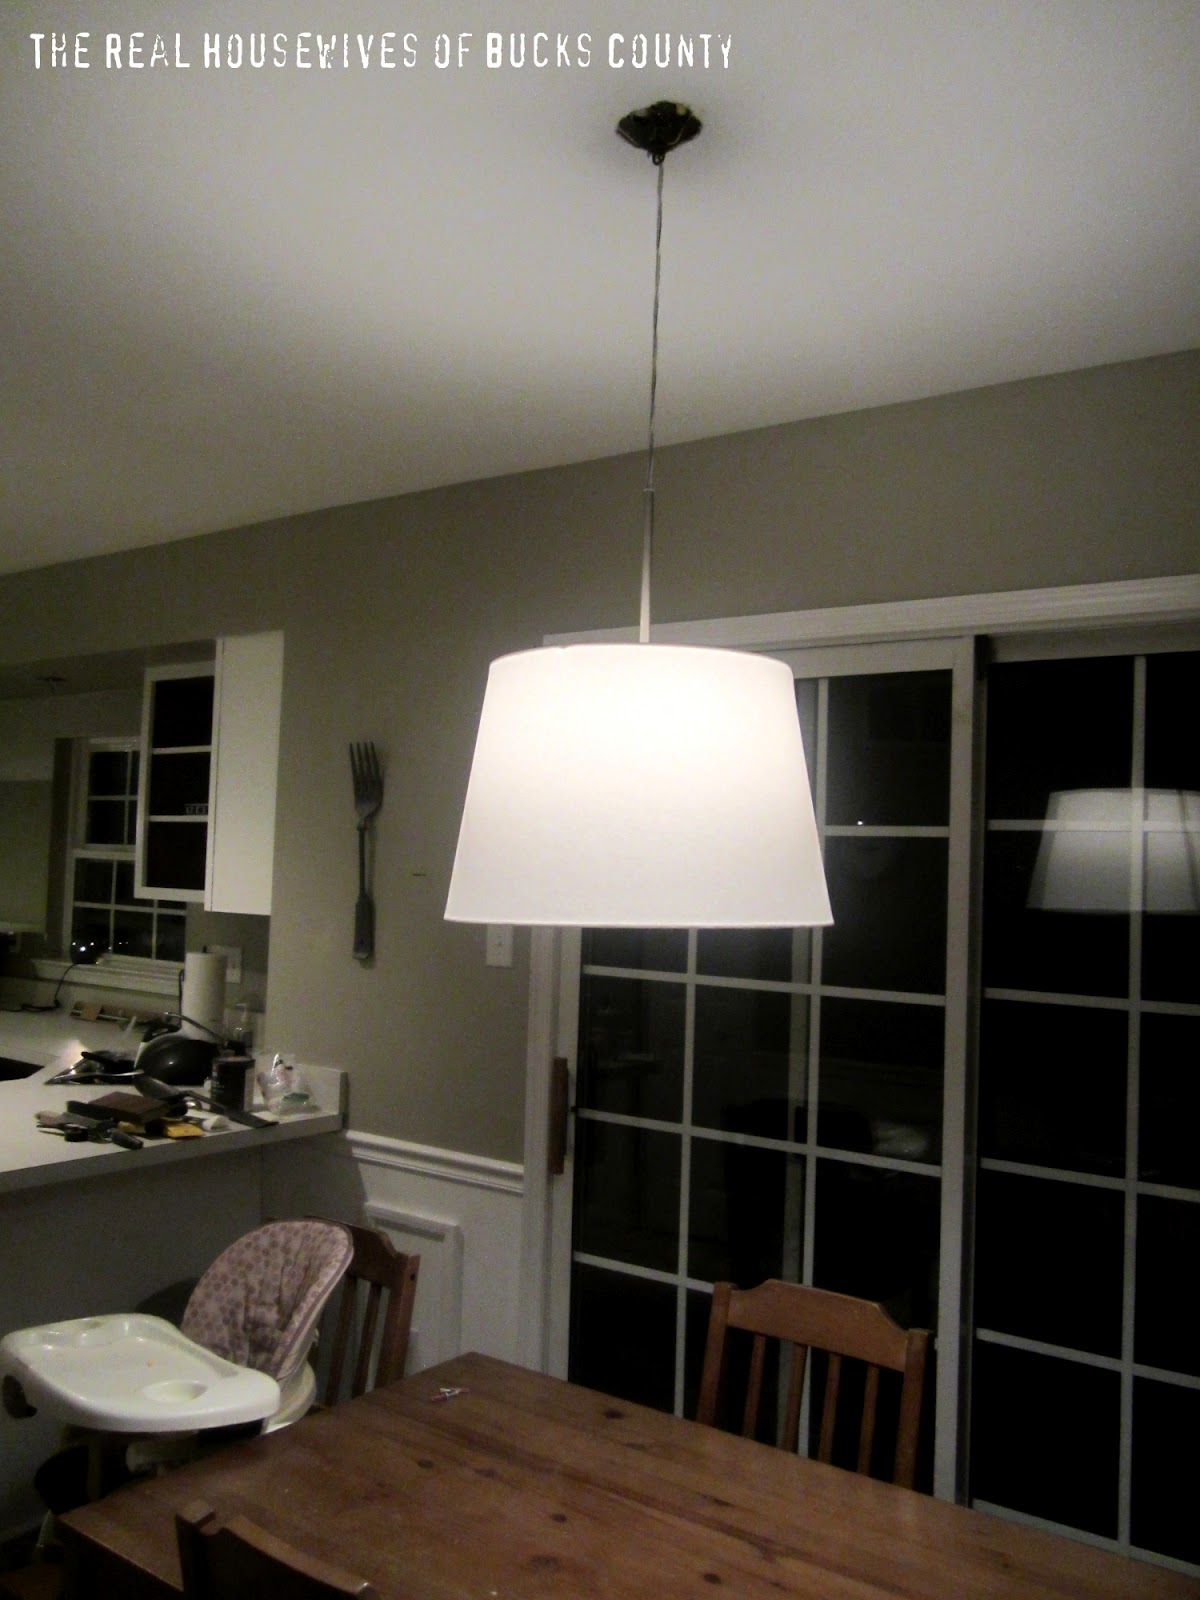
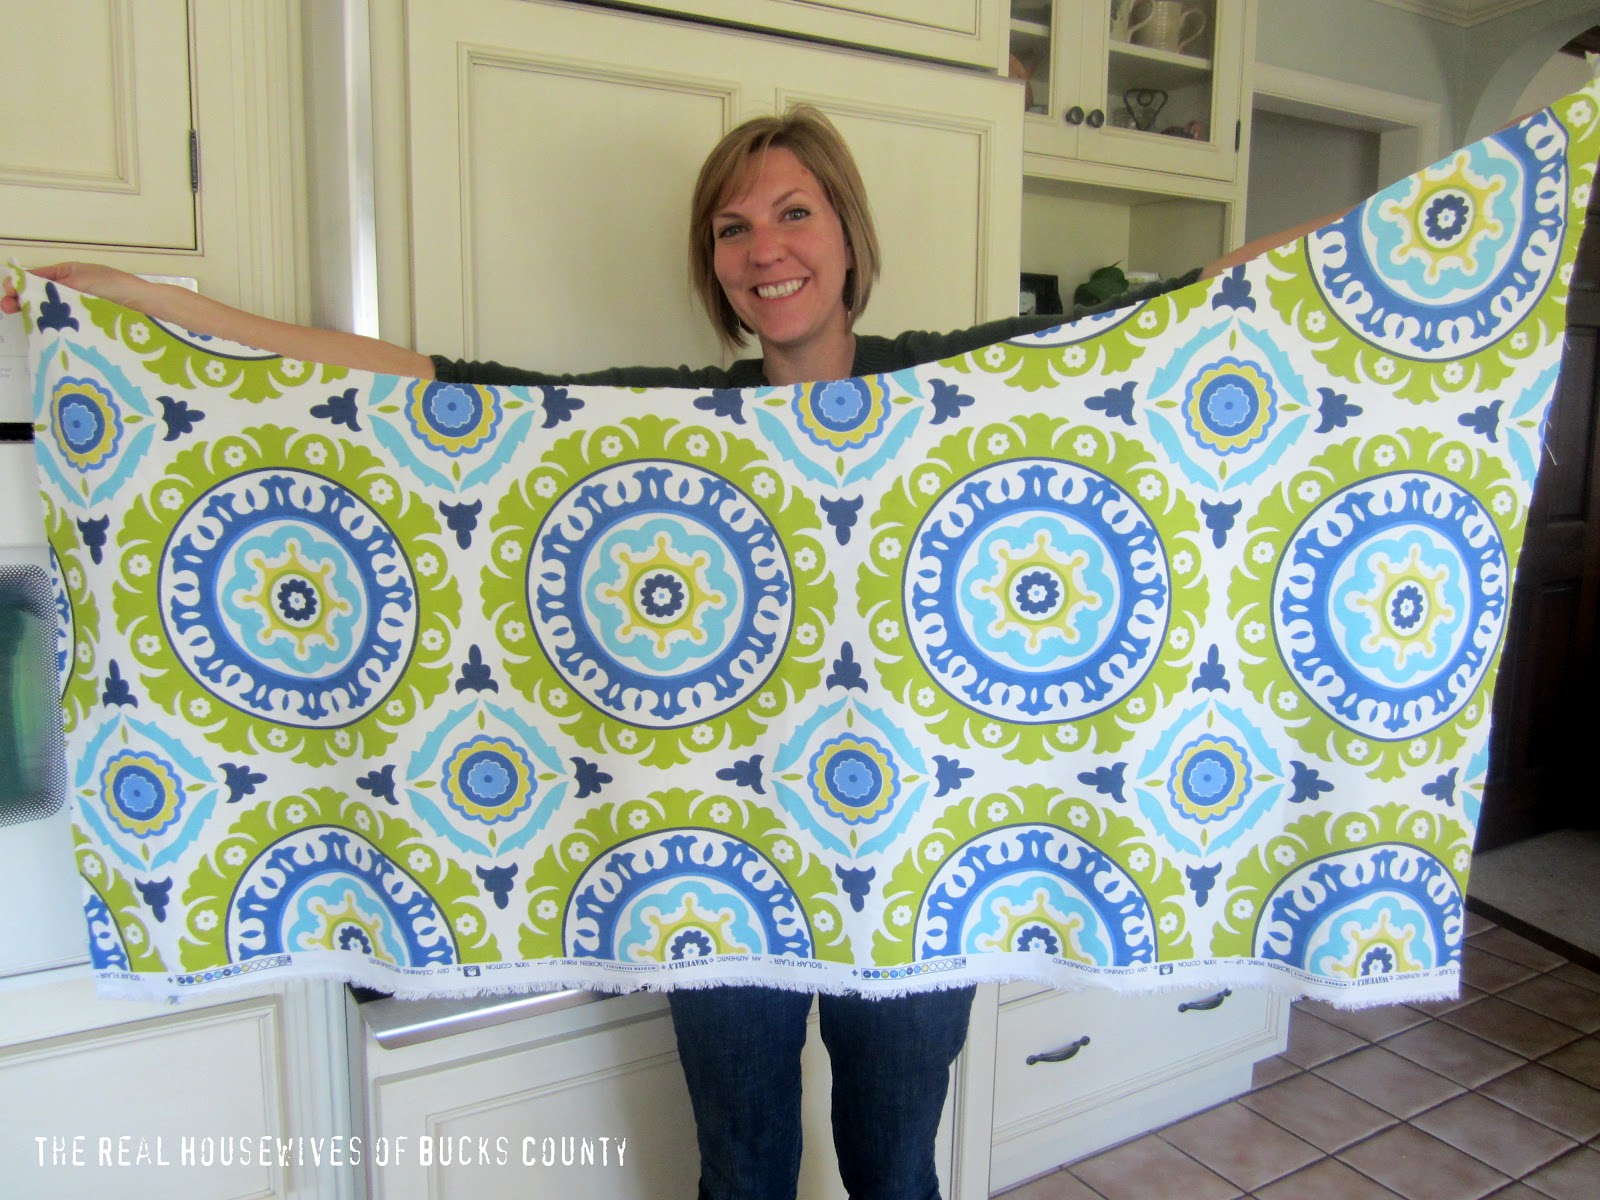
Yay! I lived with it a few days just to see how I liked it, and decided that even though it made our space look soooo much better and a little more modern, it needed something. My plan is to thrift a round pedestal table and paint it, as well as, add a rug underneath it. I wasn’t sure if I would paint the table a fun color, or add color and pattern on the shade and the rug and leave the table white. I decided on covering the shade with fabric, because it’s an easier change than repainting a table several times. I knew I wanted to incorporate aqua or turquoise into the kitchen so Monica and I took a trip to JoAnn’s, and found this super cool fabric that works perfectly!
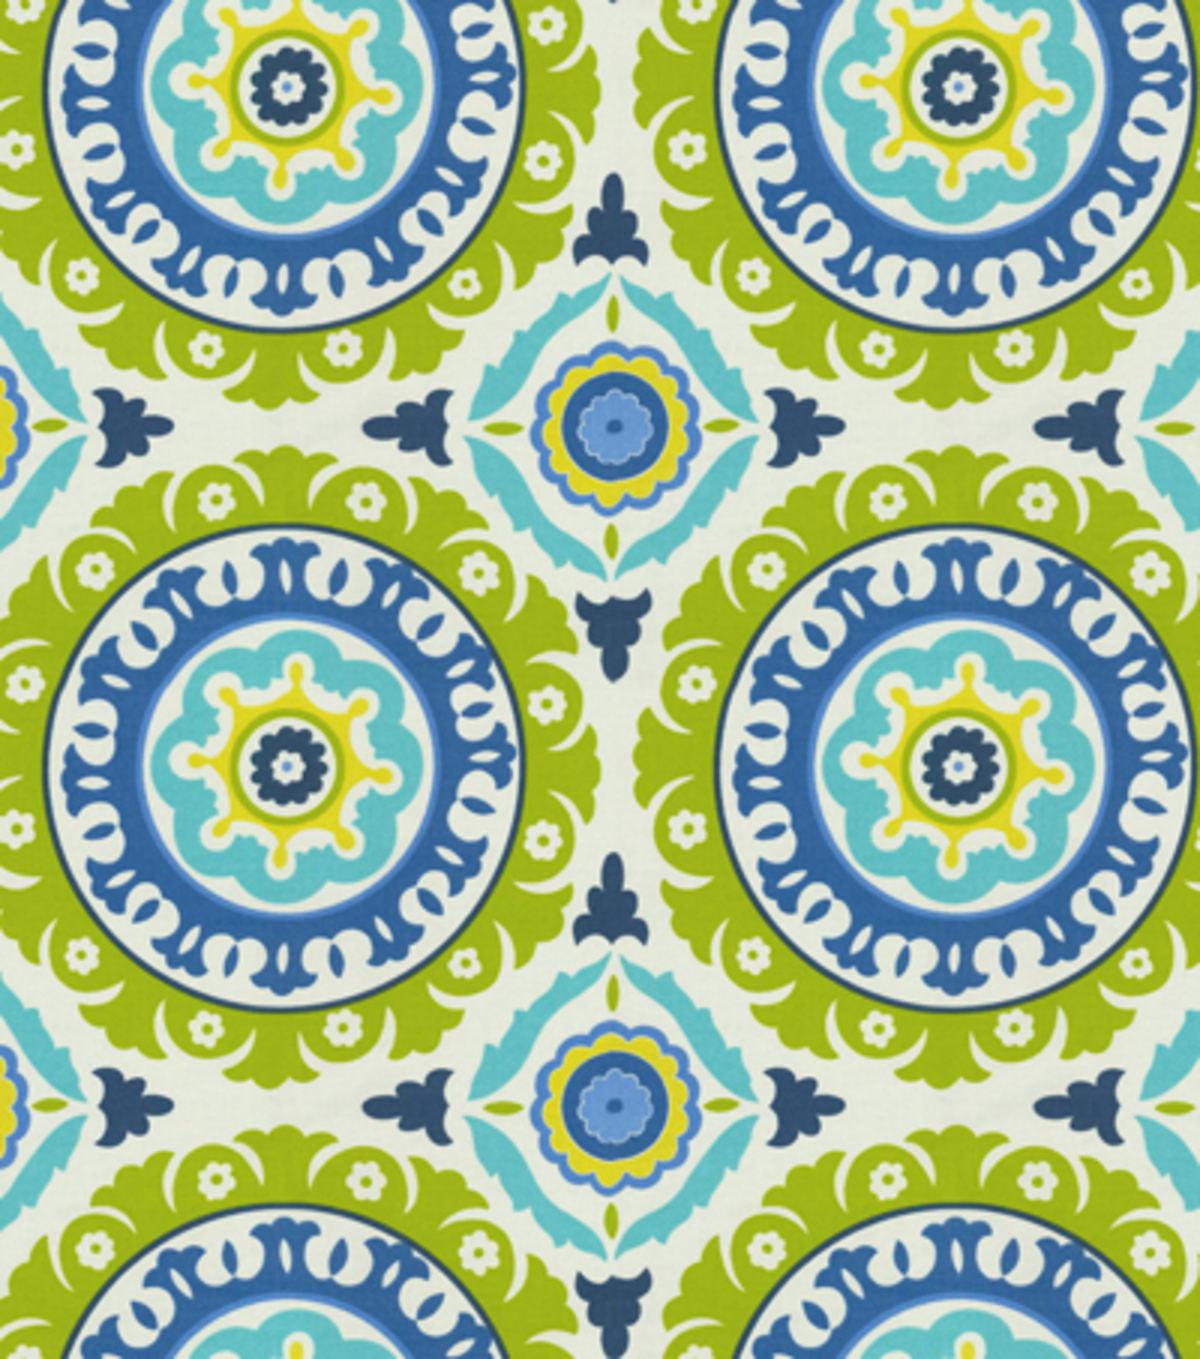
I know, I know, it’s bold, but I’m telling you the kitchen was feeling boring and beige without it. I bought 1 1/2 yards just to be sure I had enough and I did. I took my supplies to my mom’s house because I had a feeling it would be a two-person job because of the size of the shade. I’m glad I did! I couldn’t have done it without her. 🙂 I wanted the medallion to be centered on the front of the shade, so we measured the width of one,
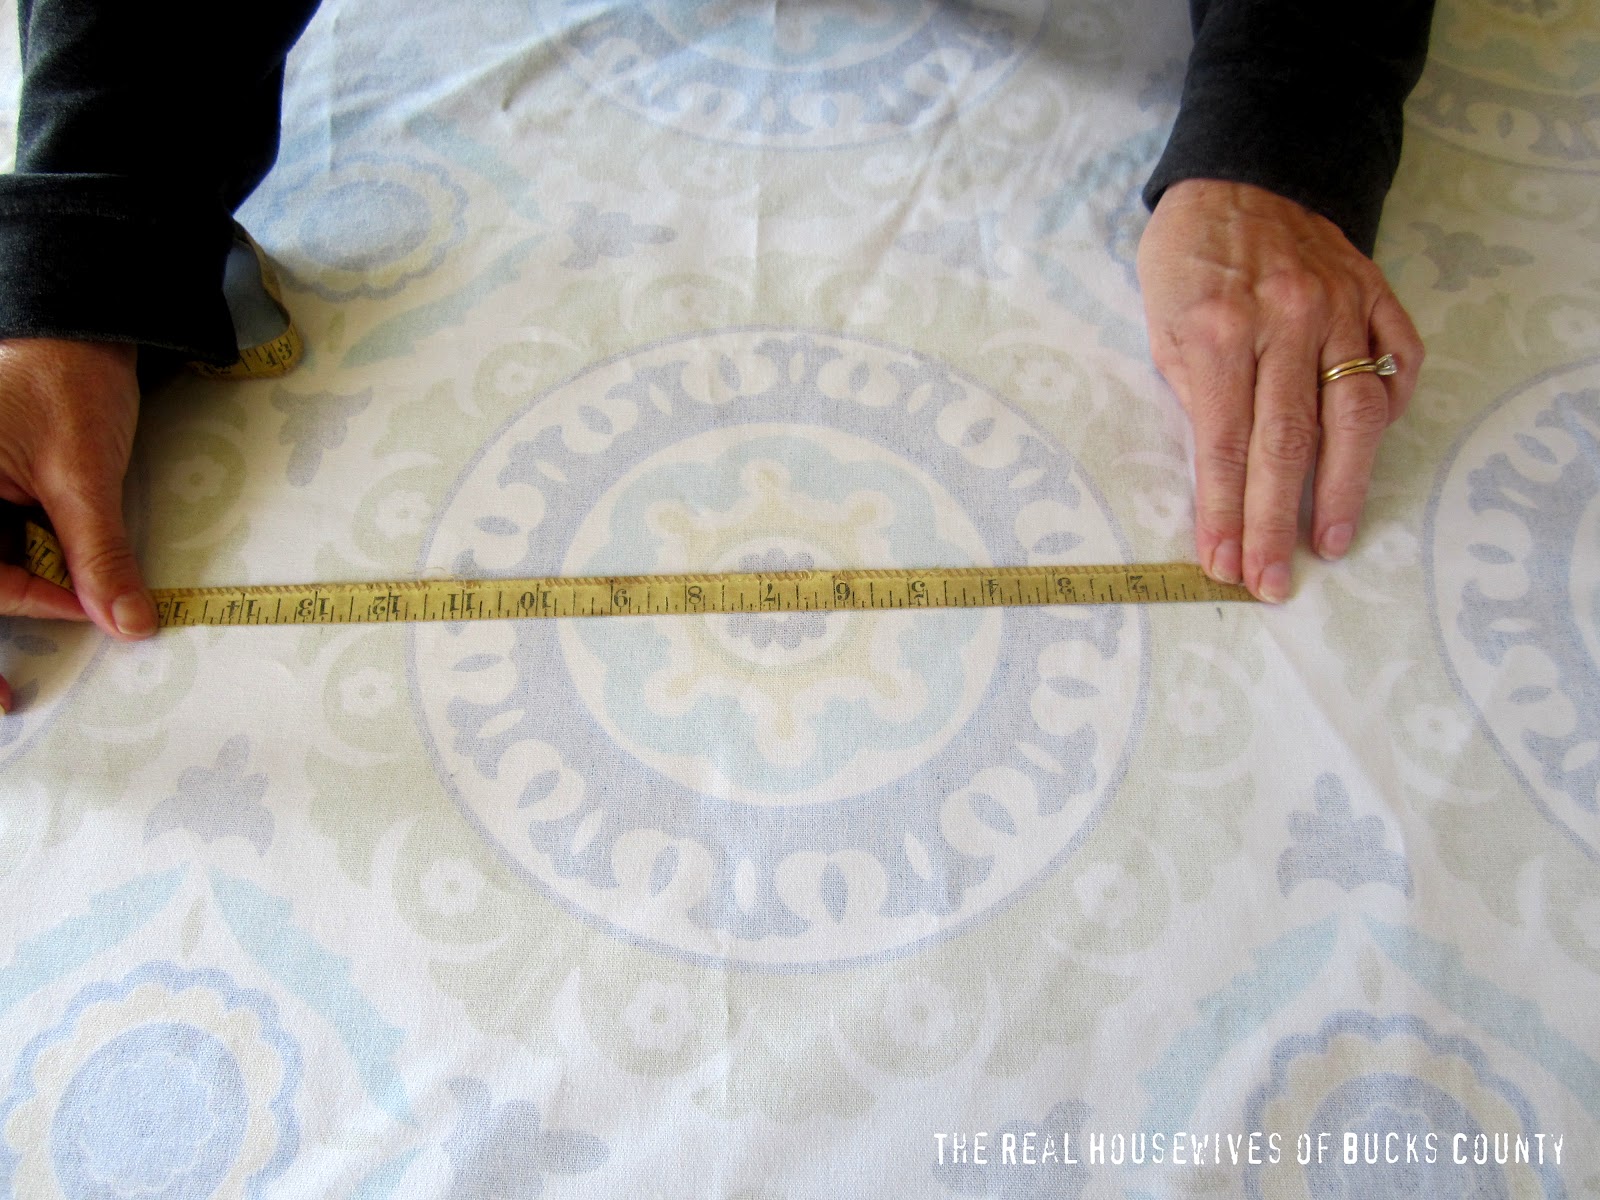
and then measured the height of the shade to figure out the placement. In this case both were about 12 inches.

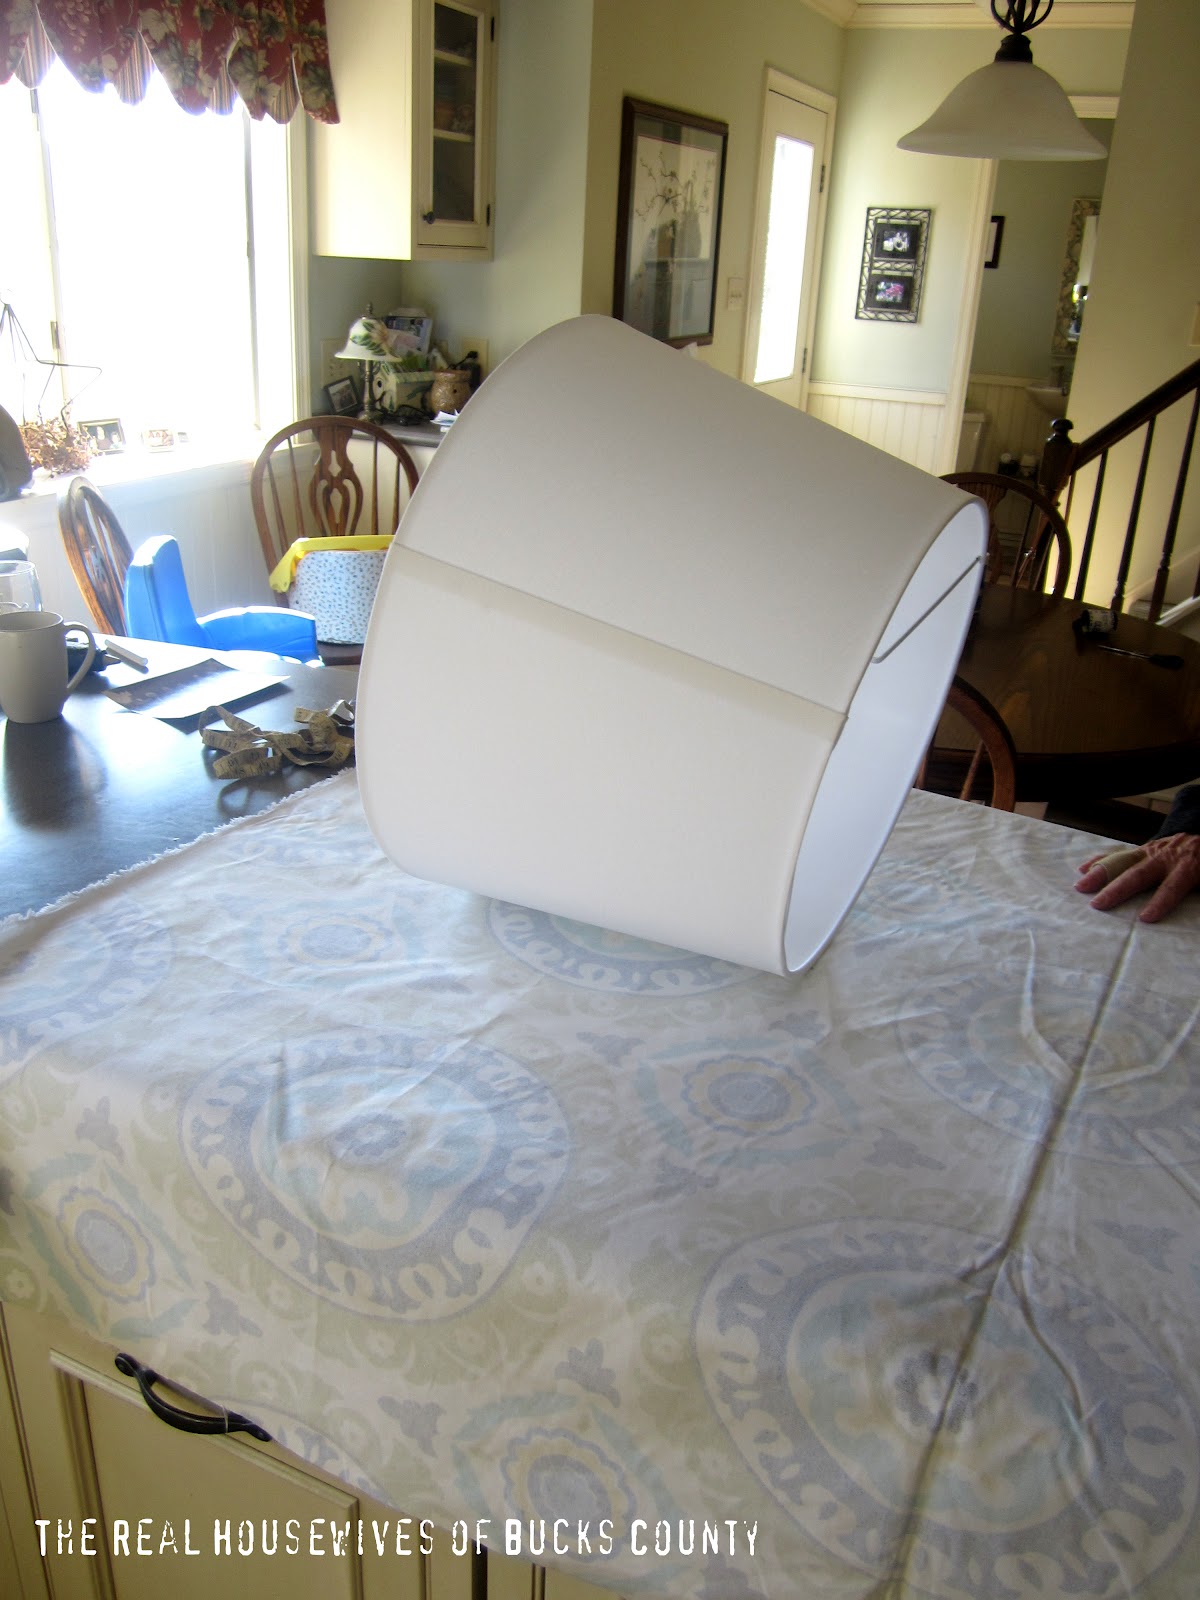
Janell at Isabella & Max Rooms has a great, in-depth tutorial on how to cover a tapered shade, and I pretty much followed that which made this easier. Basically, you want to place your shade on the center of your fabric (I placed mine on the medallion on the front of the shade across from the seam) and roll it out to the sides of the fabric.
Cut along the edge as you’re rolling it, leaving about 2 inches of extra fabric.
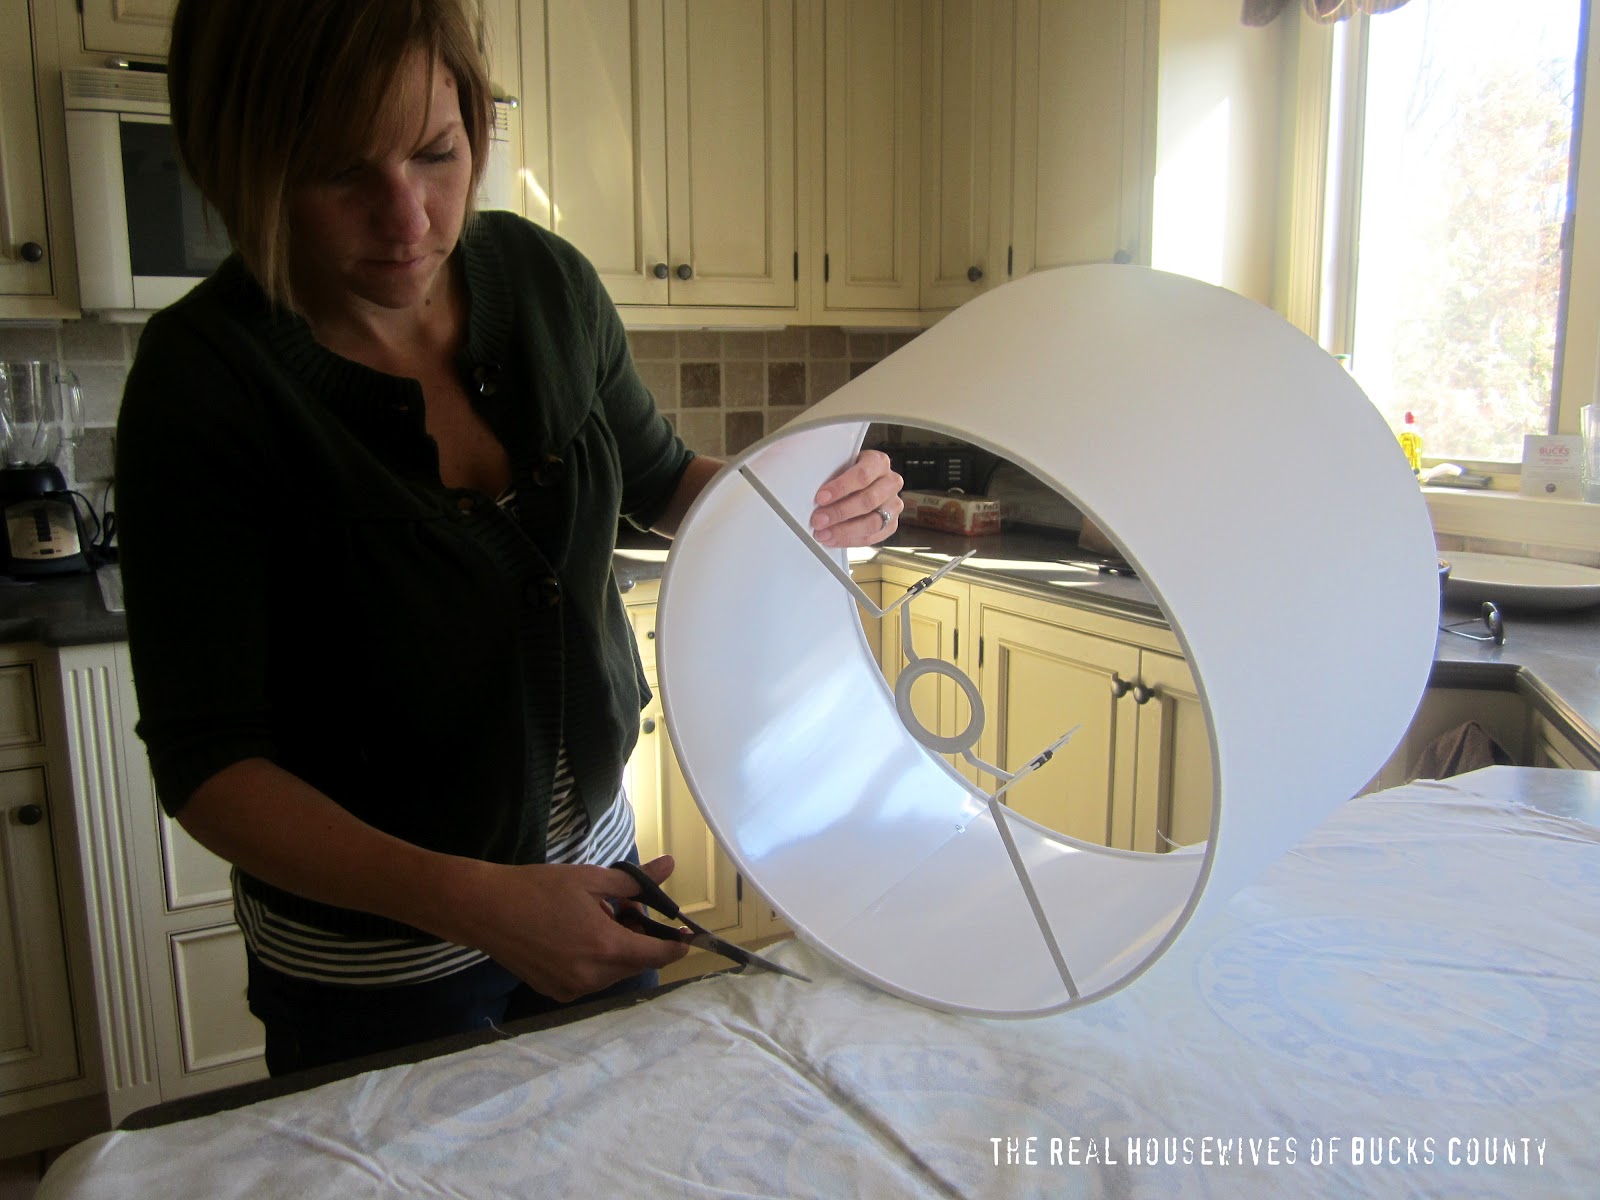
You’ll end up with a rounded edge that goes up on the ends. This will allow the fabric to lay flat, and the medallion to rest squarely on the front of the shade.
(Please ignore my abnormally skinny legs. Can you say no muscle tone? It’s a genetic thing.)
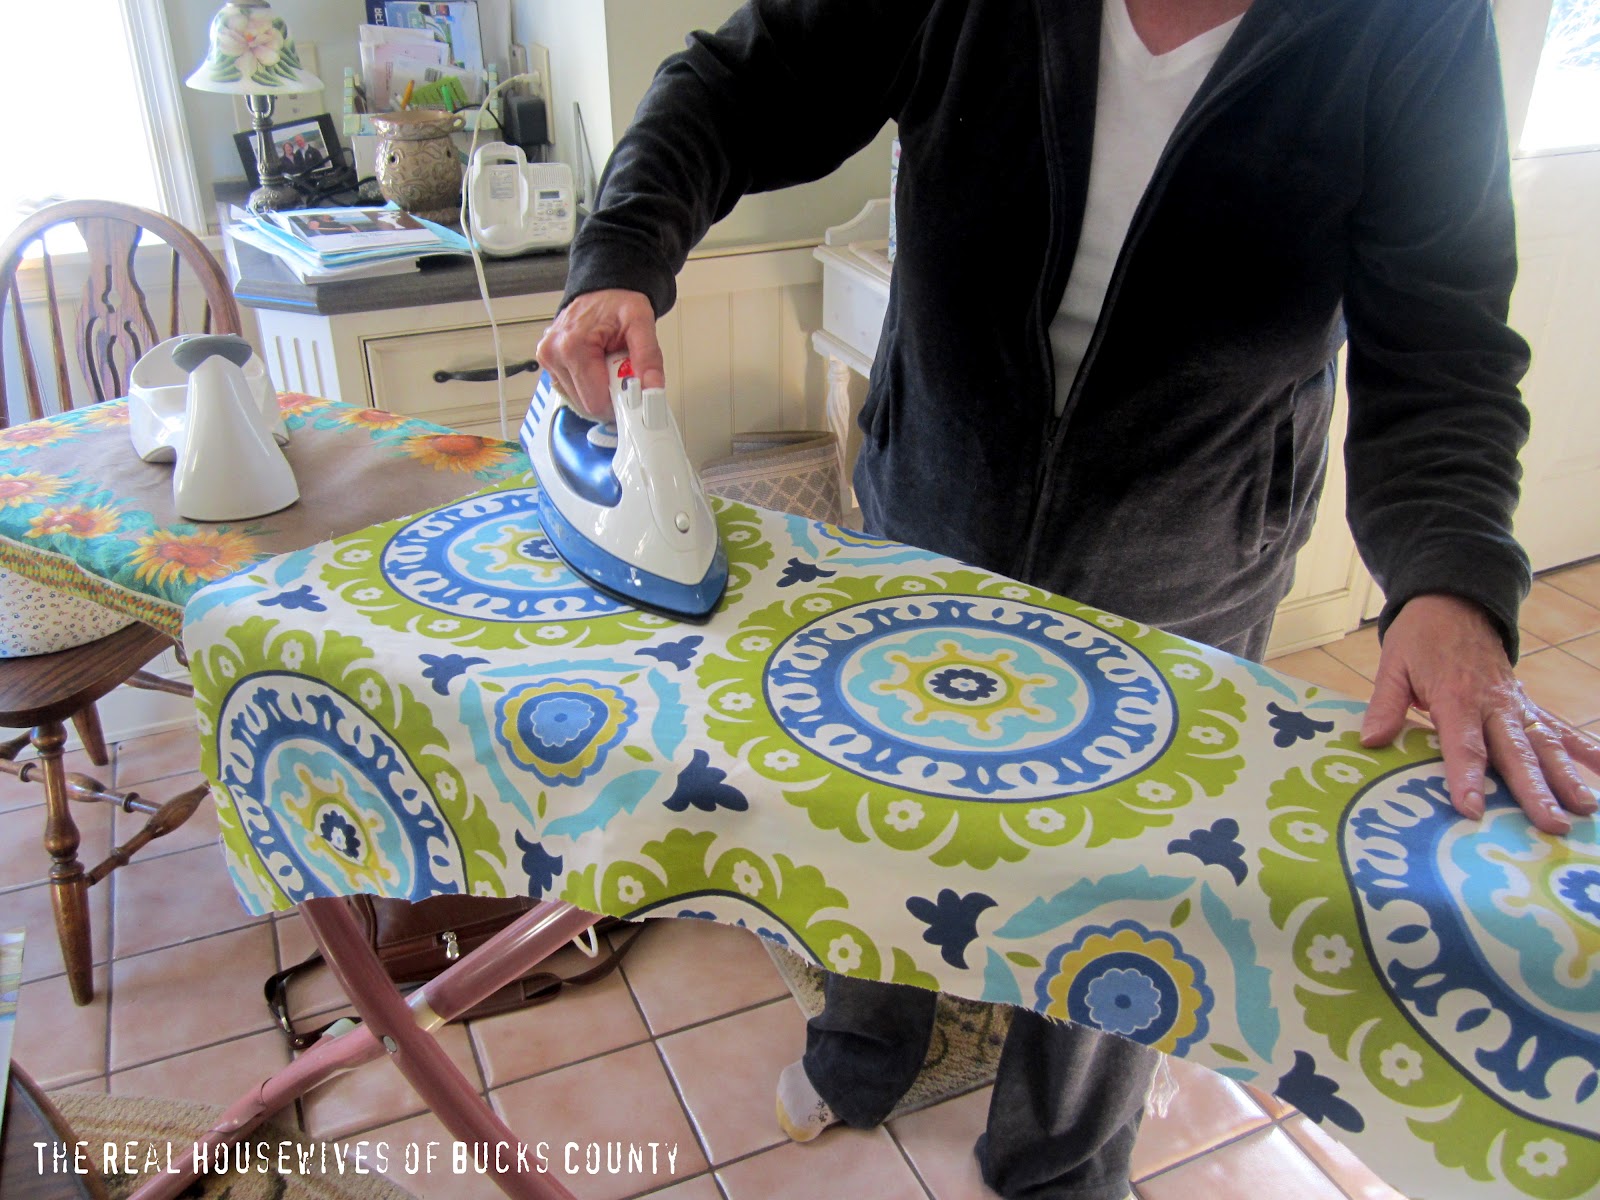
You’ll want to iron the fabric at this point to be sure that it will lay completely flat.(Thanks for doing the dirty work, Mom!)
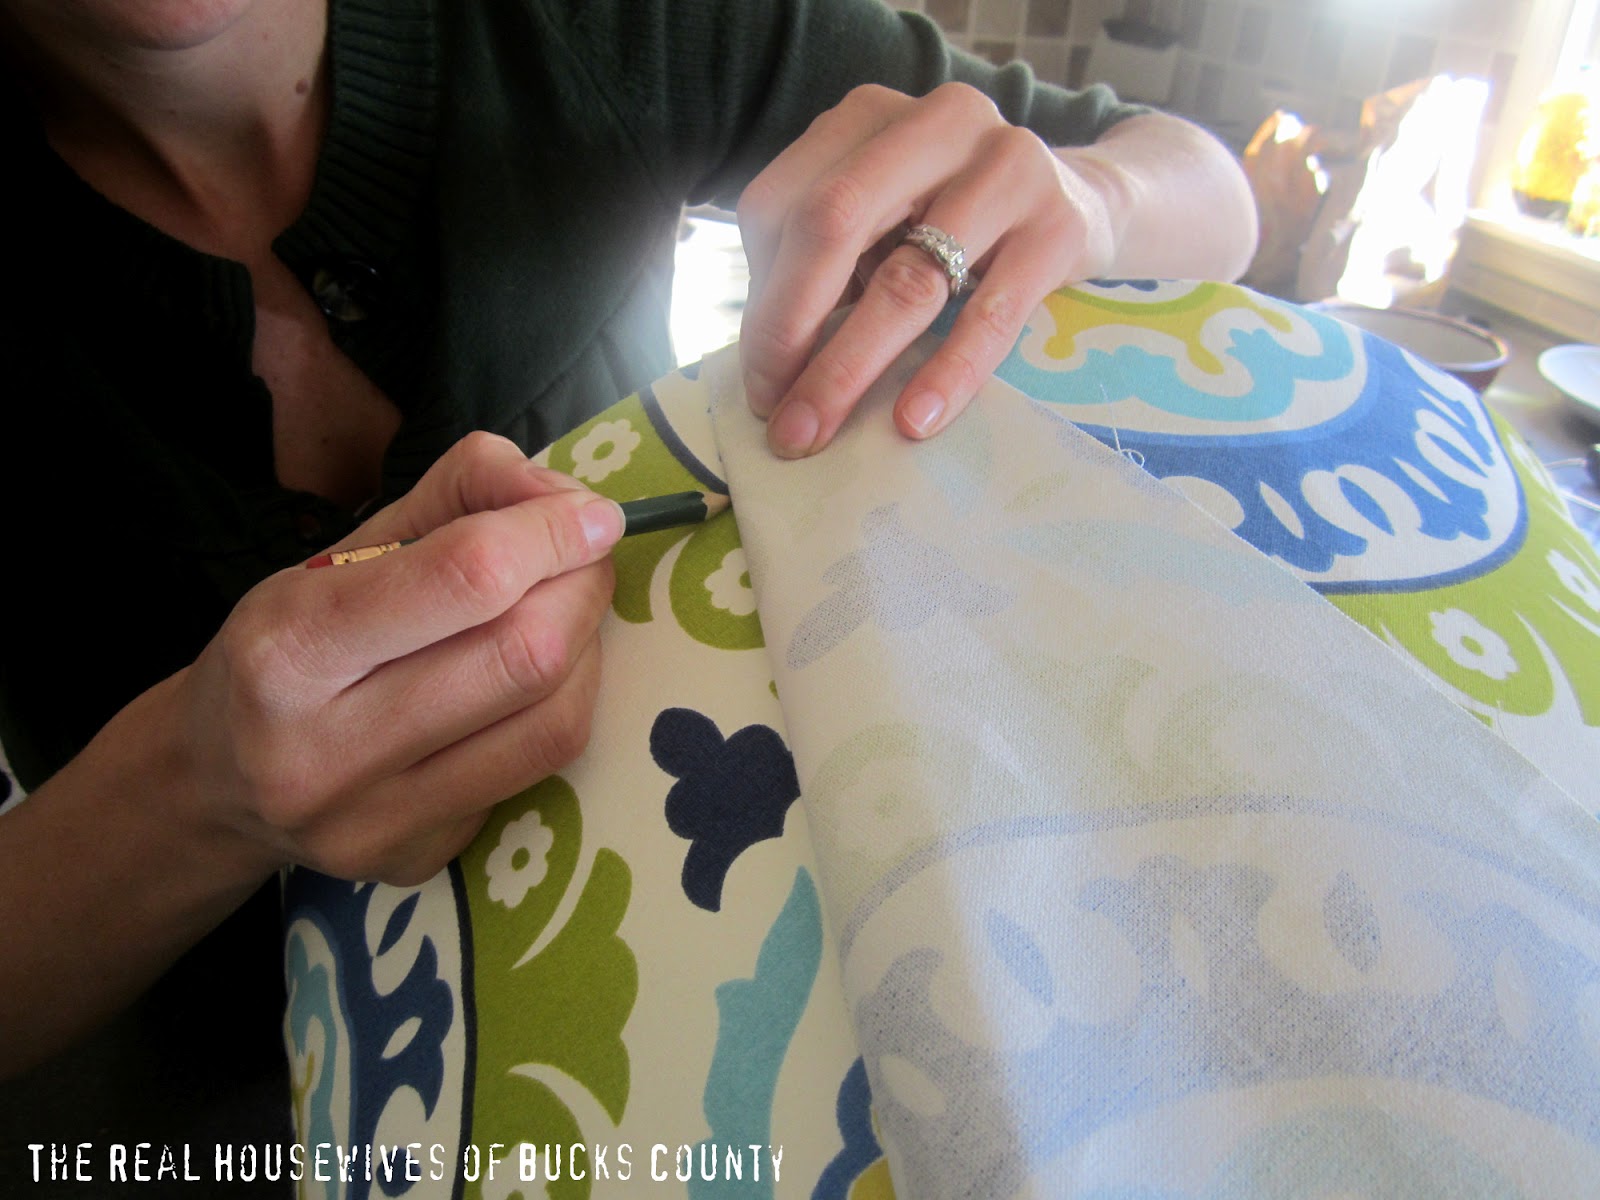
Place the fabric on the shade exactly as you want it (for me, the medallion on the front) and pull both sides around to the seam. Cut one side about 1/2 inch past the seam and tape in place. Then pull the other side snug so there are no gaps or bubbles and tape in place. (I marked my line with a pencil first.)
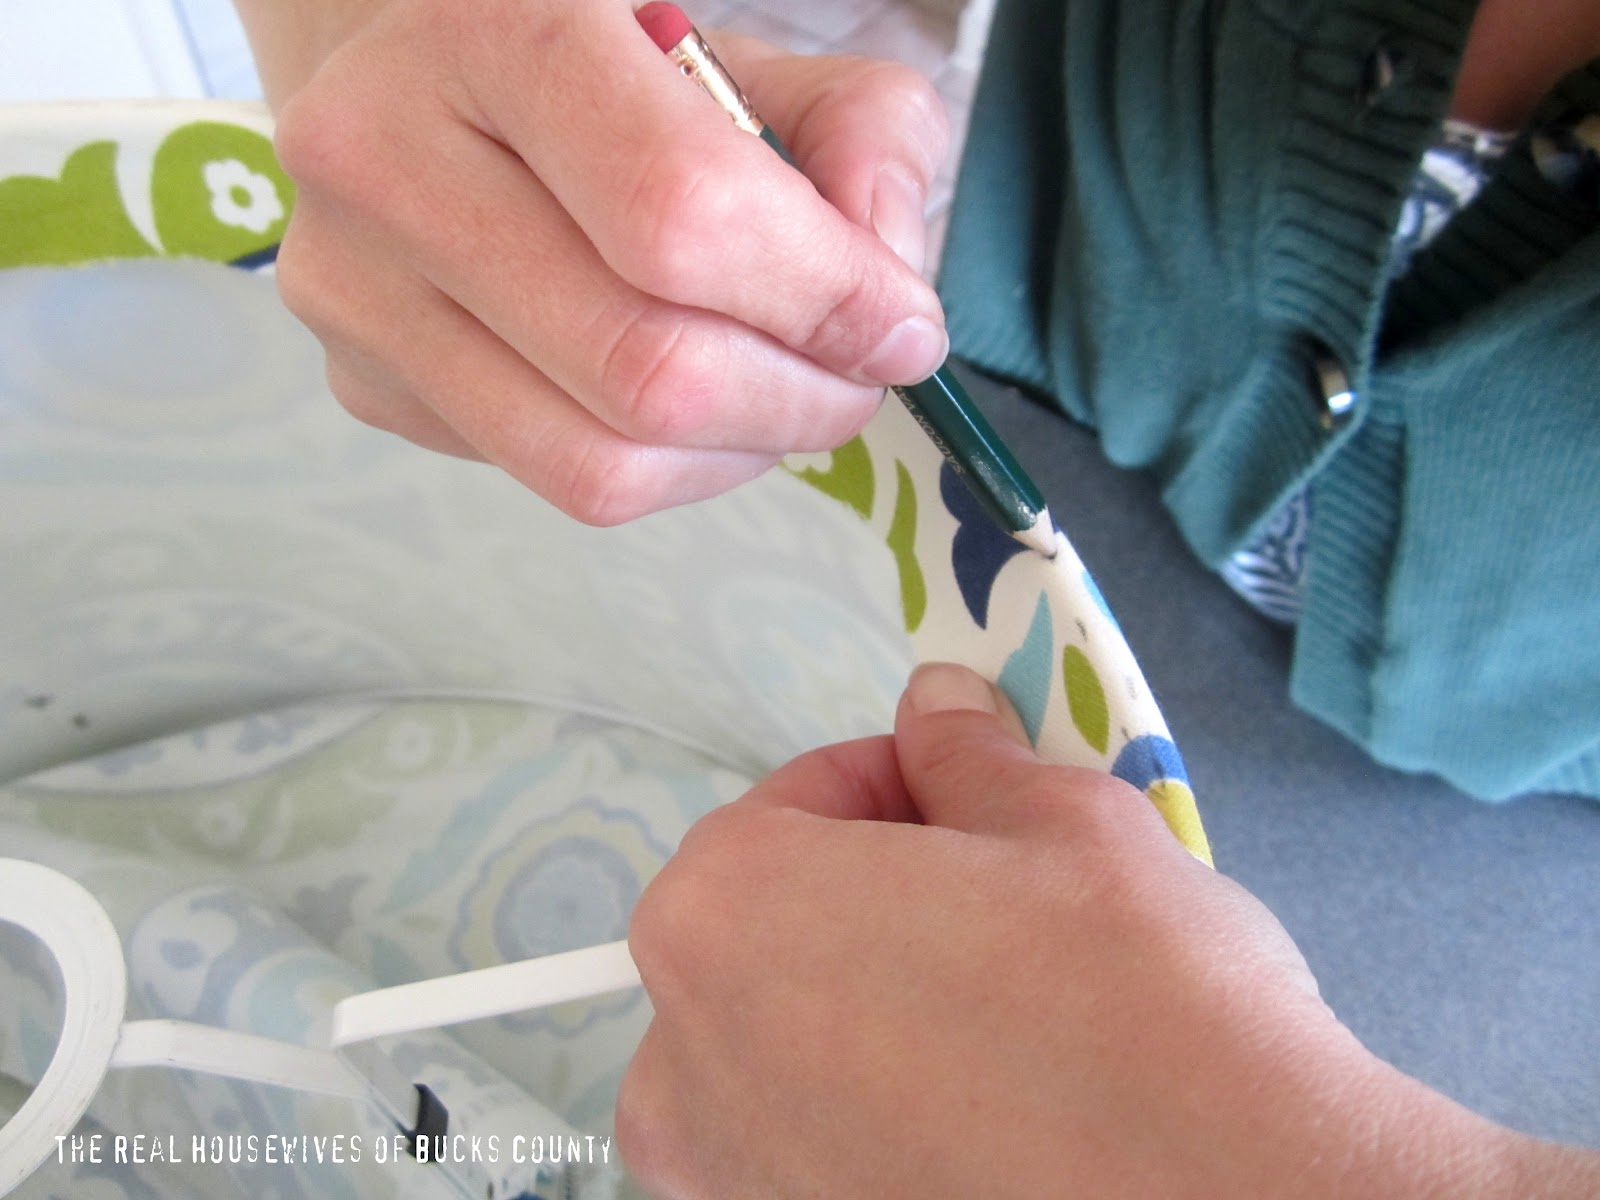
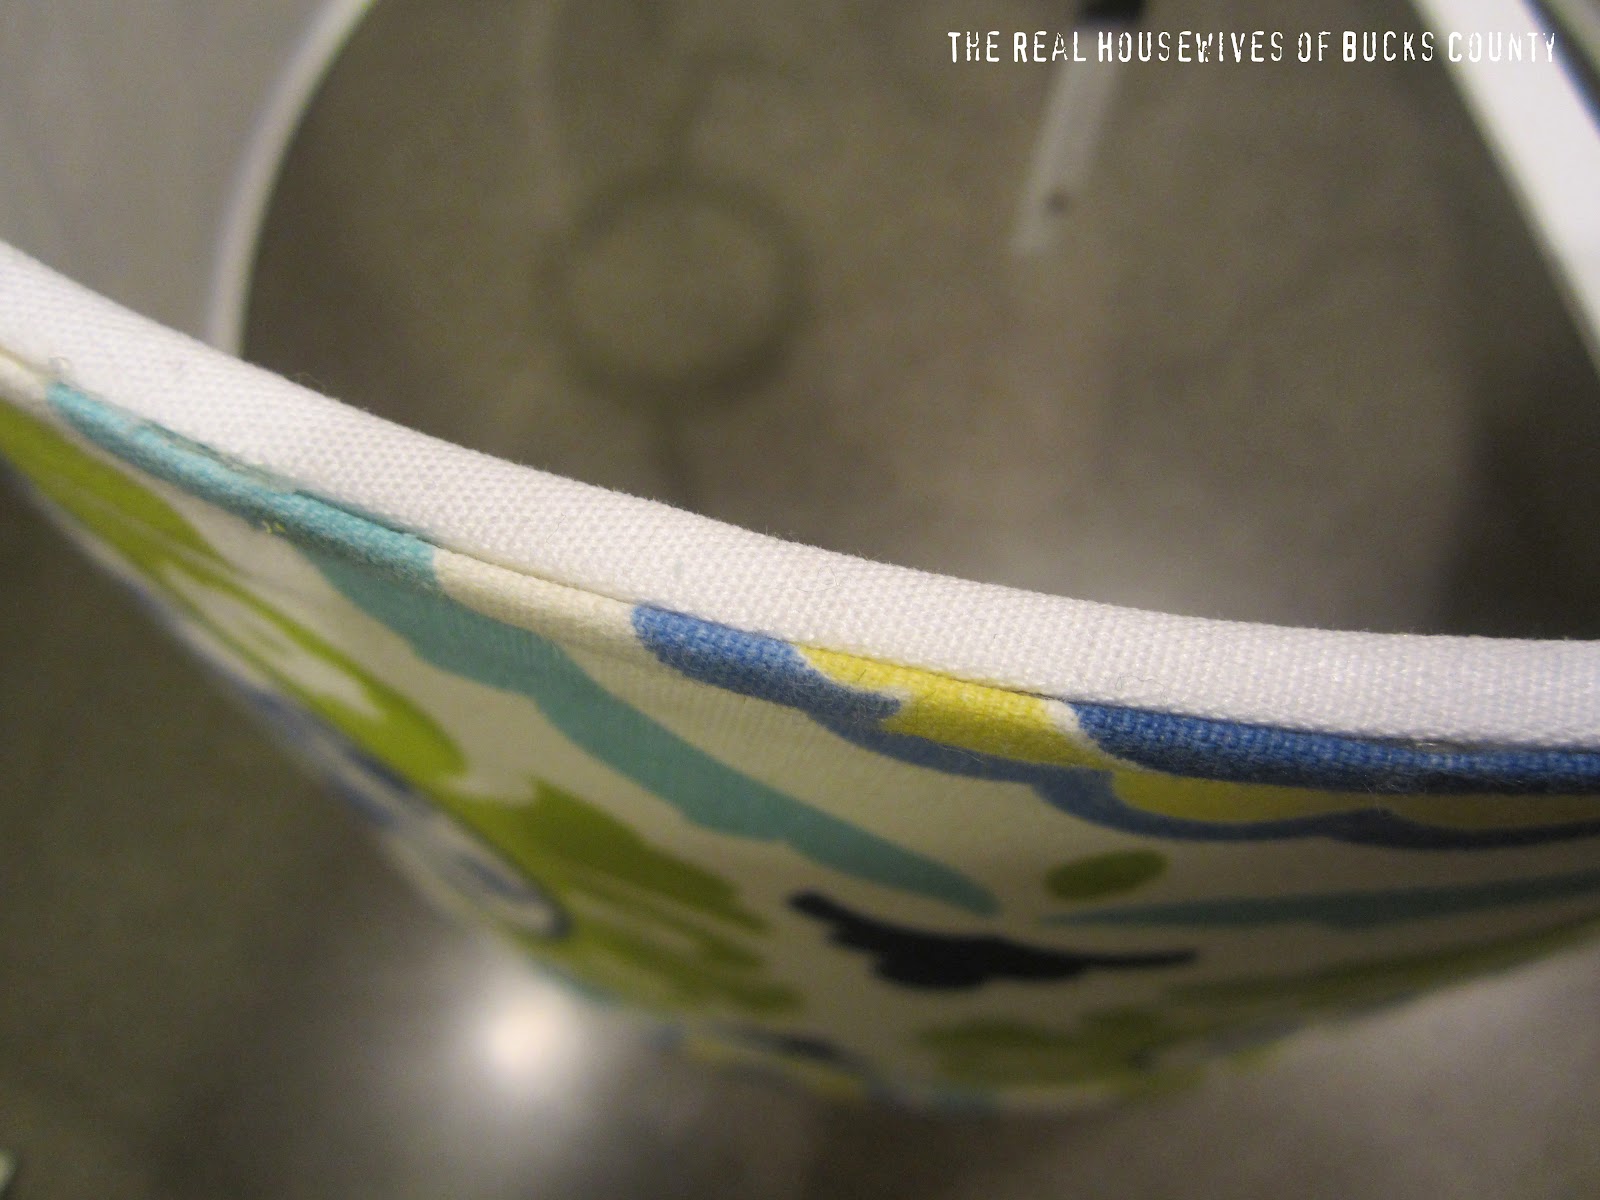
Because I didn’t want to add any trim (ie:ribbon) along the top and bottom, I needed to make an exact cut along the top and bottom of the shade. So, I fold the extra fabric over the top of the shade, pull tight, and make small marks with a pencil along the edge of the shade. This will be the line you will cut to get an even edge.
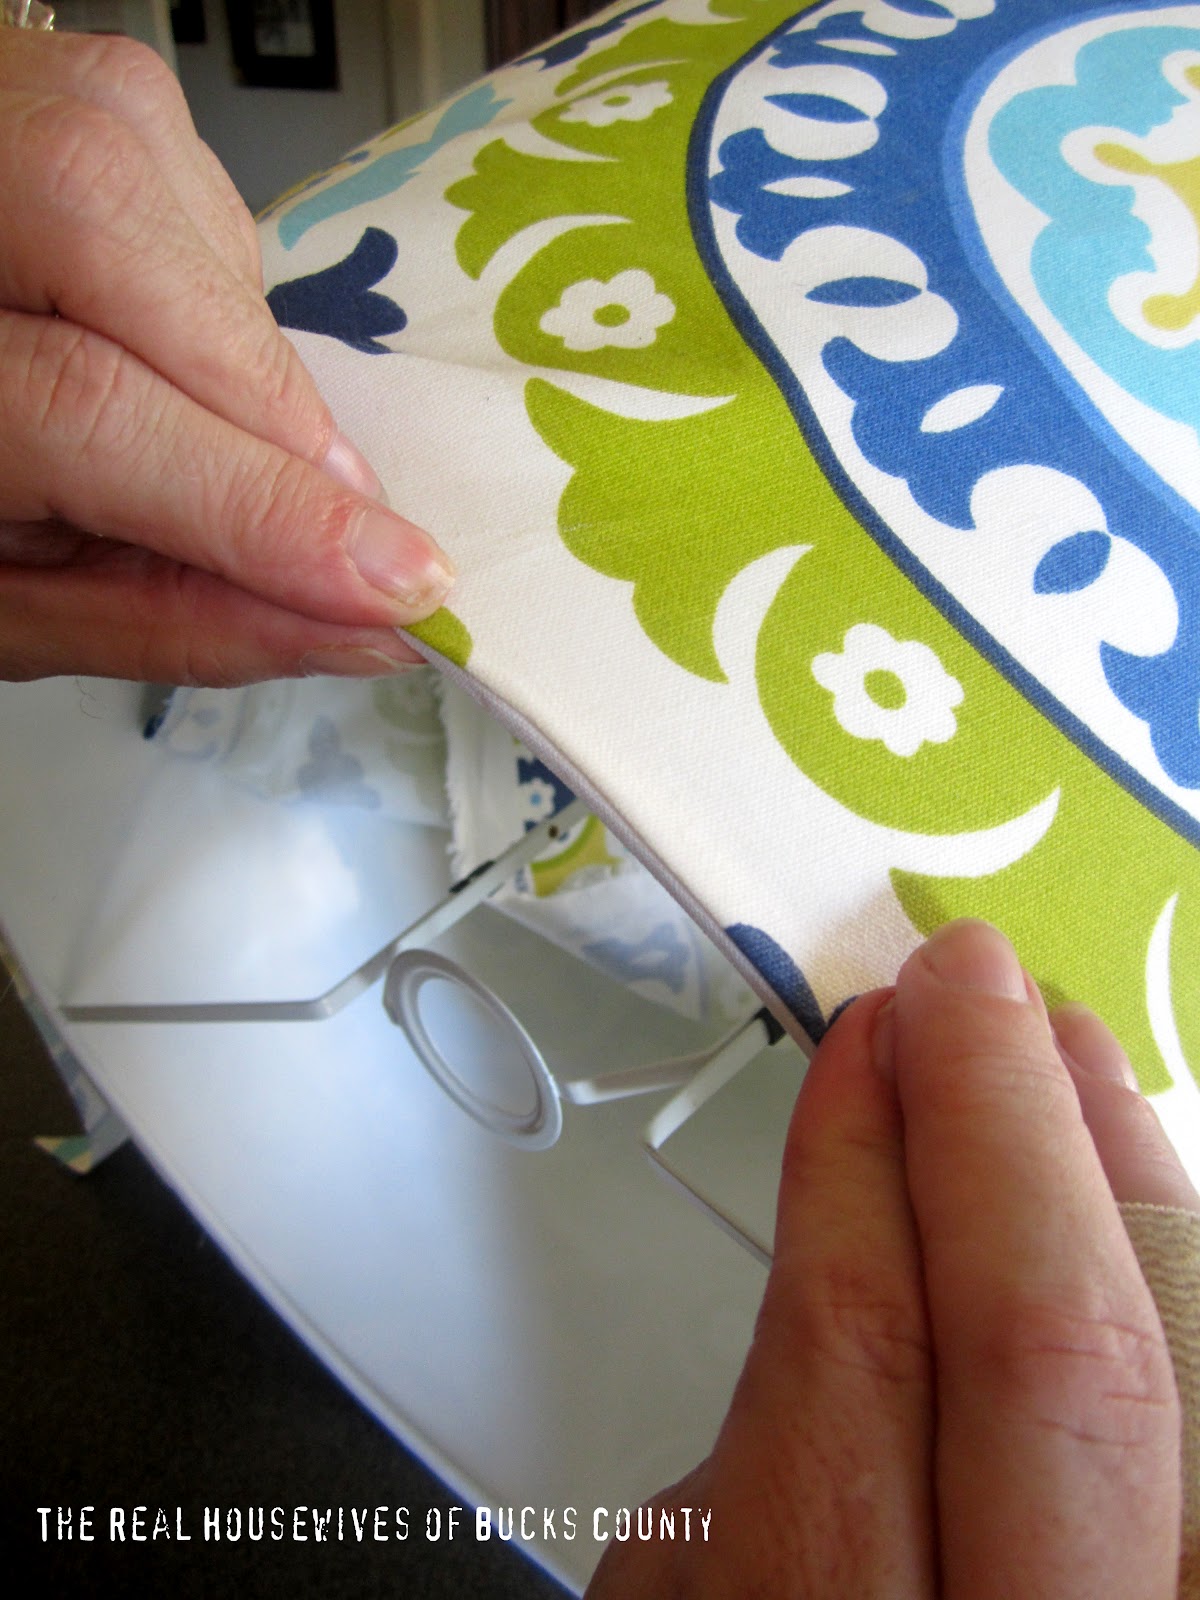
Once you’ve made your cut, fold down about a 1/4 to a 1/2 inch all the way around the top of the shade. Tuck it under and make sure it lines up evenly with the edge of the shade. Hot glue a thin line along the edge (Janell uses fabric glue, in case you were wondering!) and press the folded fabric down to create a finished edge. I suggest doing this in small sections at a time. I didn’t want to see any hot glue, so I followed each section with a damp paper towel to get any hot glue that escaped the fold.

Create the seam on the back by cutting the fabric on the non-taped side about 2 inches longer than the seam, fold the fabric over and run a line of glue down the seam. Press to seal. (Sorry no pics of this step!) Finish the bottom edge in the same way as the top of the shade and you’re done!
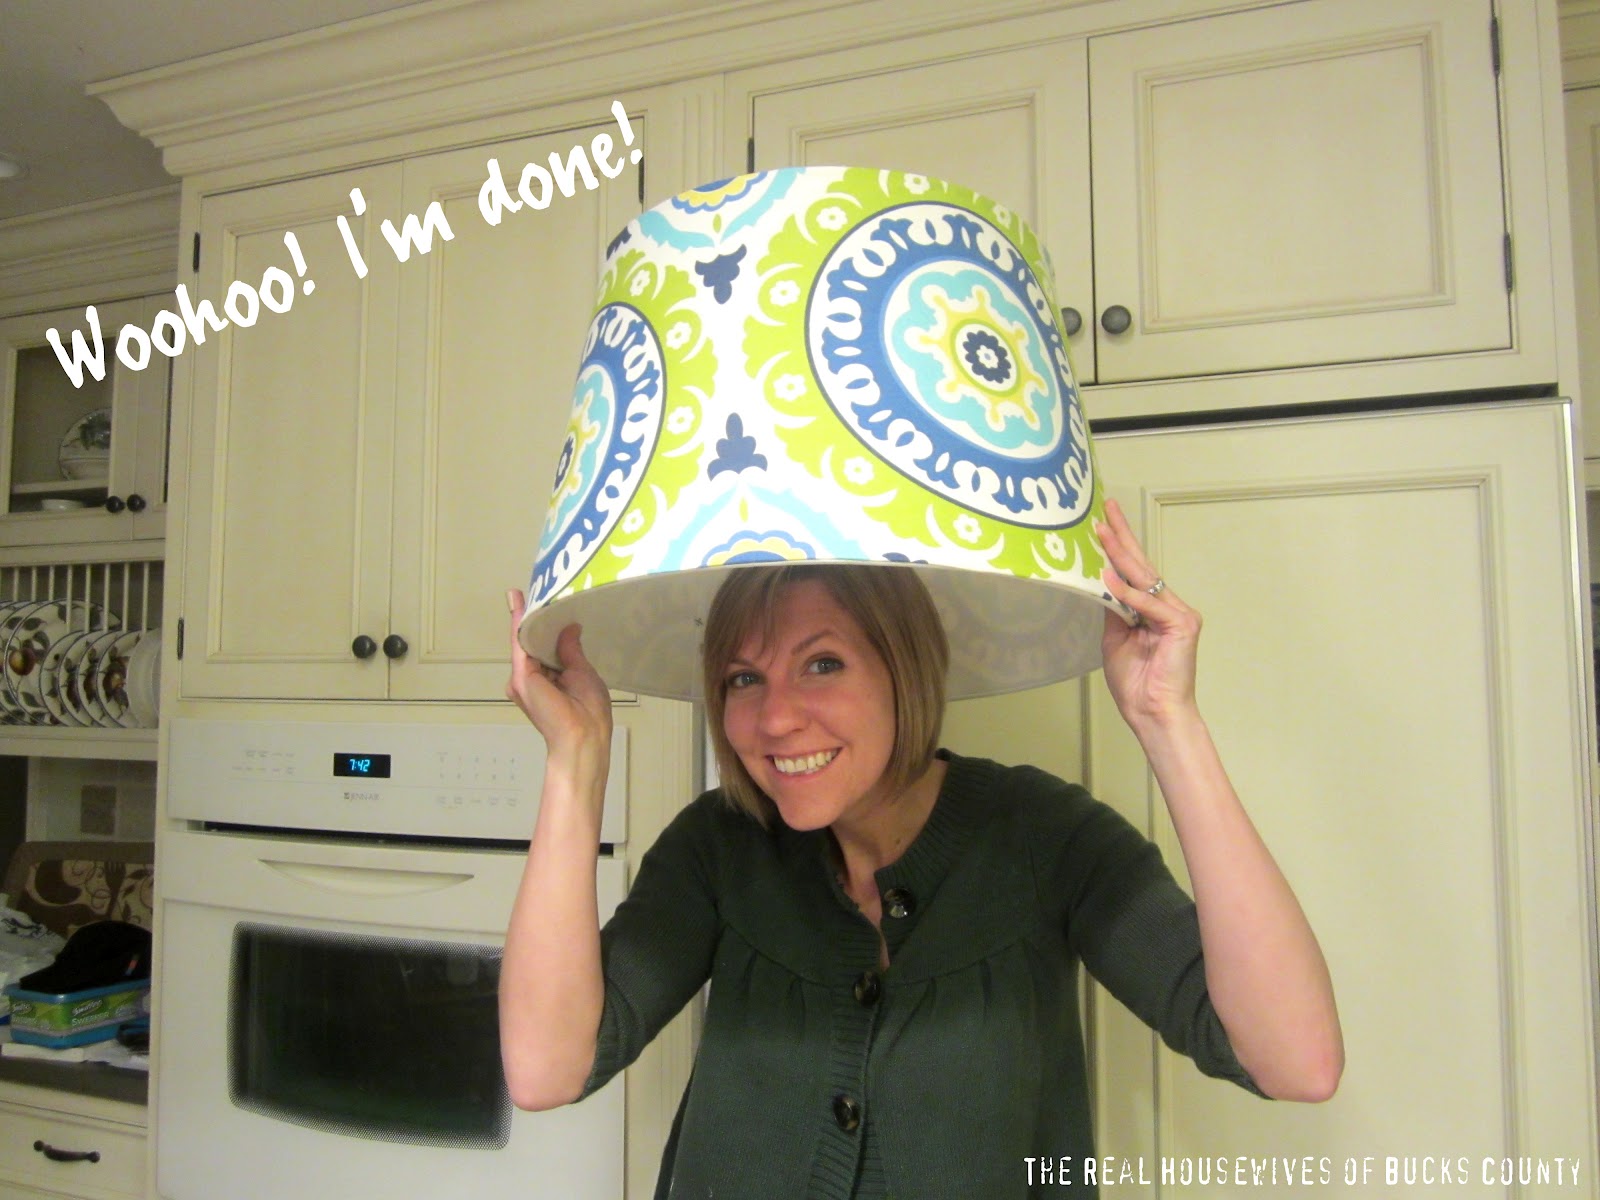
What?! You wouldn’t celebrate by wearing the shade on your head? Shame on you! Covering the lamp shade took about 2 hours to do, so it was a bit time-consuming and a little tricky. Having four hands was definitely a huge help! Admittedly, there are some very minor imperfections in my shade, but I figure that it’s pretty darn good for our first try! 🙂 And now for some more swoon-worthy shots:
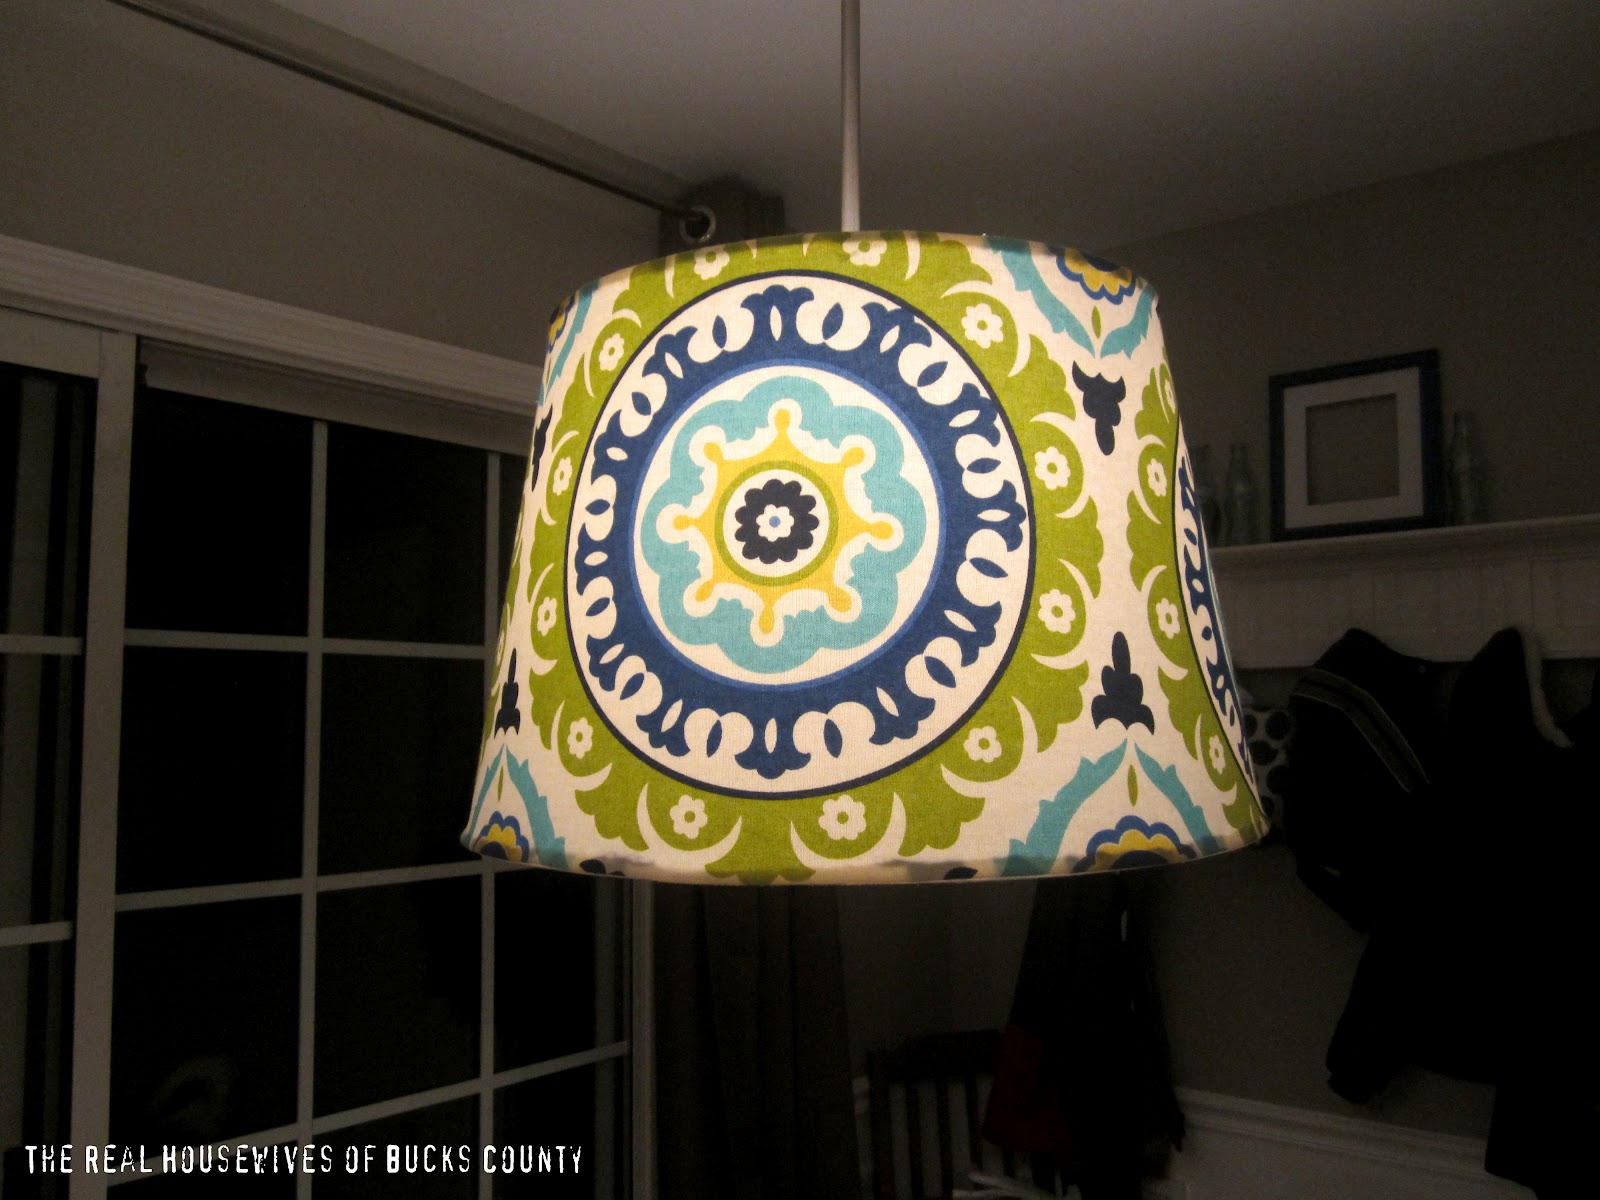
Pin It
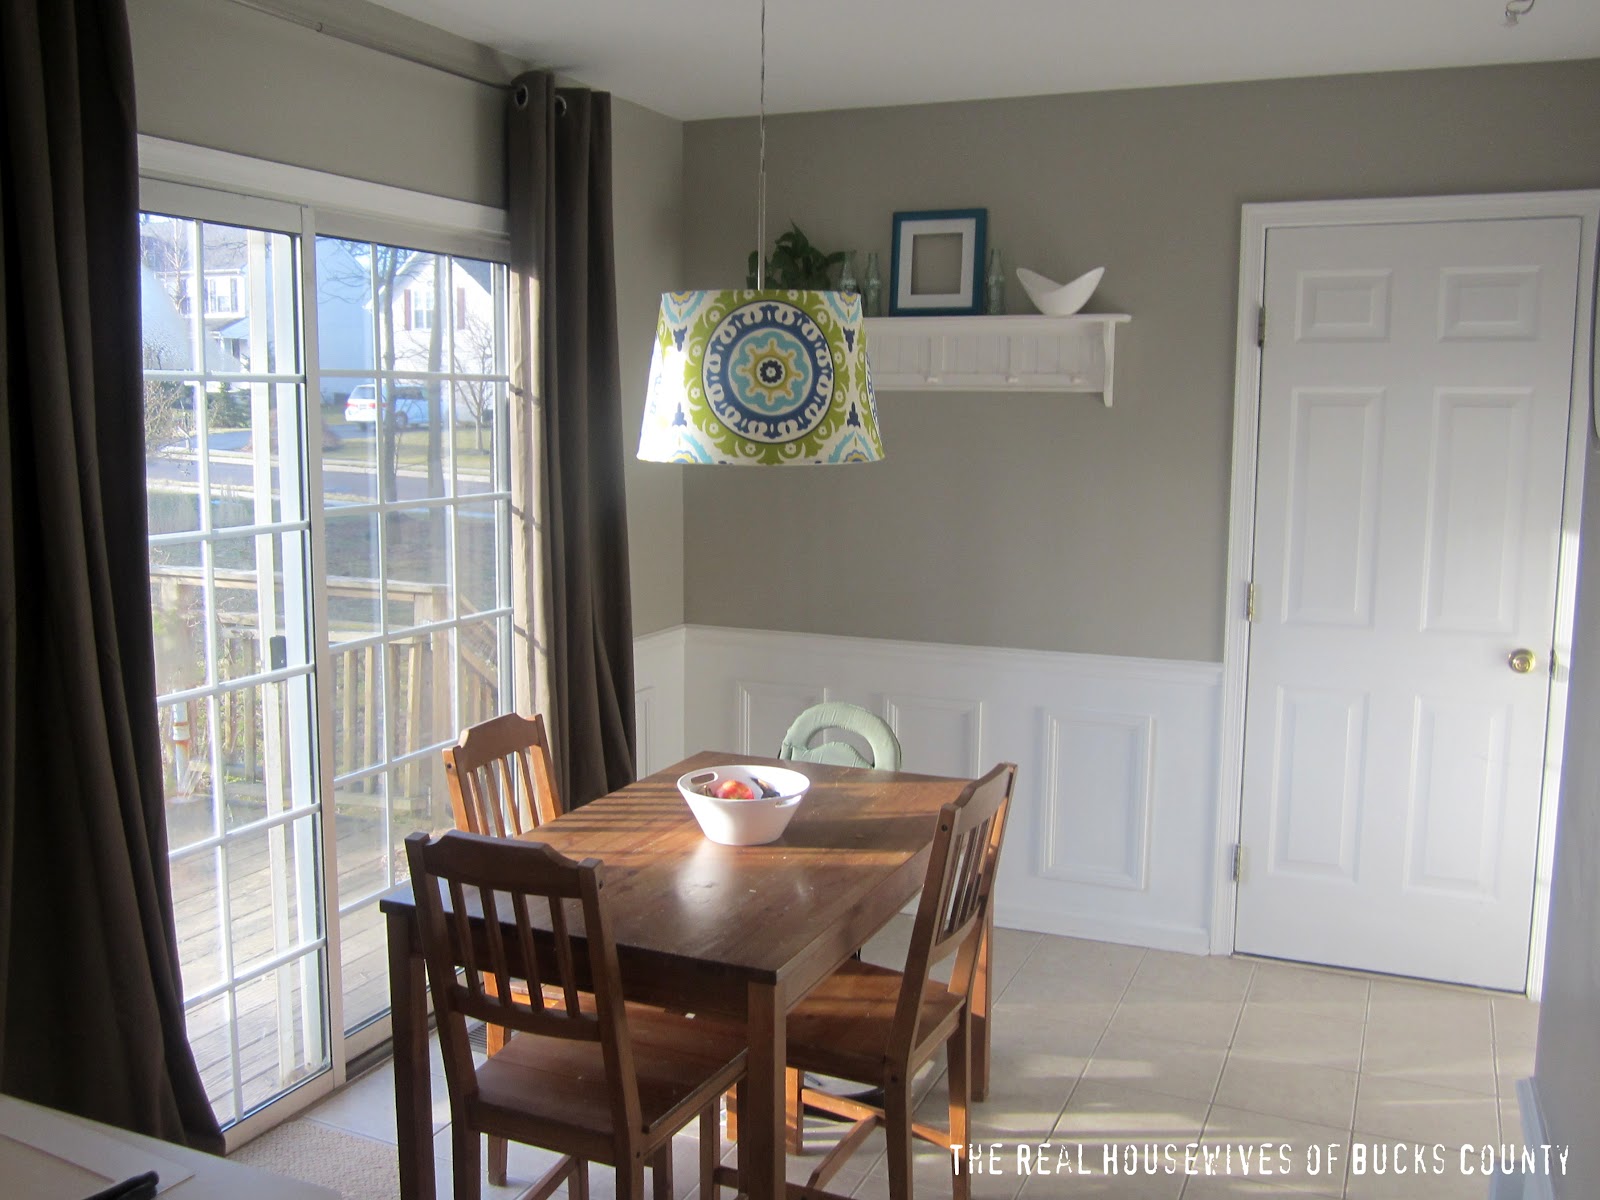

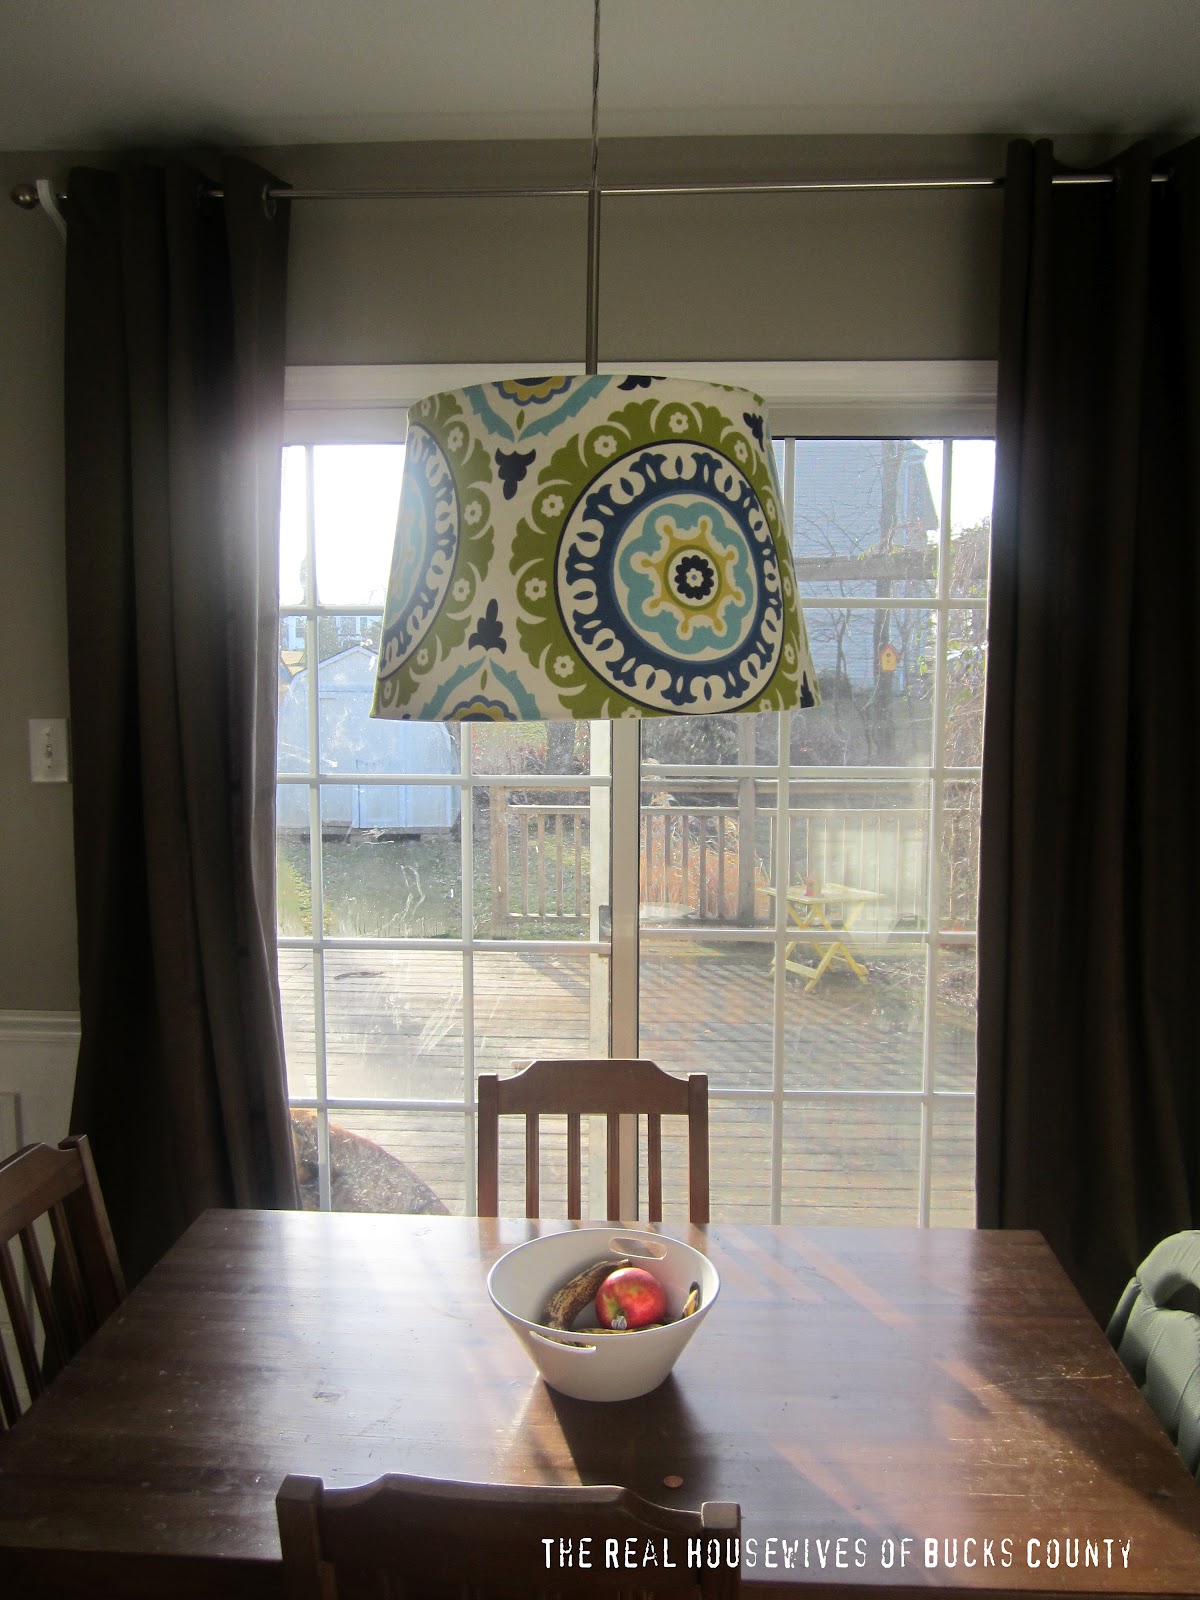


I love it, and my kids do too! 🙂 Now the question is, should I keep the brown curtain panels, or go with a different color, maybe navy blue? Thoughts, please!


I love the new light fixture and the shade is a must have! Great job and I love the pictures that you took of the process they are really cute and made me smile. Happy crafting
I love the way this turned out so pretty. The pattern is awesome. love the teal and green
Its new look shade is good. I like your picture. As well as its best idea. Its very easy and fast process. You have done fantastic work.
love it!!!!—–go with navy panels!
I absolutely love the new shade! Great job!
Excellent fabric choice, Jess, I just love it! Looks perfect from here. Definitely change the curtains to blue. Brown is to dark near that burst of sunshine hanging from the ceiling!
I love that fabric! I’ve had my eye on that for a while now at JoAnn’s. Love how this turned out
I love it. Laughing too cause my van is across the street in my friend’s driveway in your finished product shot! 🙂
I love it! Perfect pattern and perfect colors. Unless you need a dark color for the curtains the chartreuse or light blight blue colors from the fabric might be fun!
That light shade/fixture is a huge improvement. Brave choice of fabric but it looks great. Always have trouble imagining what fabric on a bolt will look like on my project. I’d definitely ditch the brown panels. Do you have fabric left to trim top/bottom of new panels for the windows?
Love it! Great job! Like the idea of blue panels too.
You did such a great job on the details, the edge looks perfect! I’ve wondered how to do a large pattern on a shade, looks adorable. Thanks for linking up at Burlap & Denim.
Your light fixture is FABU!!! I’d definitely lose the brown drapes. I’d try for a shade of navy as close to the navy in the lampshade as possible. Or, take a walk on the wild side and go for the green that is in the lampshade!
Love the shade! Love the POP the fabric brings. I was also thinking you could go with the green for your drapes, if you’re daring. Navy would look good too, and that would probably be the “safe” way to go. Mix it up a bit and add a patch of that fabric across either the top or bottom of a navy. Or, if you don’t wanna repeat the actual fabric, maybe trim navy drapes with the green. SO many options…So many ideas…Do you ever feel like your brain’s gonna just start coming out your ears one day?!? Also, if you’re like me and want a change ever so often, you could make the curtains reversible. That way, it gives you a pretty view from inside or out, and when you’re getting bored just flip ’em around.
This is so cute! Love the fabric you chose!
fab choice of fabric!
Love the shade! If you are into safe colors darker blue curtains would be great but if your feeling bold I would pull in green or the goldenrod yellow. Love it! I have turquoise and goldenrod in my living room and love it. It feel so warm and welcoming yet bright and happy.
What color of grey do you have on your walls?
It’s TOTALLY your fault that I saw this fabric today and had to go chase it down and special order it for my next project. I LOVE it. Thanks for the inspiration.
[…] a Custom Lampshade but don’t know where to go to get it, or don’t want to pay the price, or does your […]