

This project was featured in an episode of our DIY show Knock It Off.
To watch this episode online, click HERE.

———————————————————————————————————
We’ve mentioned before that we hosted the best DIY contest in blogland back in March. One of our favorite rounds was the “Knock Off” round (haha- go figure!). We were totally inspired by all of the projects, but knew as soon as we saw Amanda’s West Elm-inspired dresser, that we would want to do our own version of her project! You can see the full tutorial for her dresser here, but we made a few tweaks to really make our nightstands stand out!

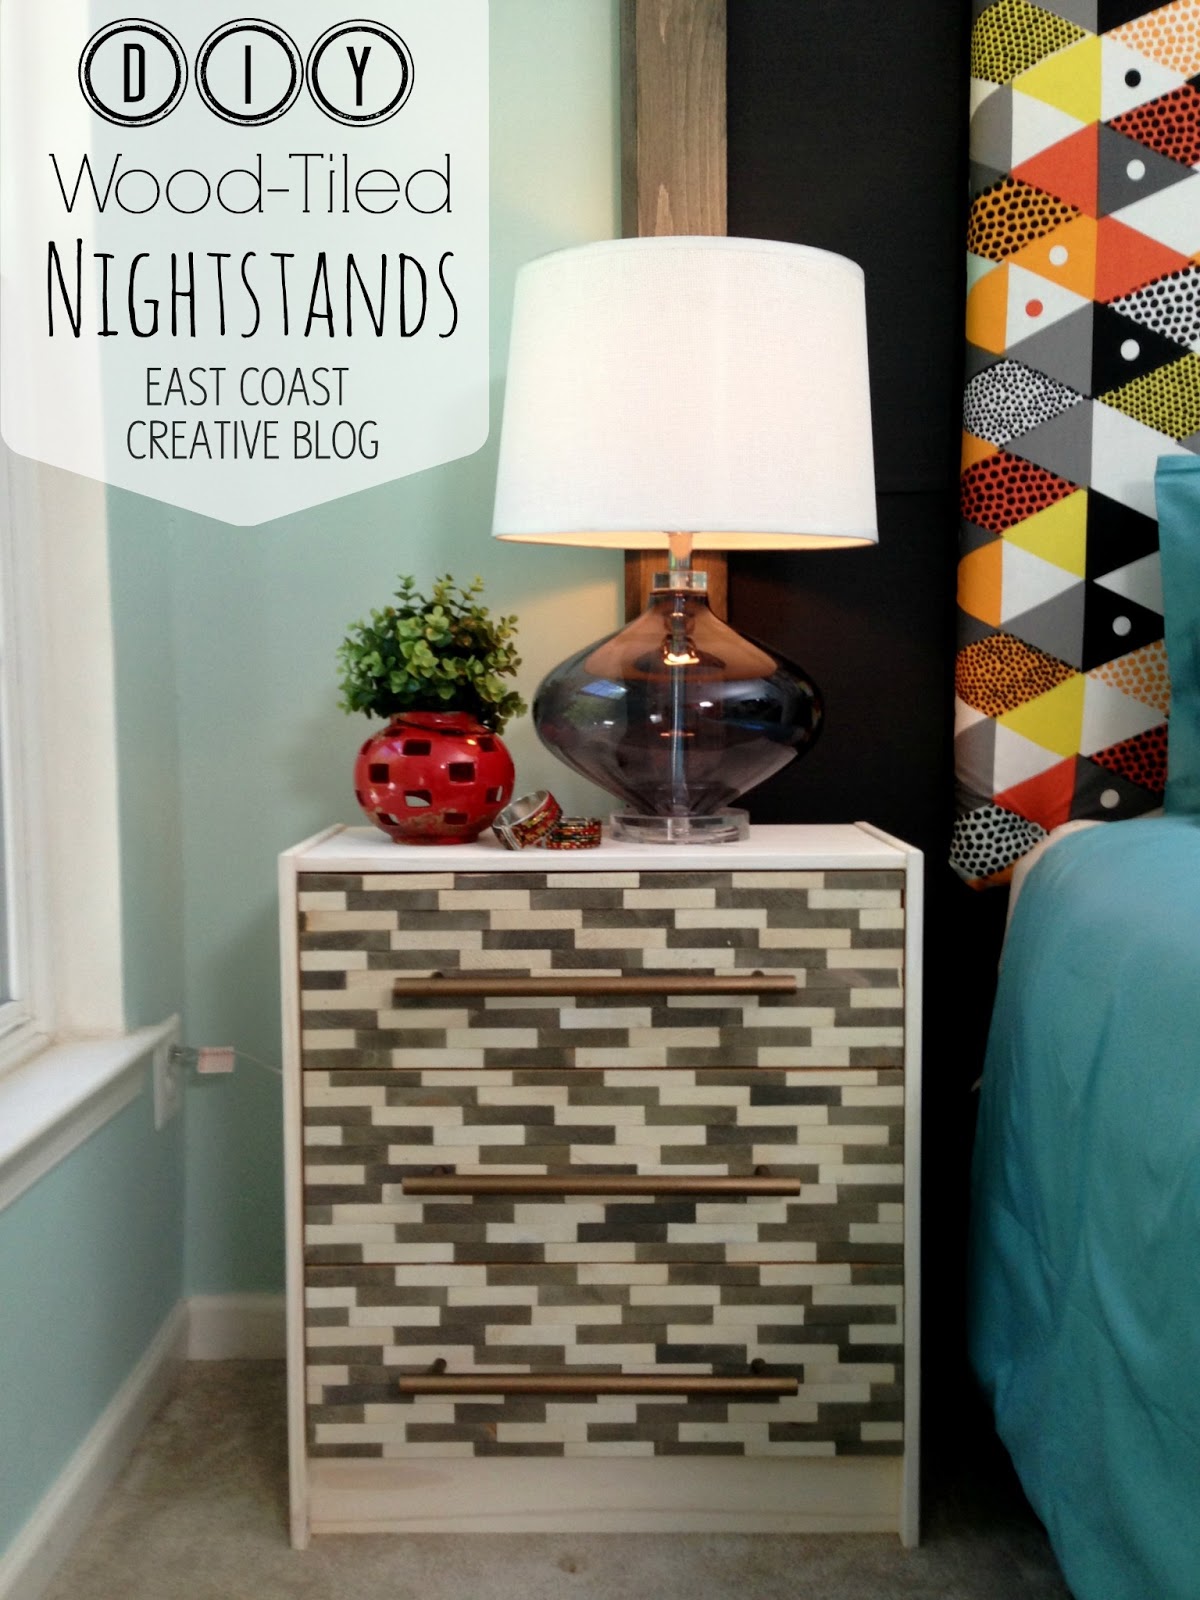
This bedroom was in desperate need of some nightstands for additional storage and some style. We have been waiting to use this unfinished piece from Ikea for quite some time, and knew that they would be perfect for this project. They have simple lines and are only $35!!

These nightstands have the look of expensive tile, but really we just fancied up some inexpensive wood!
Use a chop saw to cut 1×3 planks into thin, ½” slices. These will become your faux tiles. You’re going to need a lot- so set aside some time and cut away!
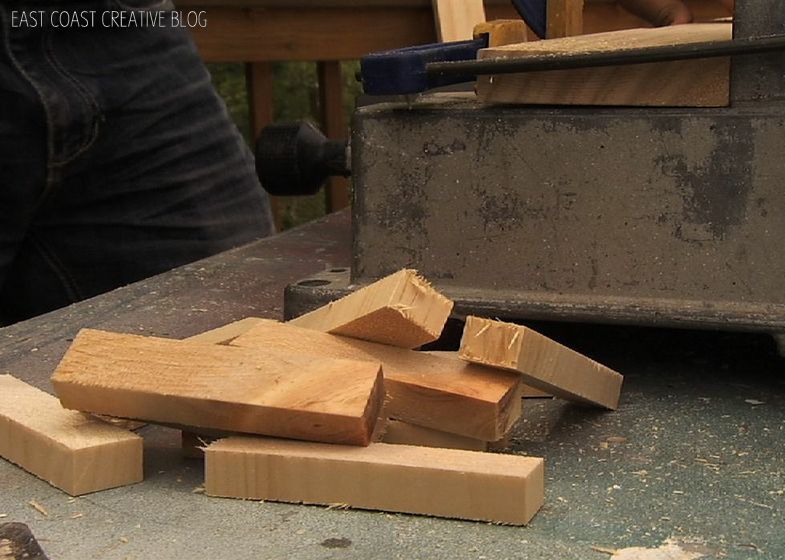
After you’ve cut all your tiles, paint them in varying shades. We whitewashed with white, light grey, and dark grey, but you could do any colors you like! The variation in color is really dramatic on our dresser, but we were going for that! Using wood glue, attach your tiles to the front of each drawer- stagger each row, so it has a random look to it.

While those dry, paint the frame of your nightstands white. When everything is dry, put your drawers back in, add some hardware, and you’ve got yourself some seriously styling, high-end-looking nightstands at a great price!
.JPG)
.JPG)
We could not have been more thrilled with the way these nightstands came out, and with the fact that they cost less than $100 for BOTH! Can’t beat that, folks.
.JPG)
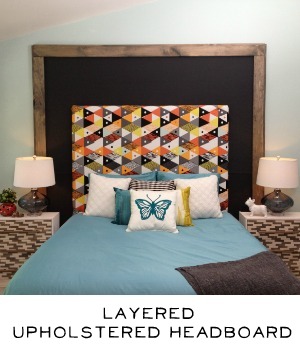
Don’t forget to check out the other projects in the room here!


Absolutely love your piece and am dying to do it, but How did you make it so when you push the drawers back in, it is flush with the rest if the dresser because the blocks of wood are maybe a quarter inch in depth right?
[…] Get yourself some seriously styling, high-end-looking nightstands at a great price with the instructions here. […]
[…] Get yourself some seriously styling, high-end-looking nightstands at a great price with the instructions here. […]
[…] Get yourself some seriously styling, high-end-looking nightstands at a great price with the instructions here. […]
[…] Get yourself some seriously styling, high-end-looking nightstands at a great price with the instructions here. […]
[…] Get some seriously styled, high quality looking bedside tables with the guide at a great price Here. […]