
I’ll be quite honest, unless it’s something I can wear on my finger or as a dress, I’m not all that into things that glitter. However, Tulip sent us some products from their Tulip Shimmer line to try out. I DO love all sorts of metallics at Christmas, so I knew that I could come up with something and maybe fall in love with glitter in the process. Well, mission accomplished!
Luckily for me, I scored two white placemats at the thrift store for a dollar a piece. Woohoo! That makes me excited. You can probably find something similar at Target or Walmart for a few bucks, as well. So with my two placemats, plus a box full of Tulip Shimmer products, I was ready to get going!
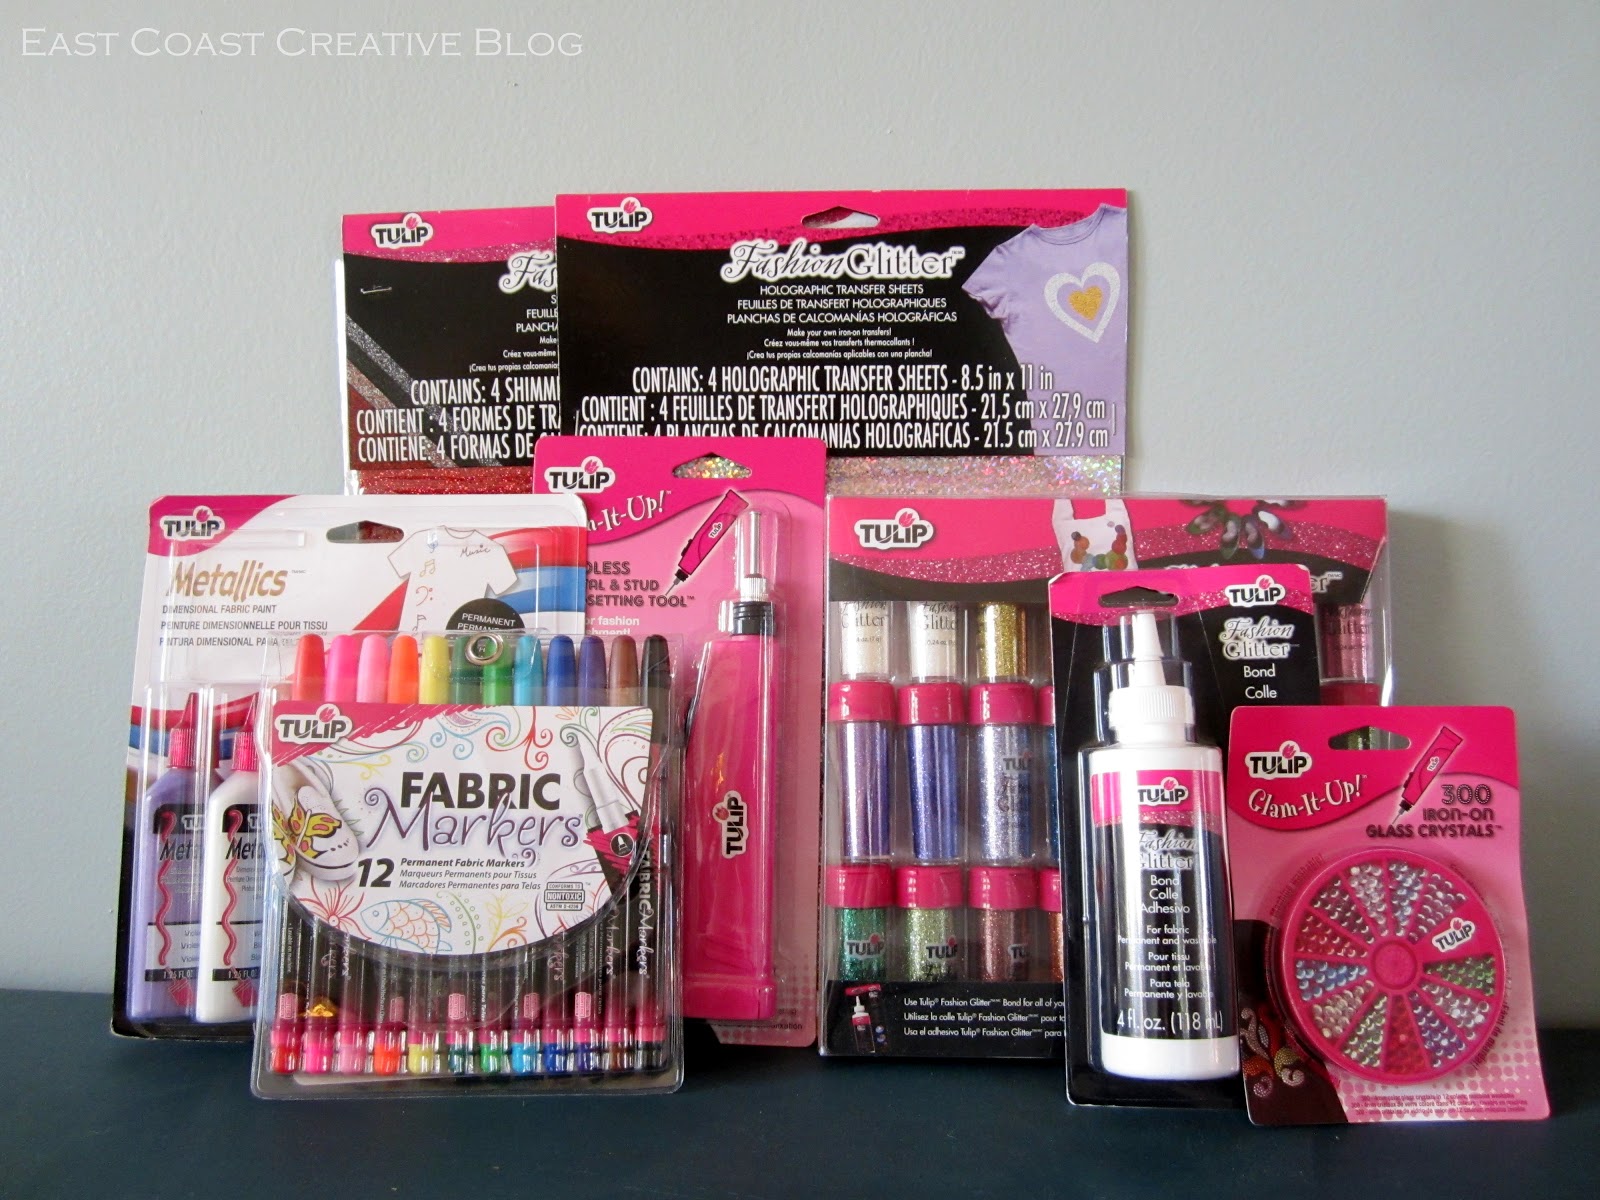
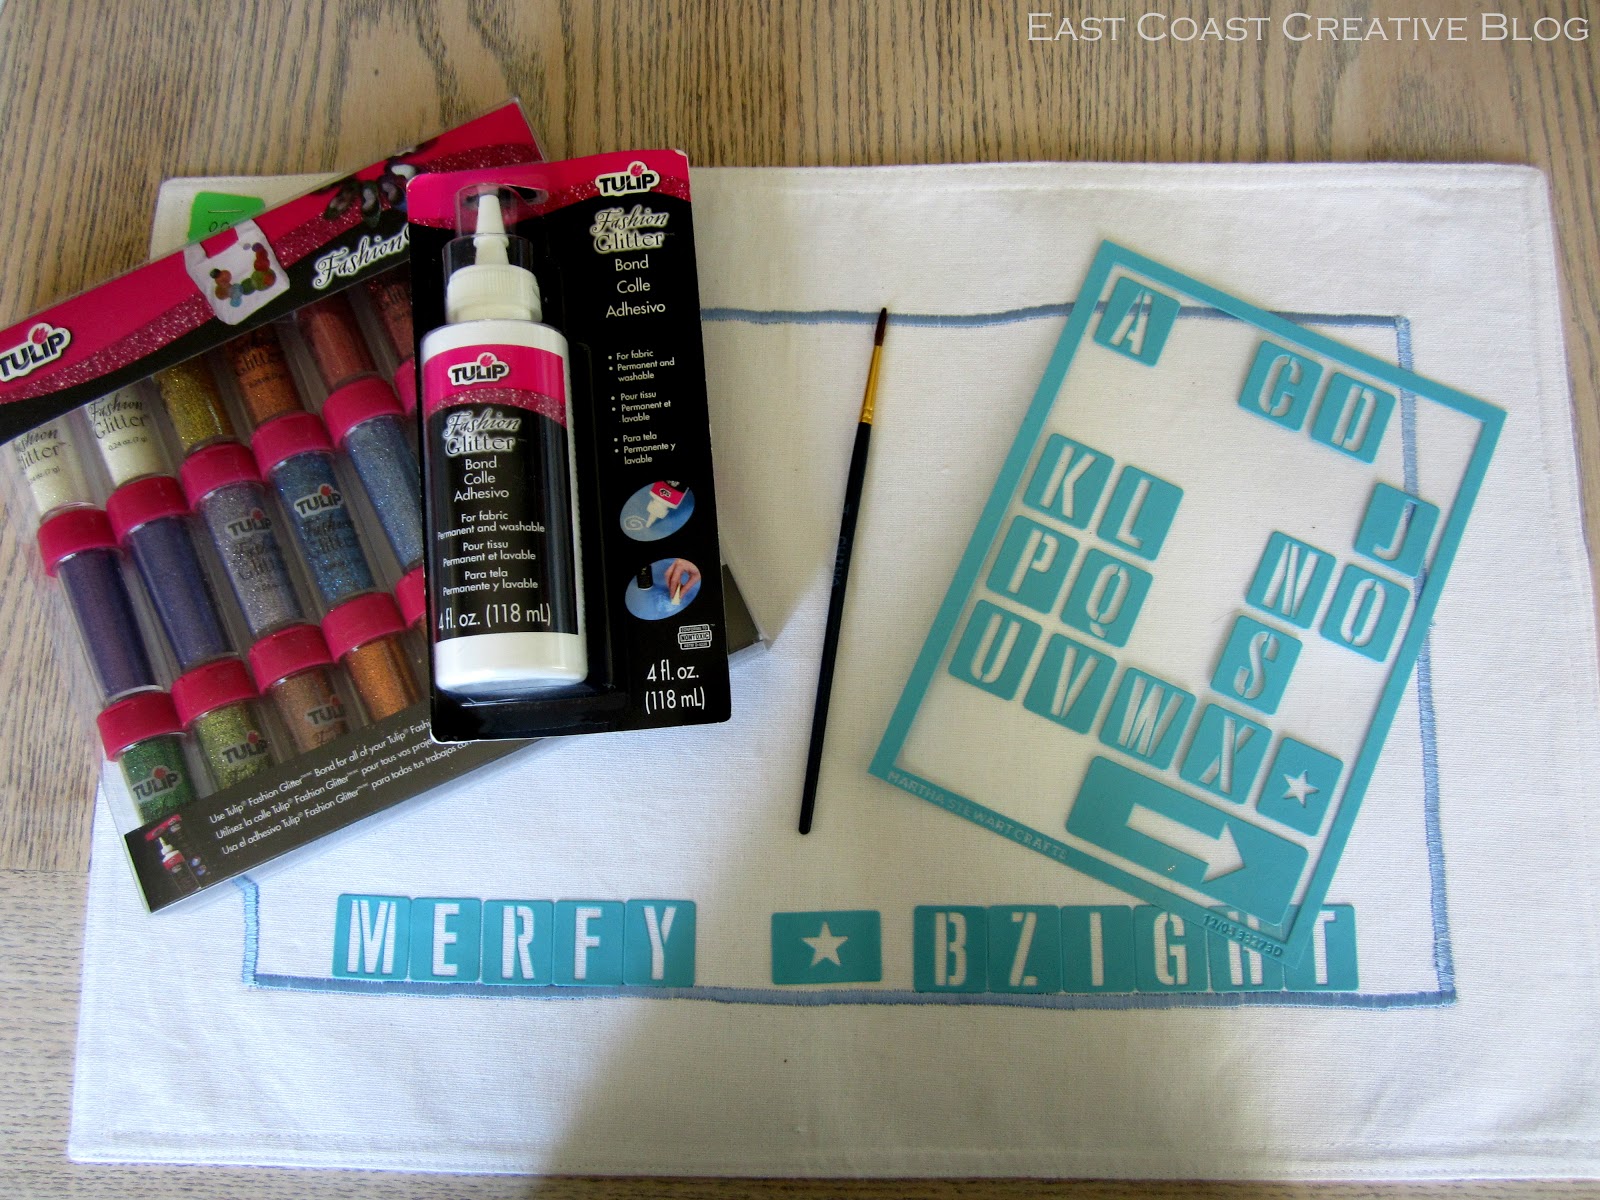
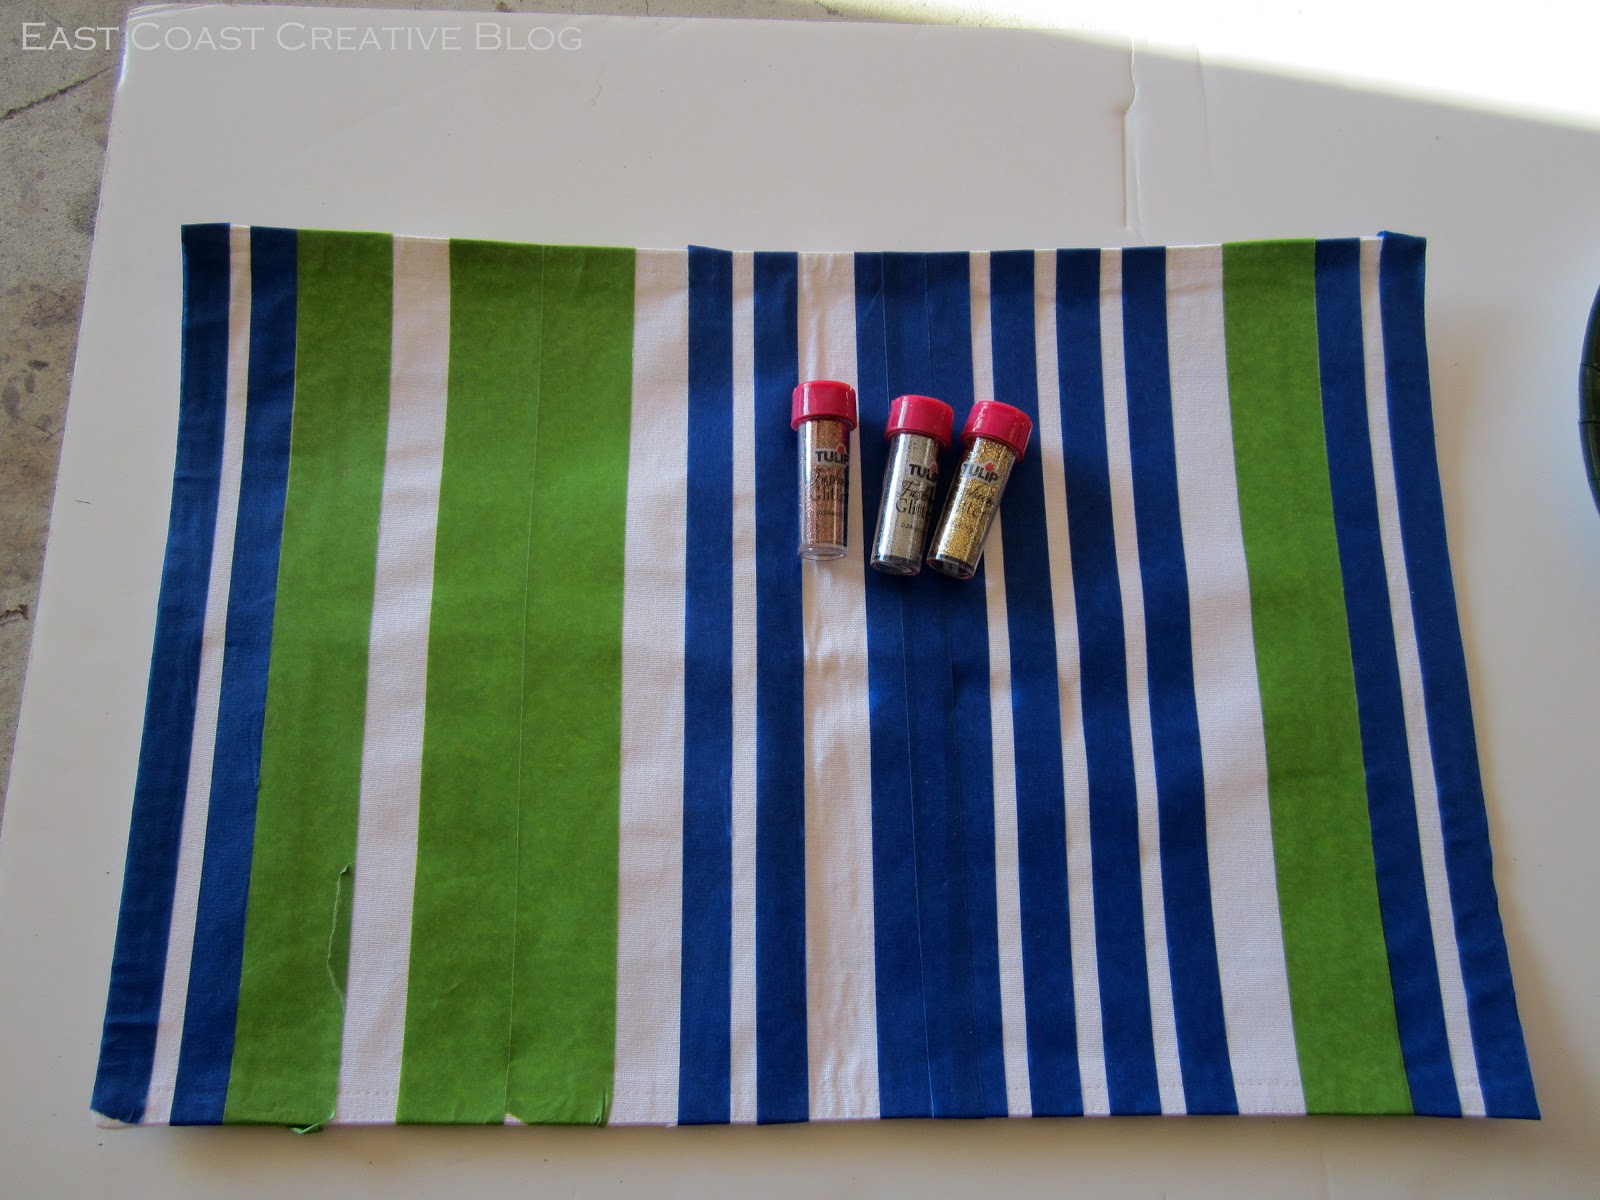
I love getting packages like these in the mail! For this project, I decided to use the Fashion Glitter, Fashion Glitter bond, and a few cling stencils. (Haha, all that glitter it makes laugh)
Here’s how to make your own:
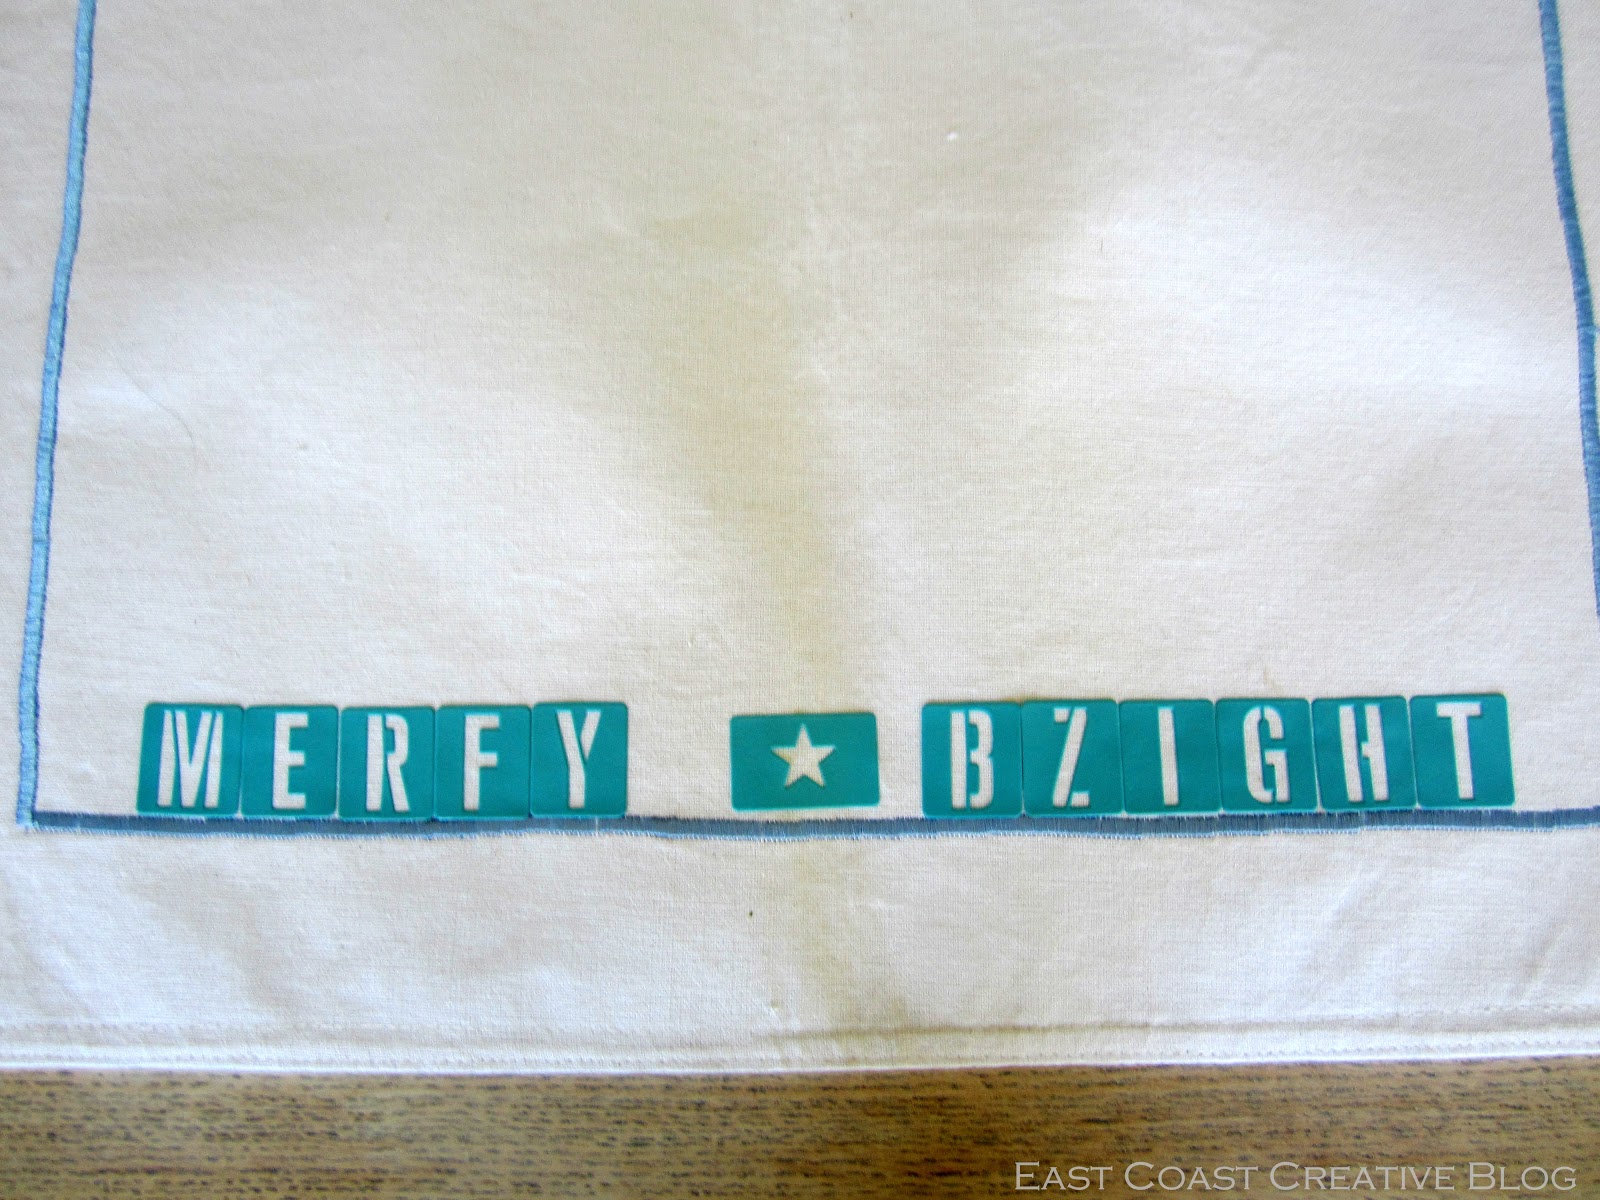
1. Decide on your design.
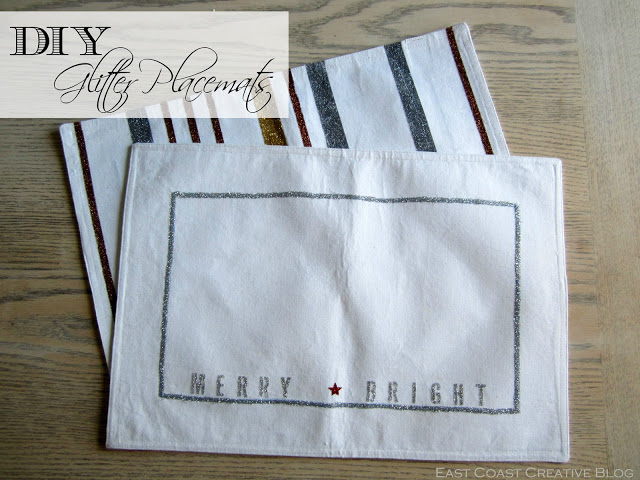
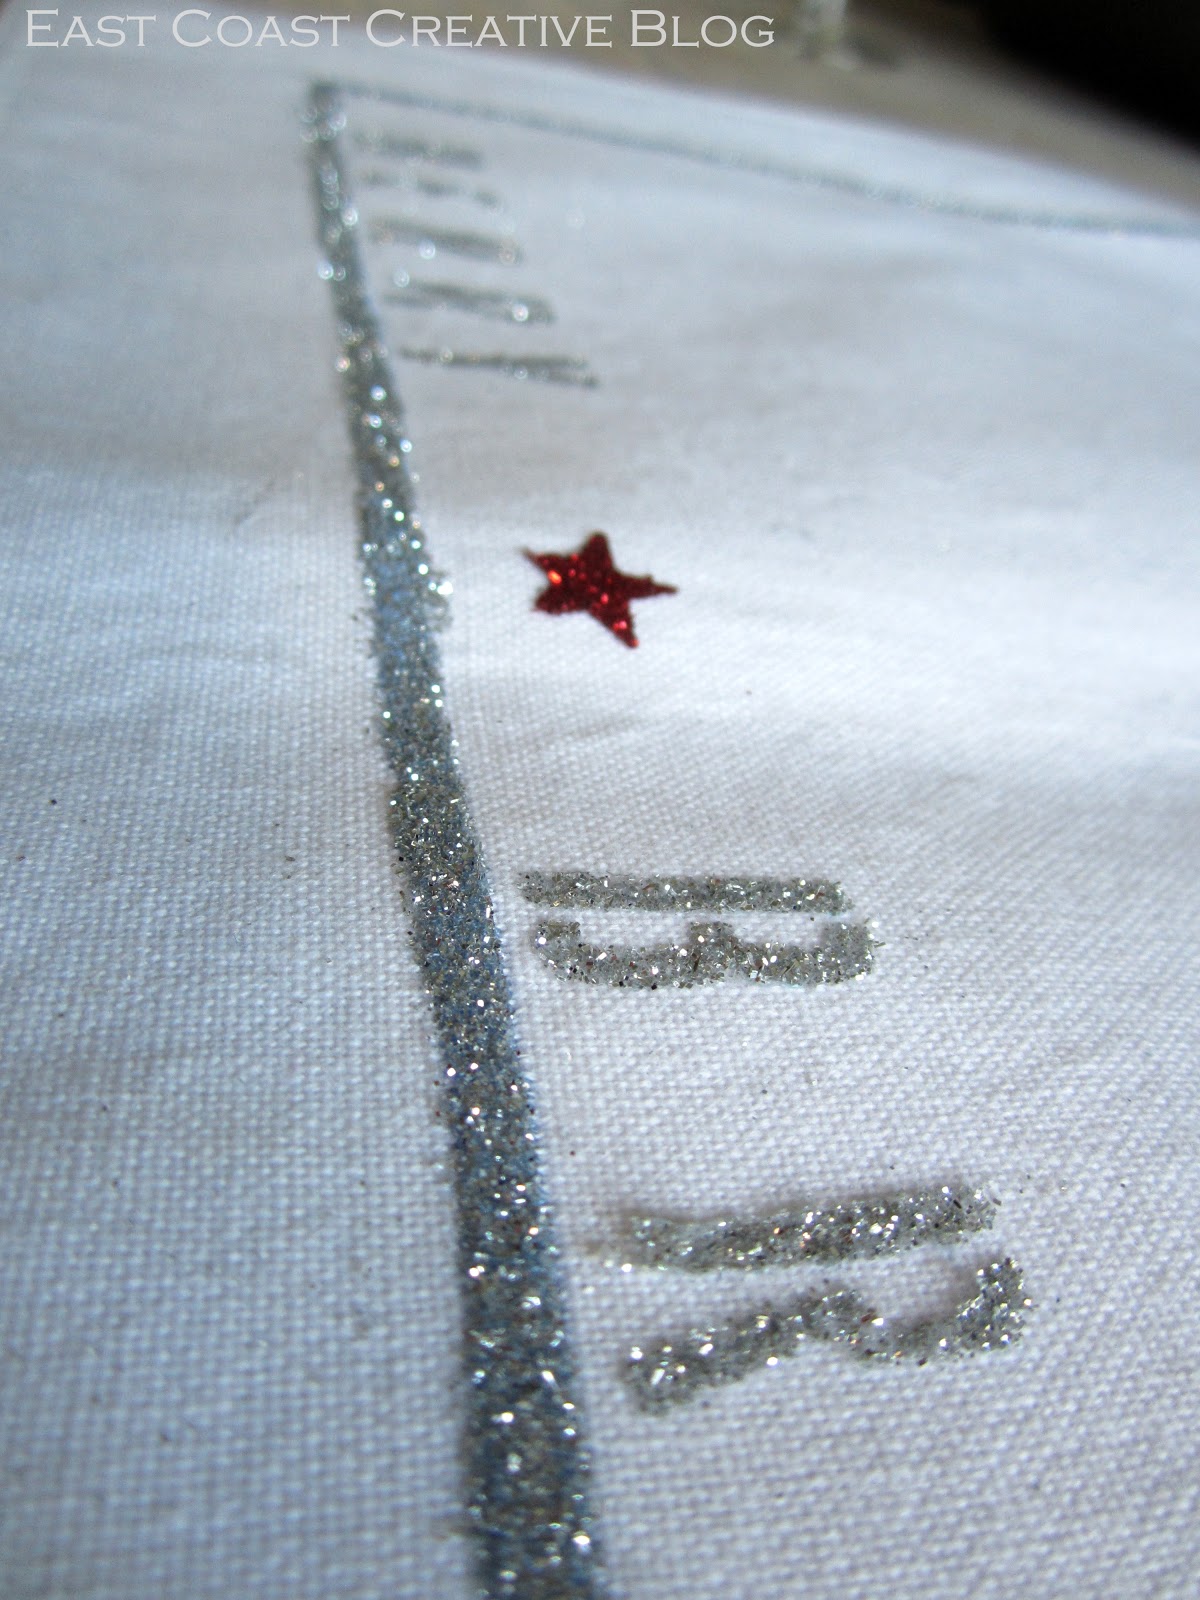
For the first placemat, I used the sewn blue border as a guide, and then placed stencils that said “merry” and “bright” near the bottom.

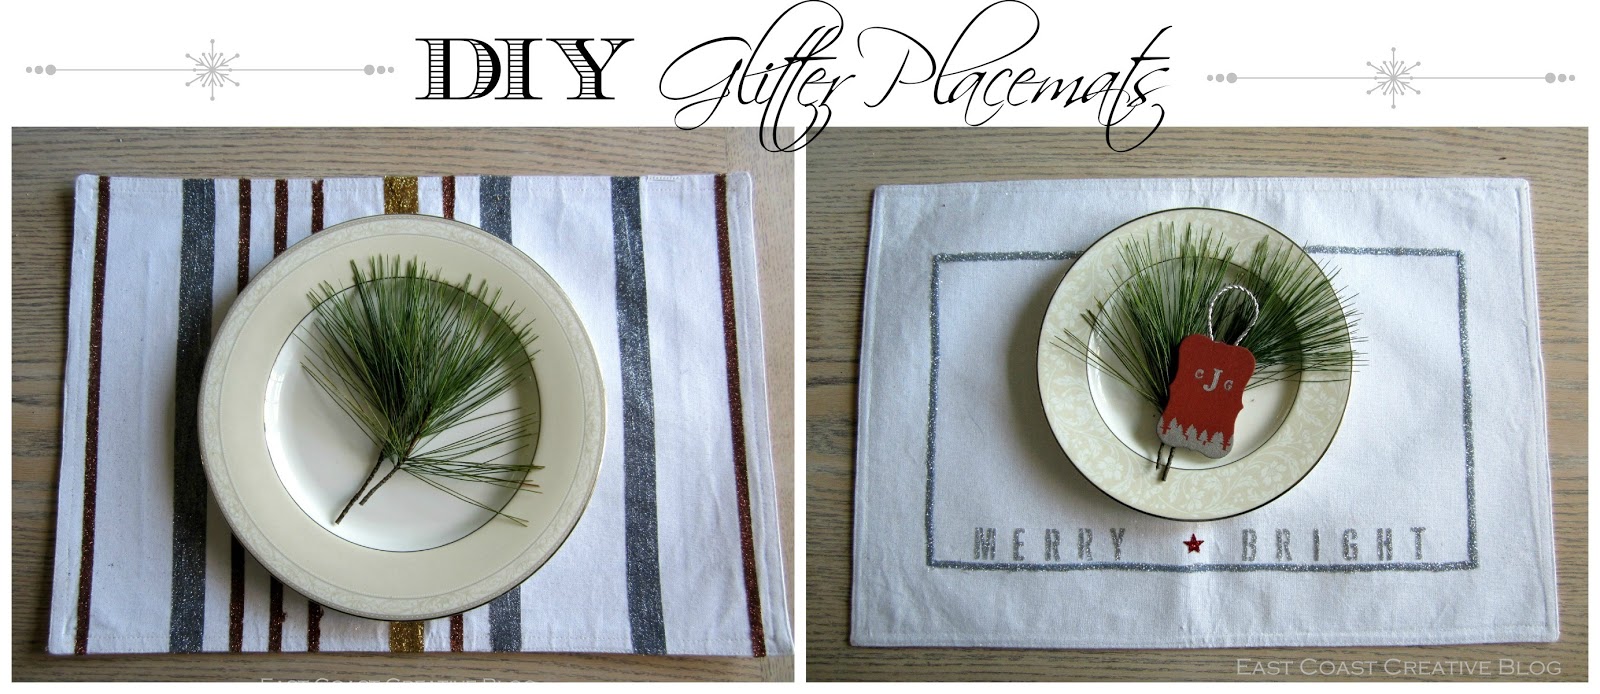
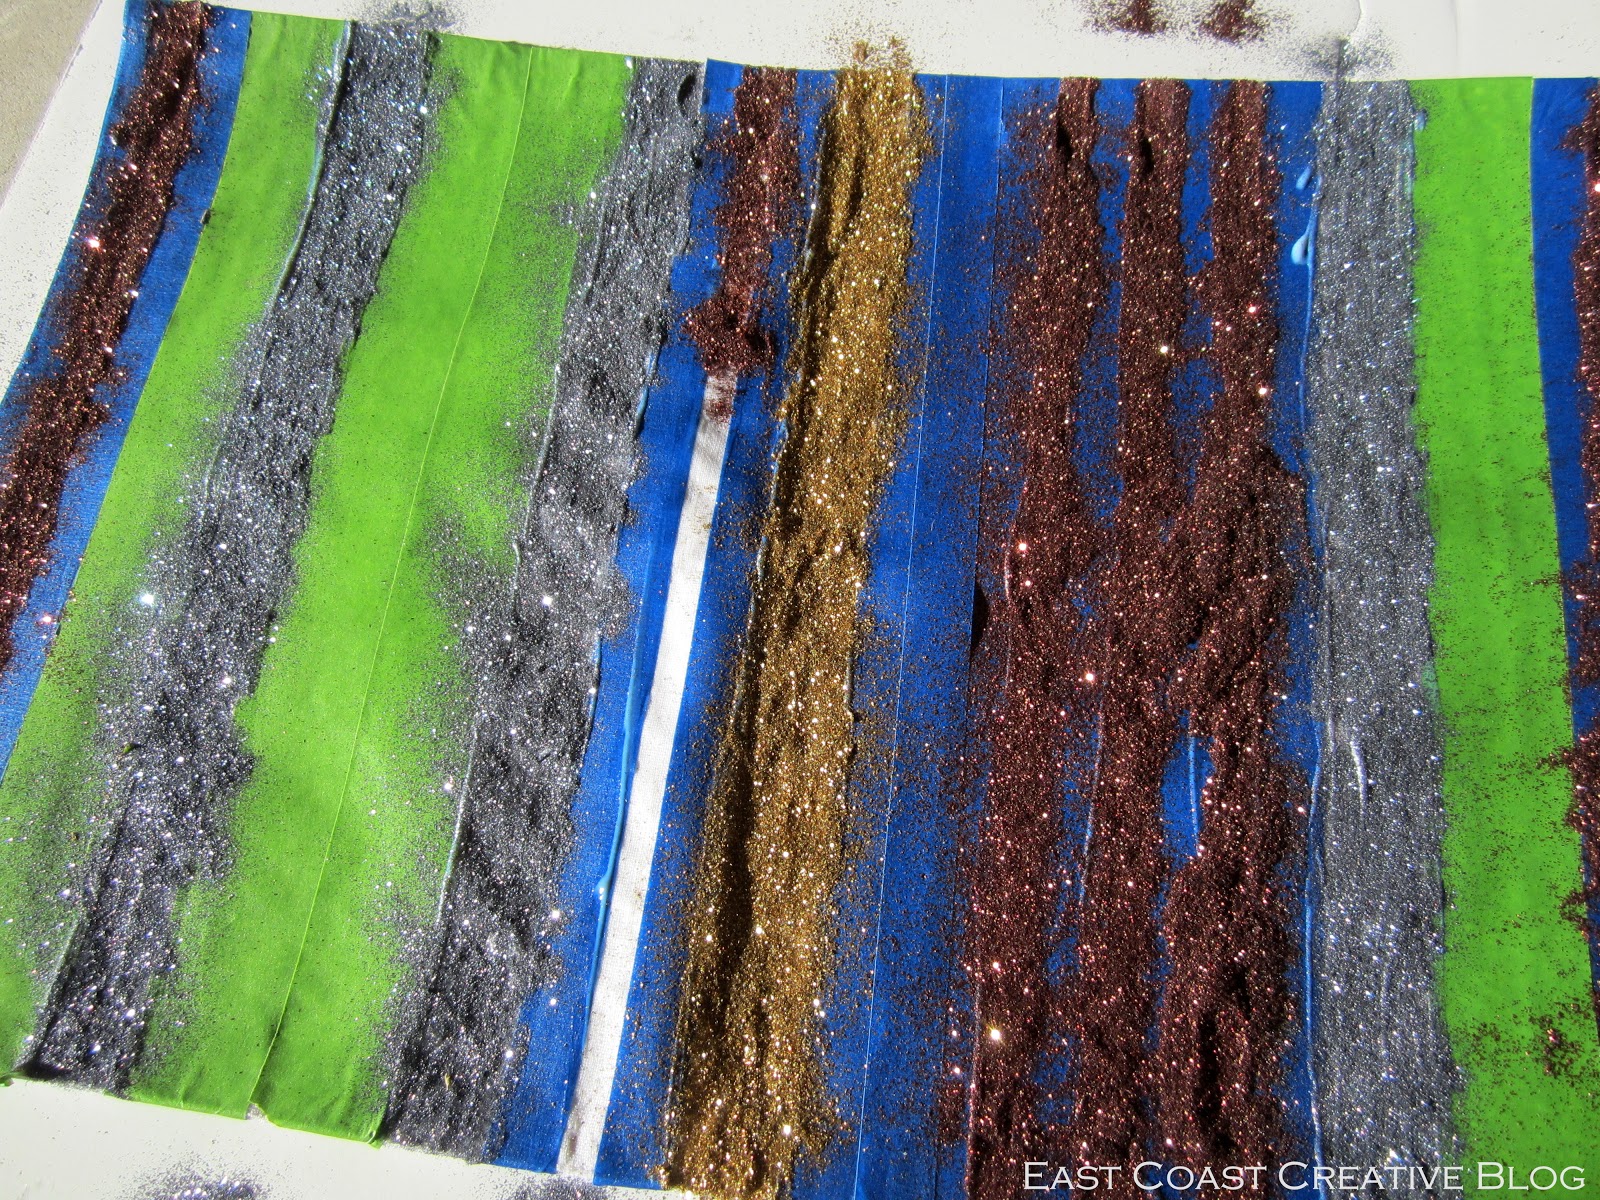
For the second placemat, I placed painters tape at random increments to create a few irregular stripes (a la Williams-Sonoma) . Be sure to press the edges of the tape down so that the glitter doesn’t bleed underneath.
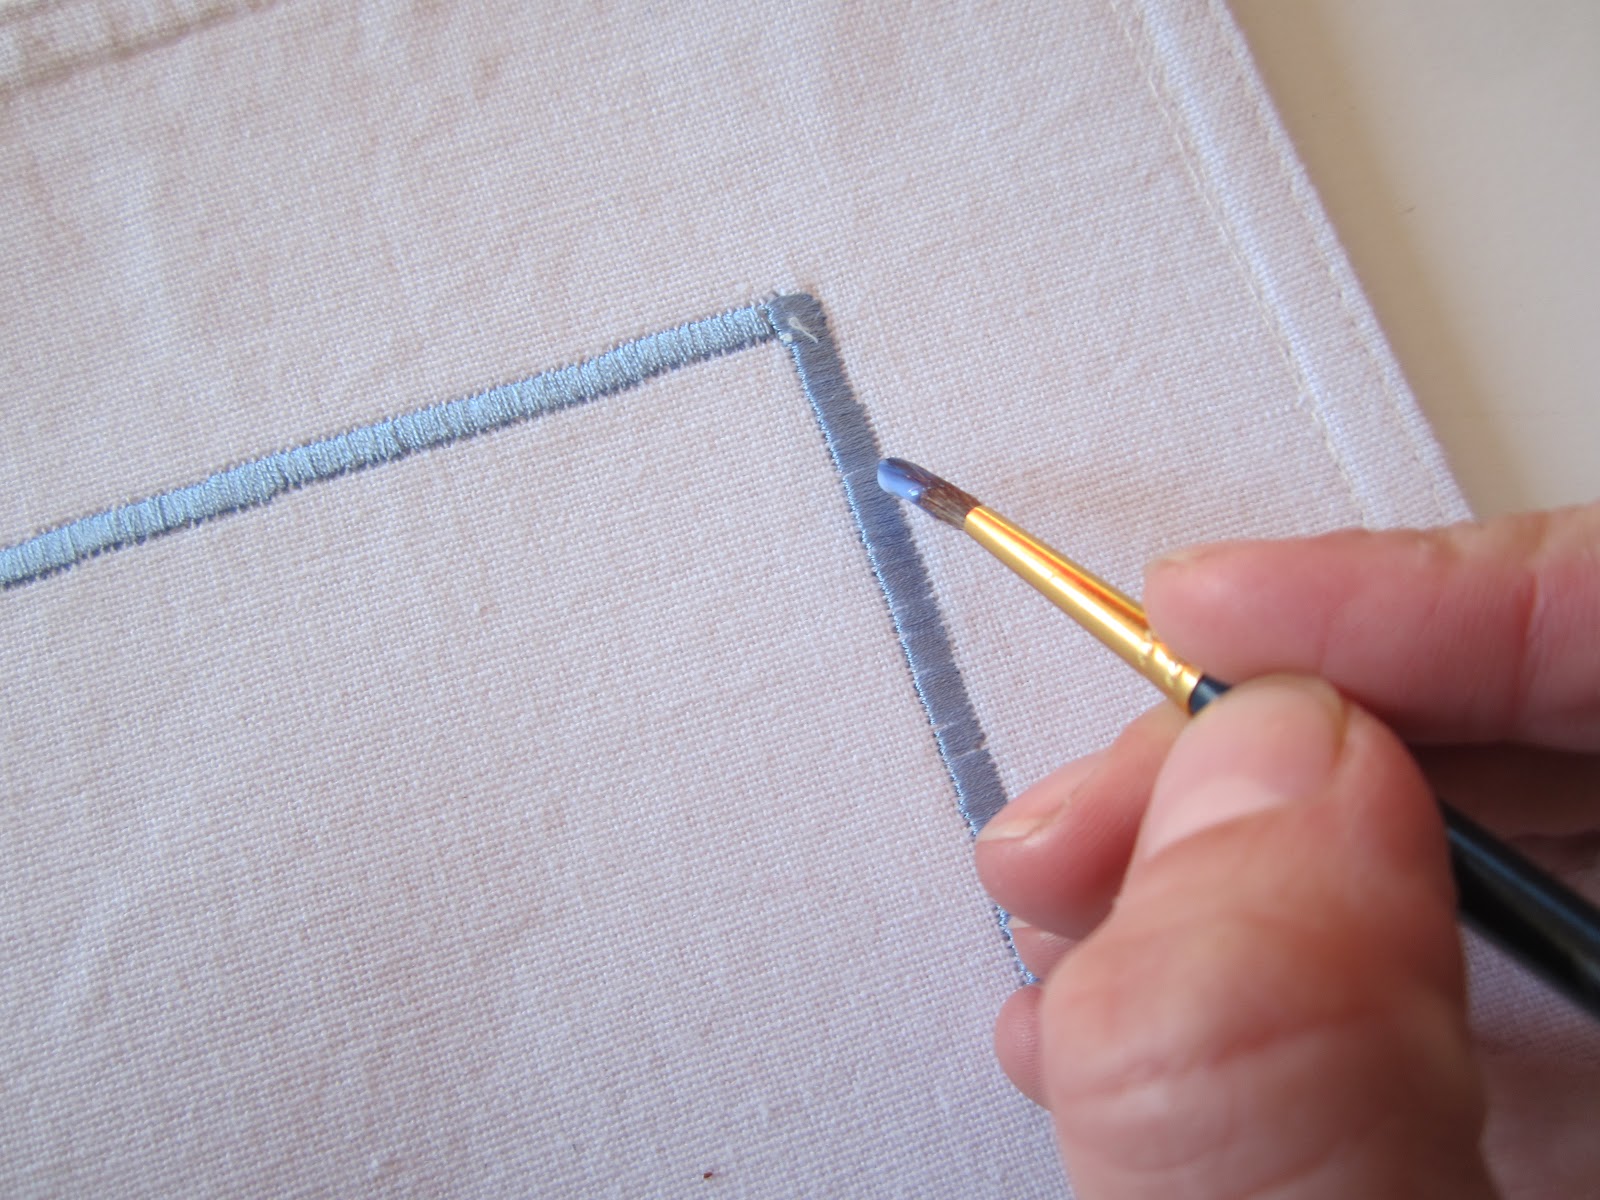
2. Brush the bonding glue on with a small paint brush where you’re planning on placing the glitter. The glue is permanent and washable, which makes it perfect for any project that includes fabric.
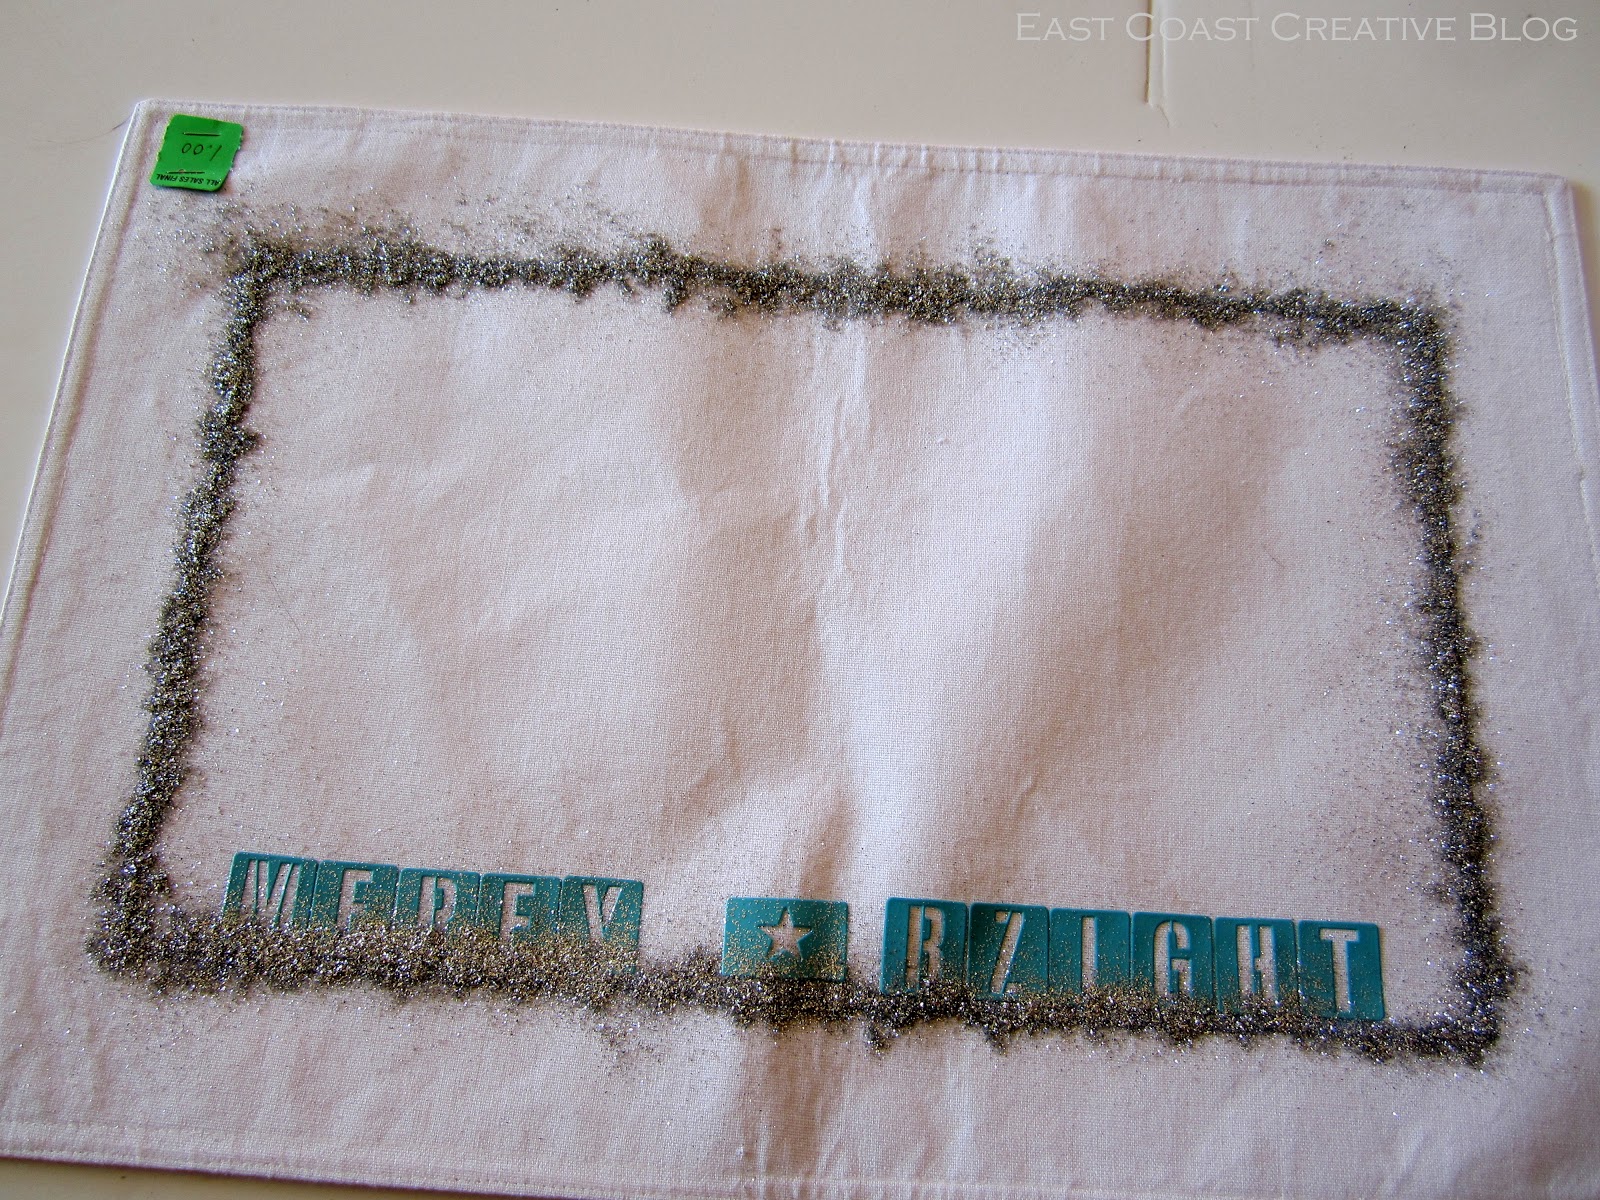
3. Sprinkle the glitter liberally on the glue and let it dry for 2 hours. At this point, I was really thinking this was going to turn out horribly. I mean, just look at it!
4. Remove the stencils and tape. There’s nothing more satisfying- and frightening!- than peeling back painters tape or stencils. I dare you to disagree.
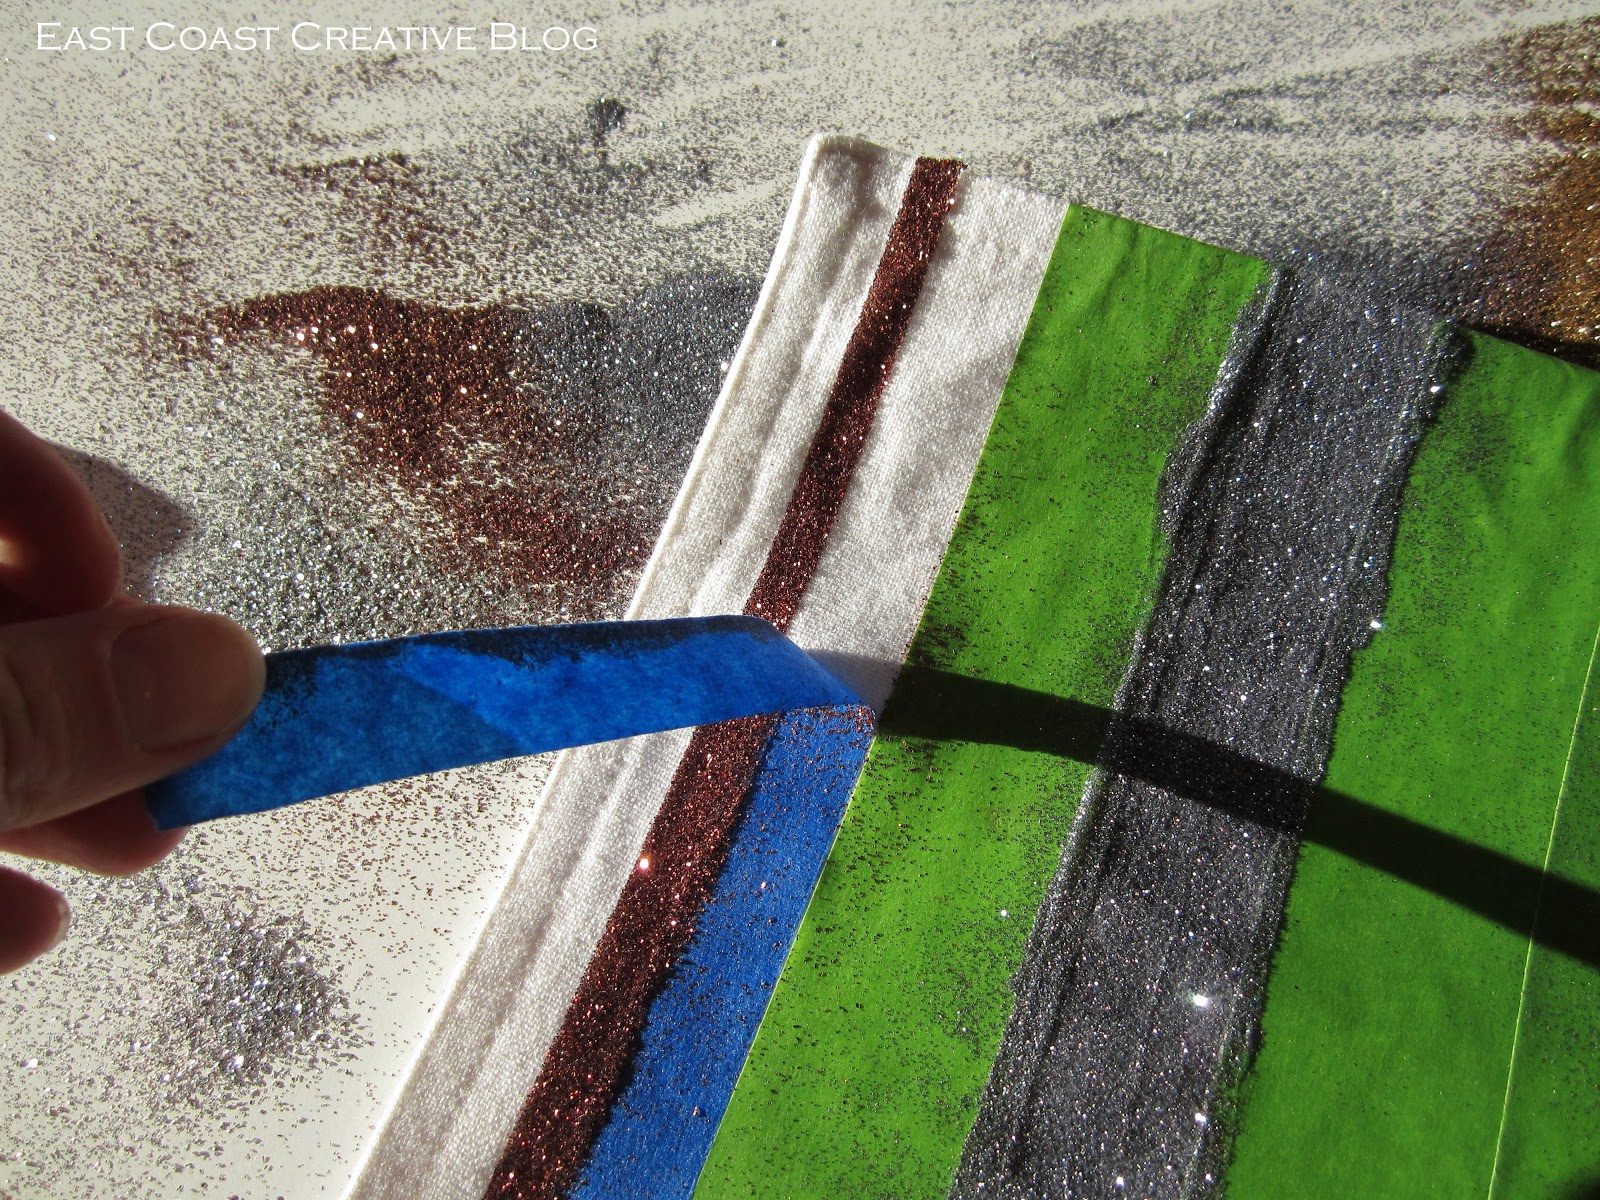
5.. Shake the glitter off of the placemats and breathe a deep sigh of relief that your placemats are so chic!

Please excuse me now while I hit you with a whole bunch of “after” shots of these beauties.
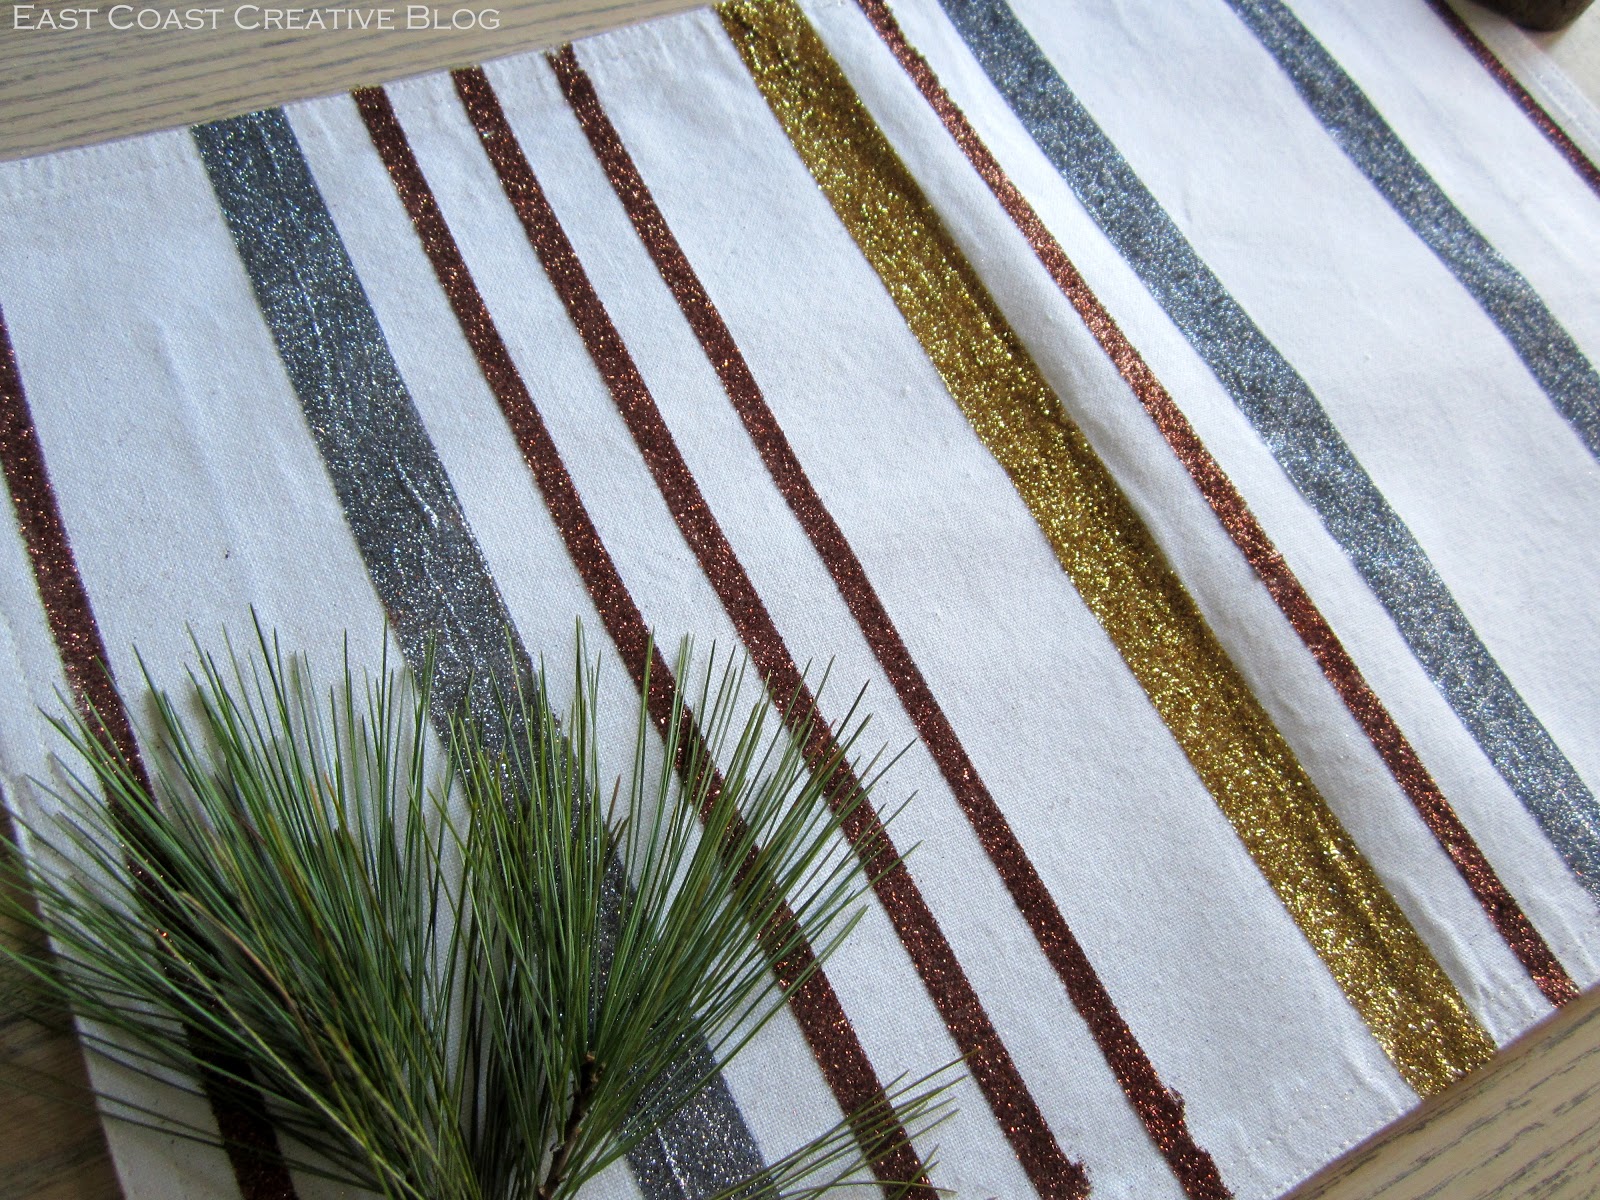
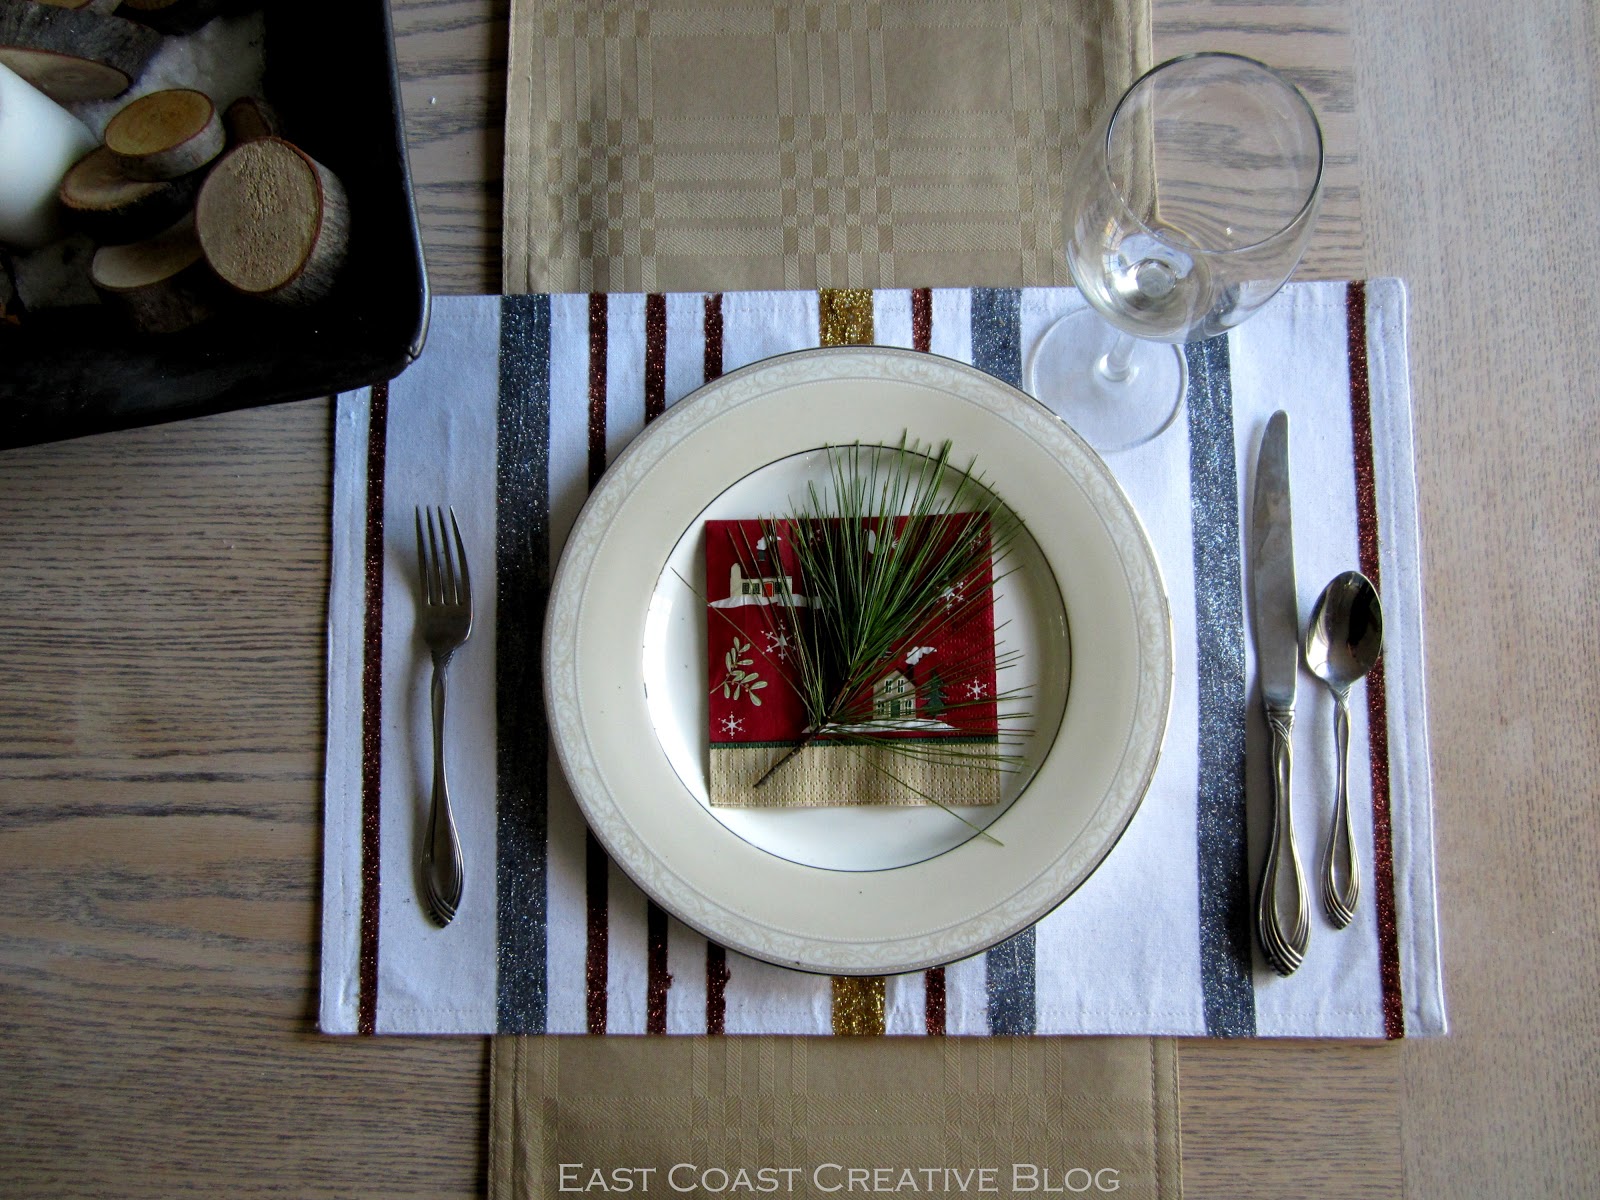
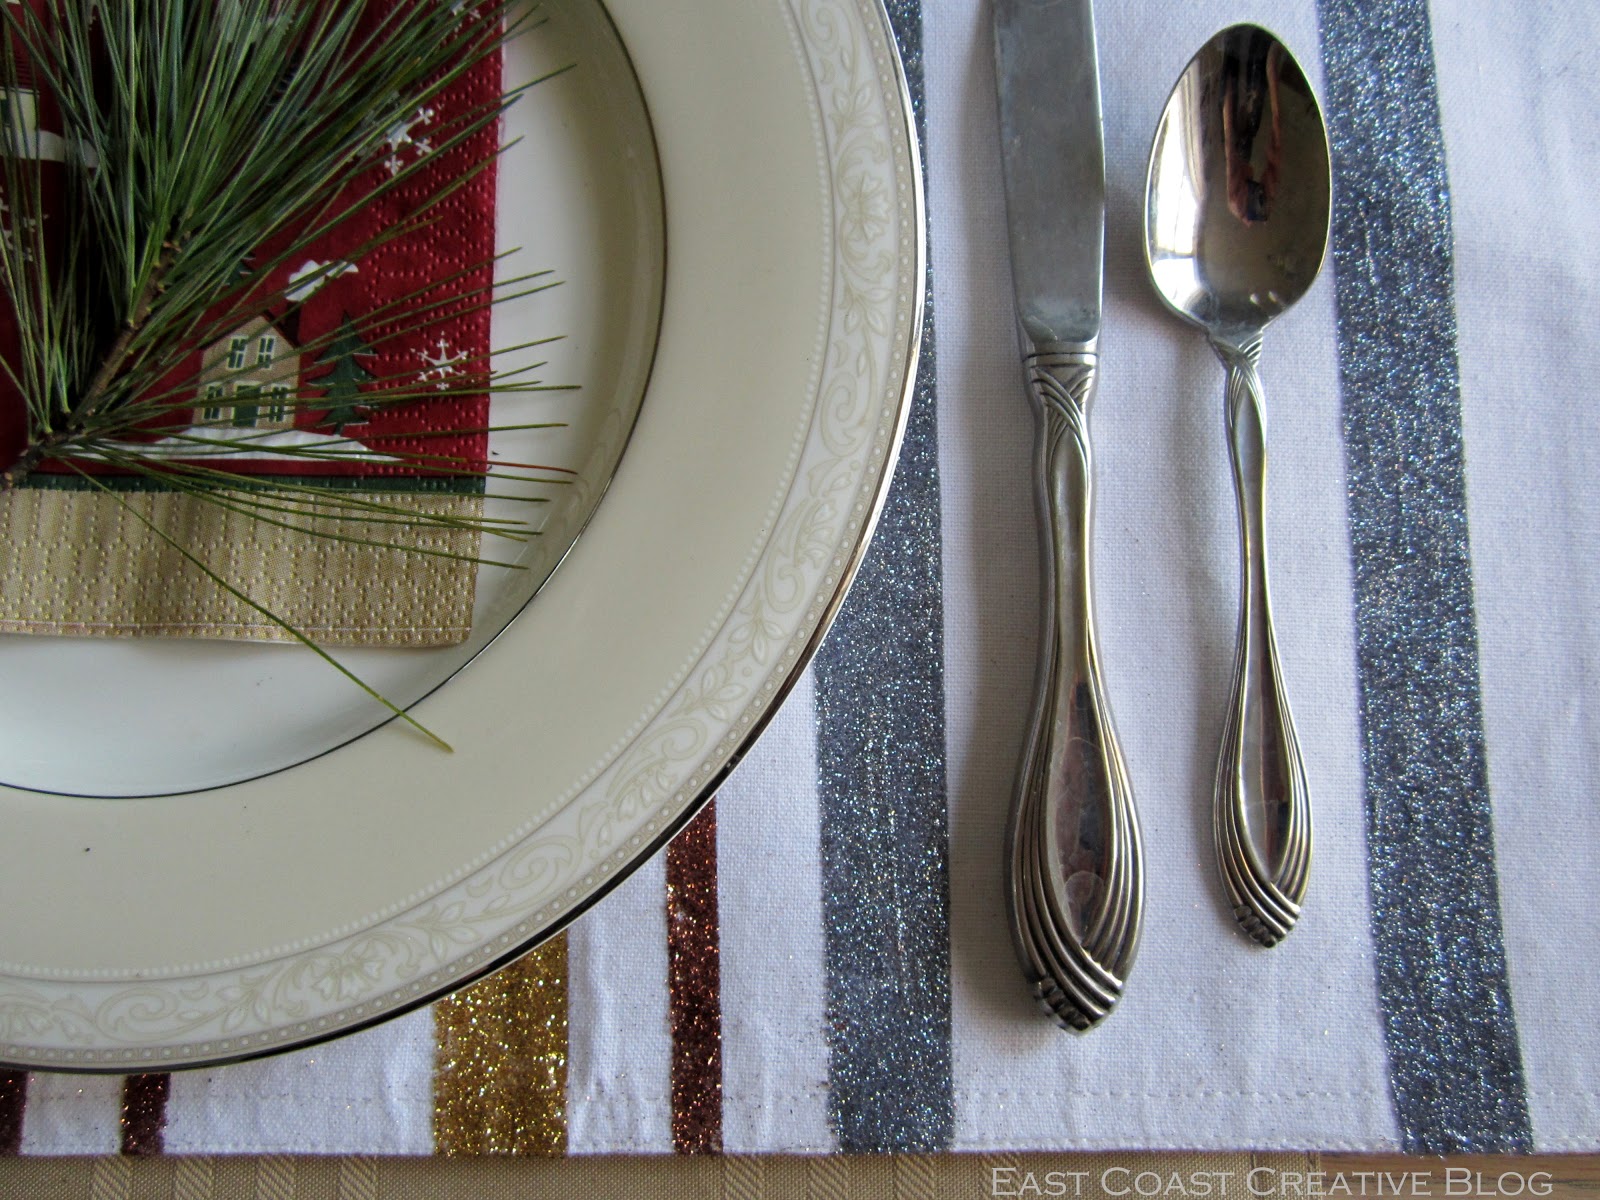
Don’t you think a set of these would make a great Christmas gift?
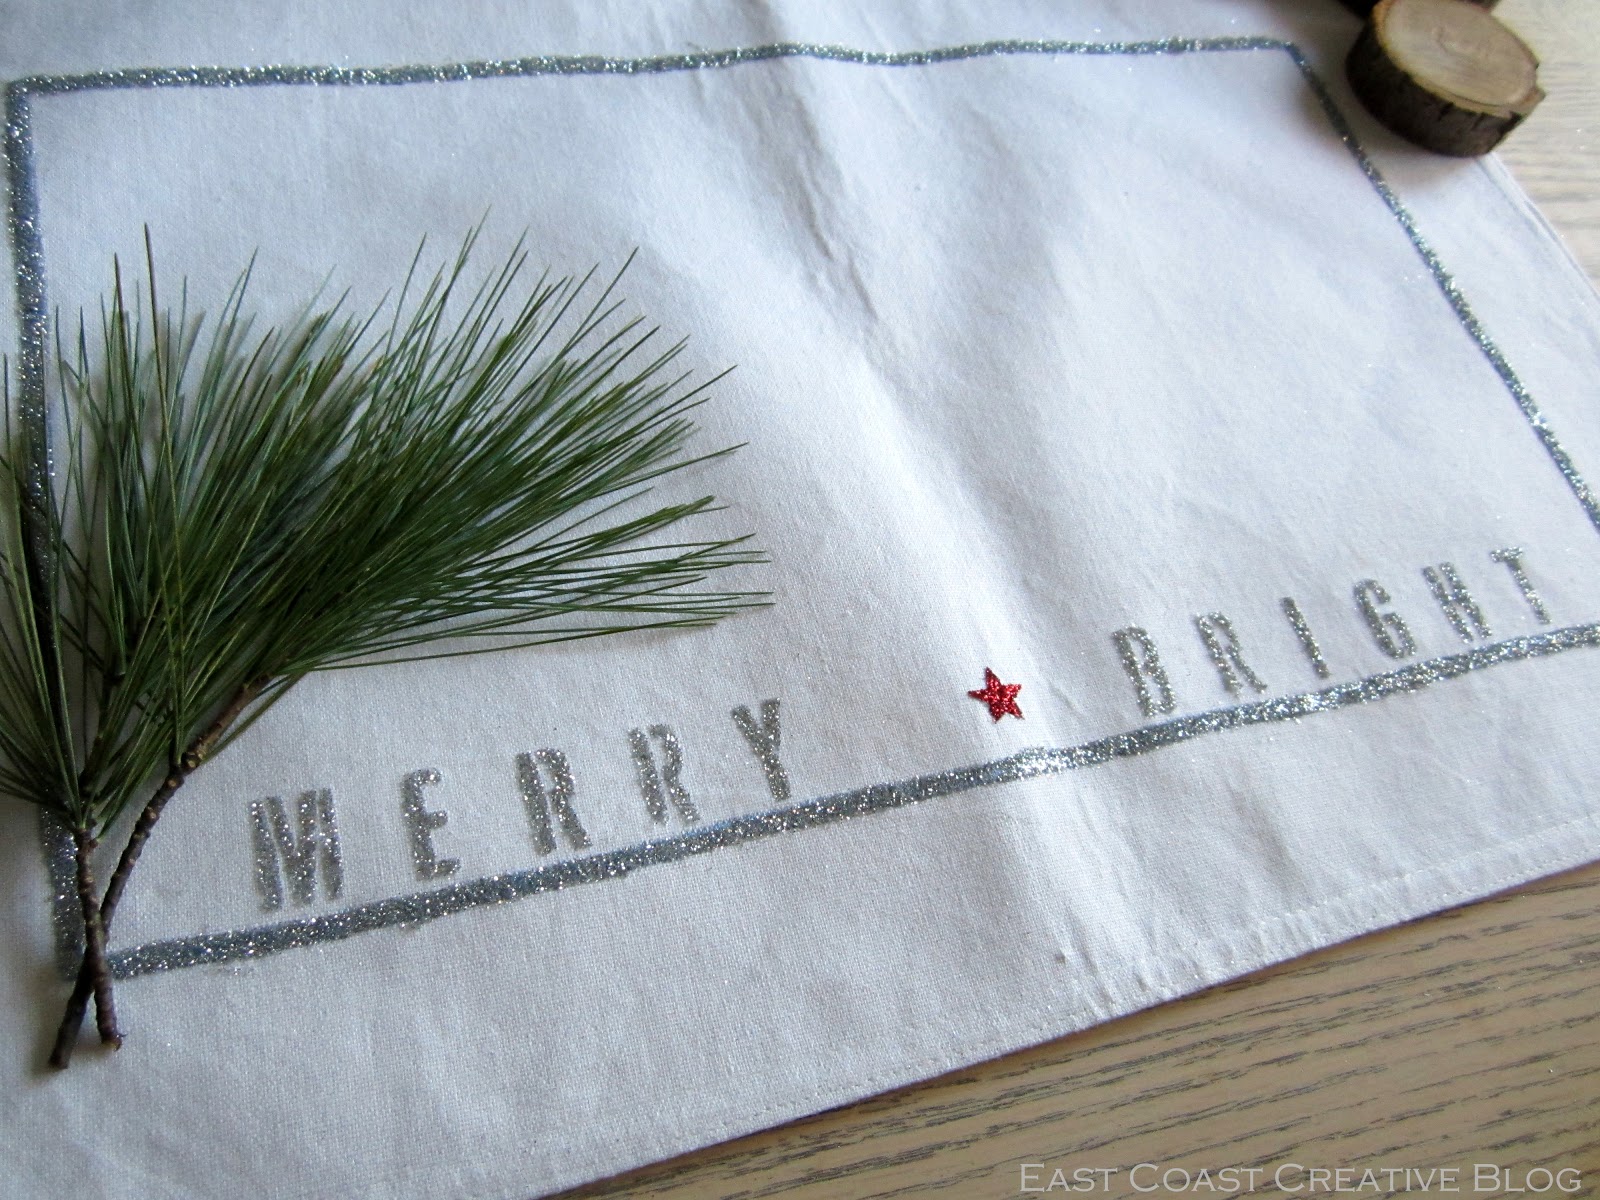
I was super happy with how crisp the lines came out!

Don’t worry, we’ll share those cute wooden tag ornaments with you next week.
You can see loads of other project ideas and helpful tips when you follow Tulip here:
Facebook:https://www.facebook.com/lovetocreate
Twitter: https://twitter.com/ilovetocreate
Pinterest: http://pinterest.com/ilovetocreate/
I’m officially a glitter-loving fool! What about you?!!


These placemats are gorgeous!! LOVE!! 🙂
Very pretty. Sooo cute! =]
Cody
These are amazing! I love them! And the price isn’t too bad either!
Super cute placemats!!!
I love how great these look for being super simple. Love the bling
Absolutely gorgeous … I would love these at my holiday table!!
Does the glitter “shed” all over the place?