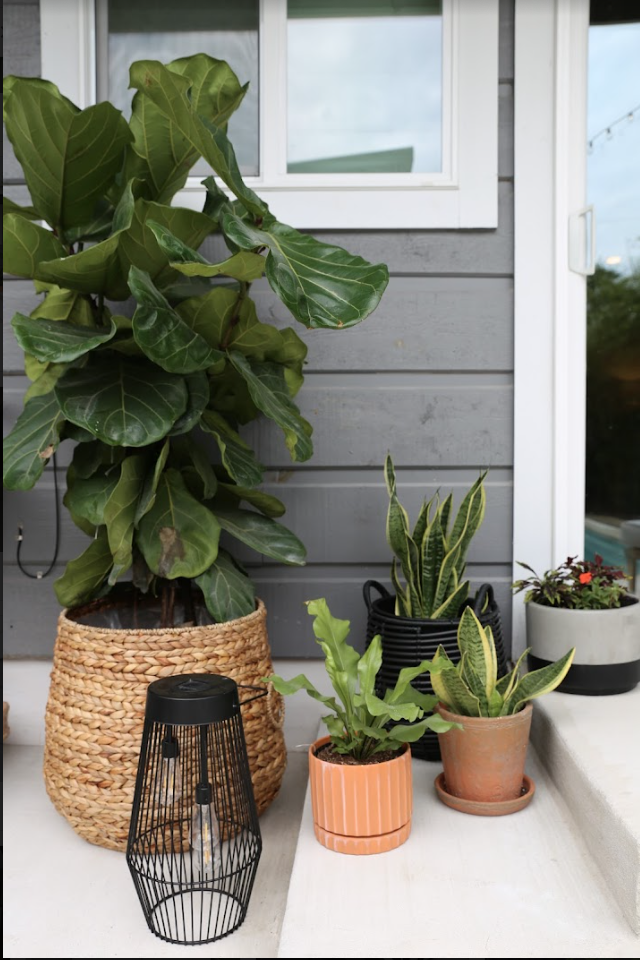
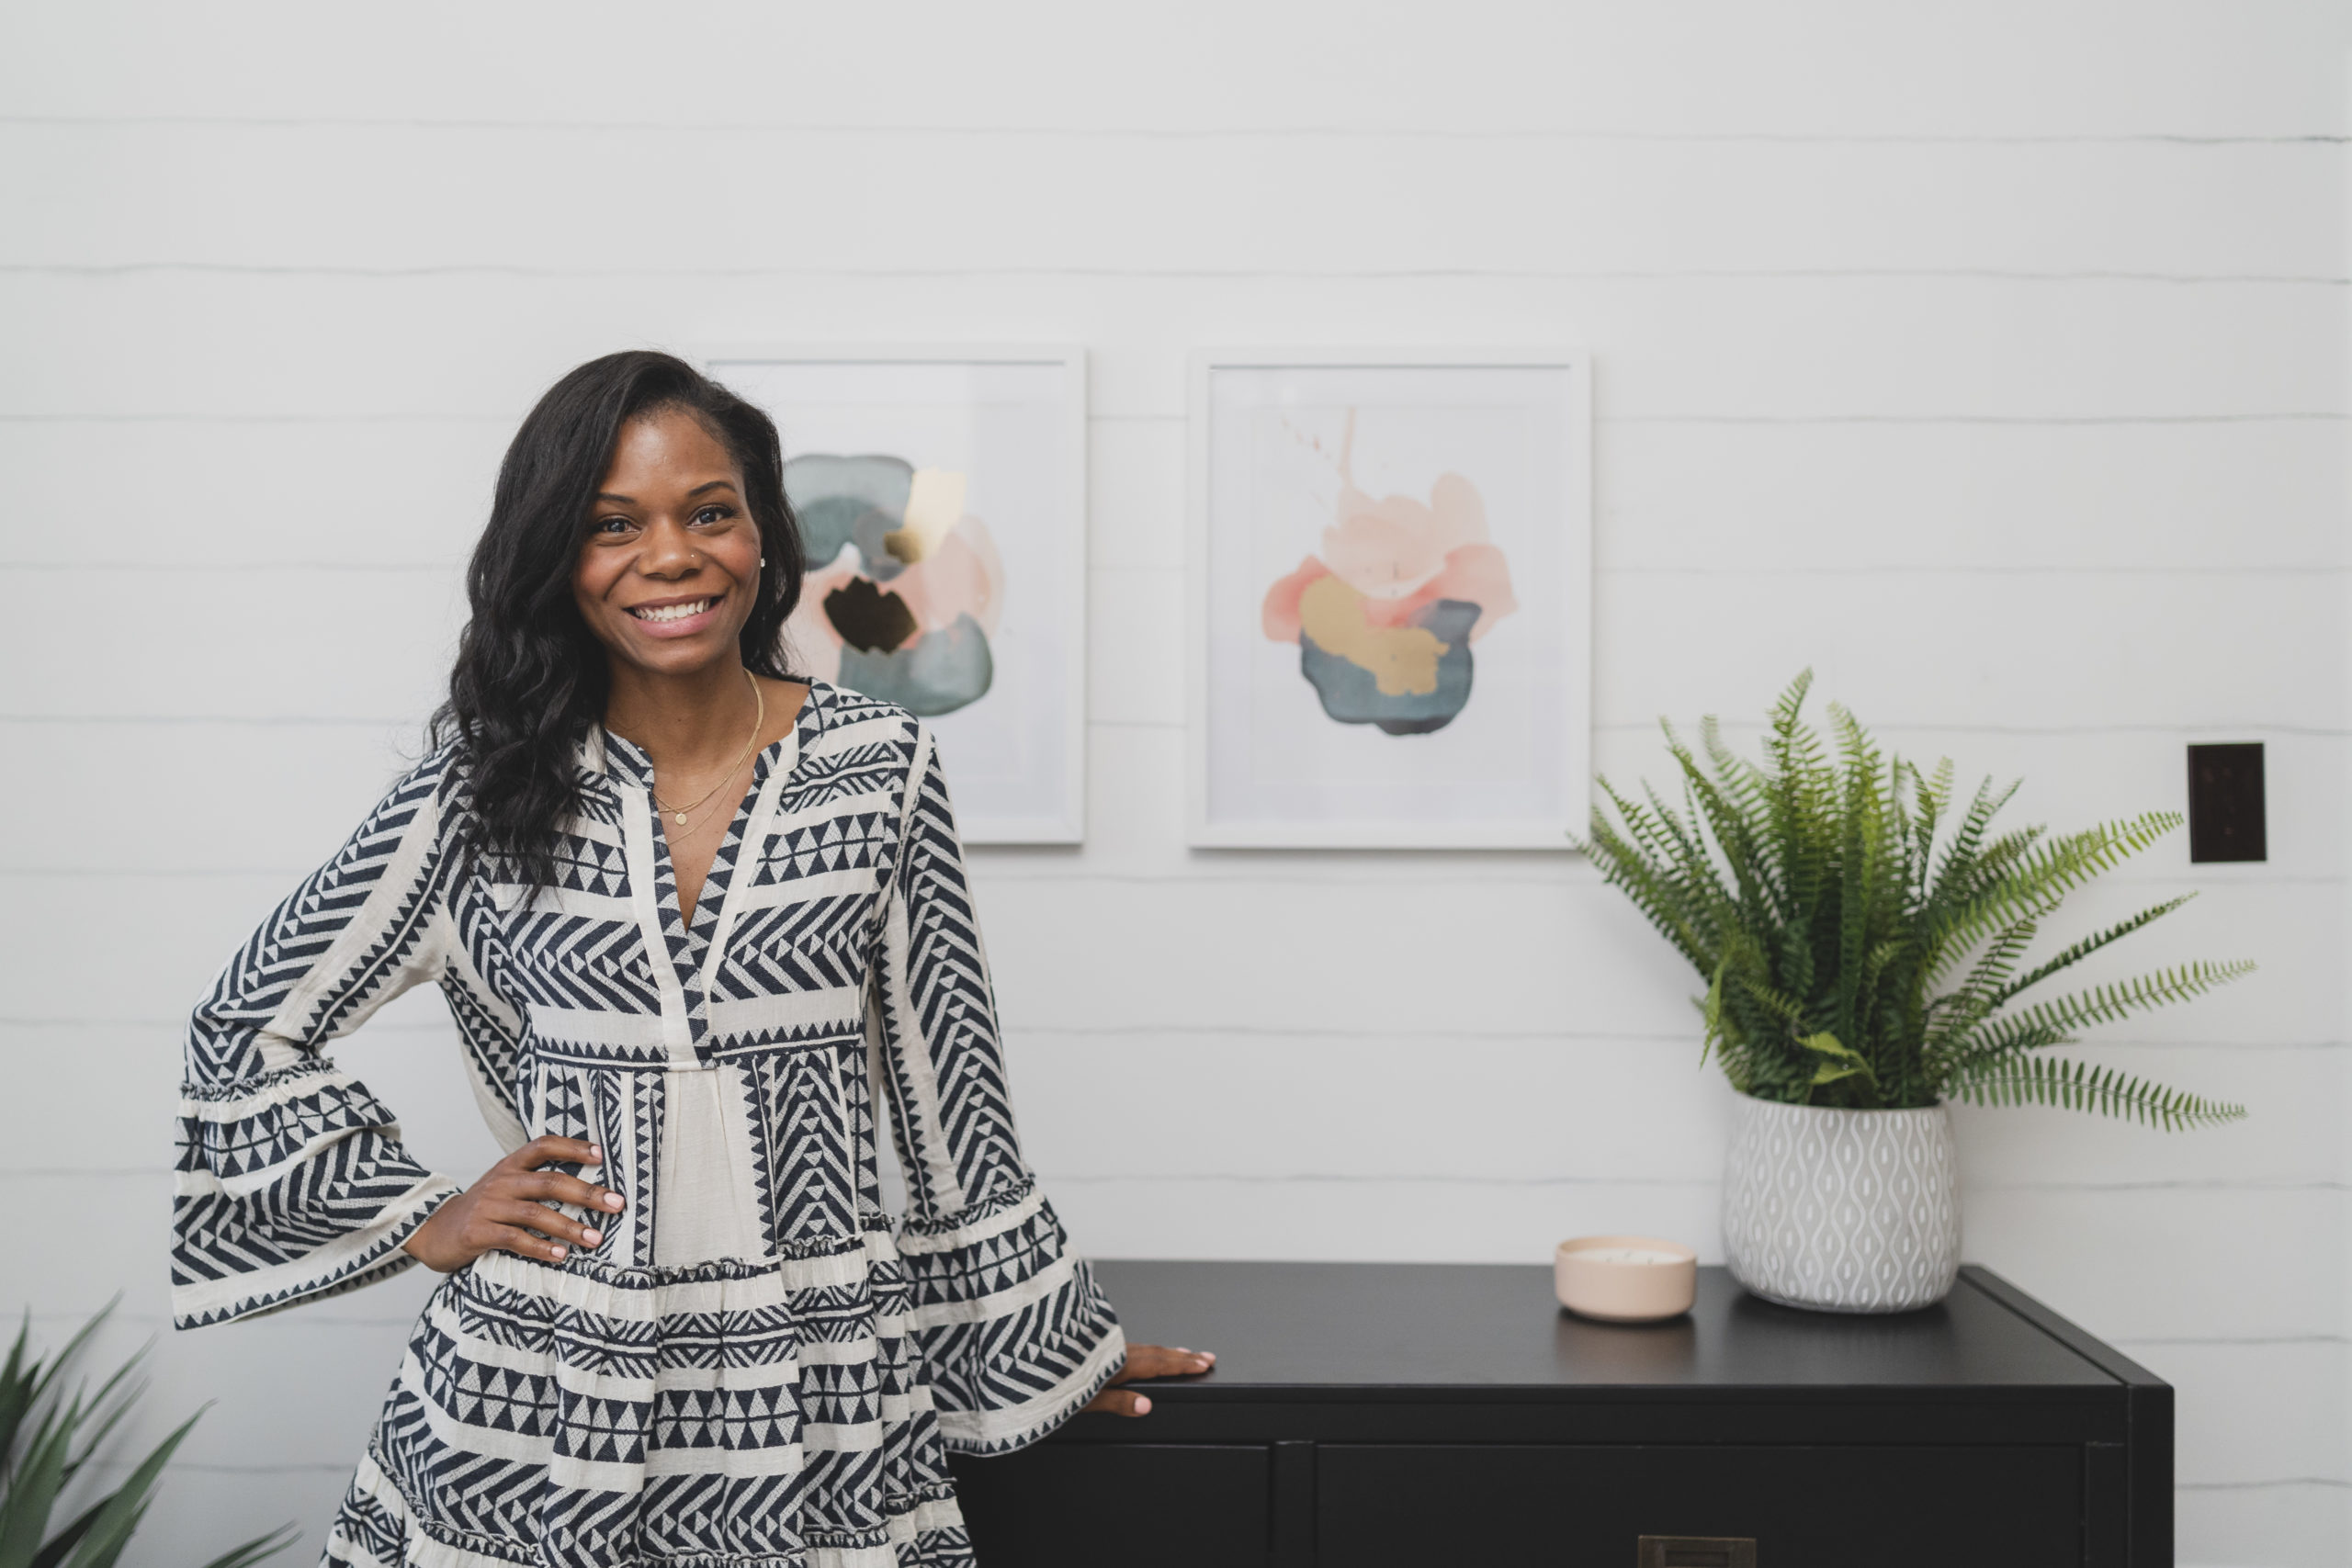
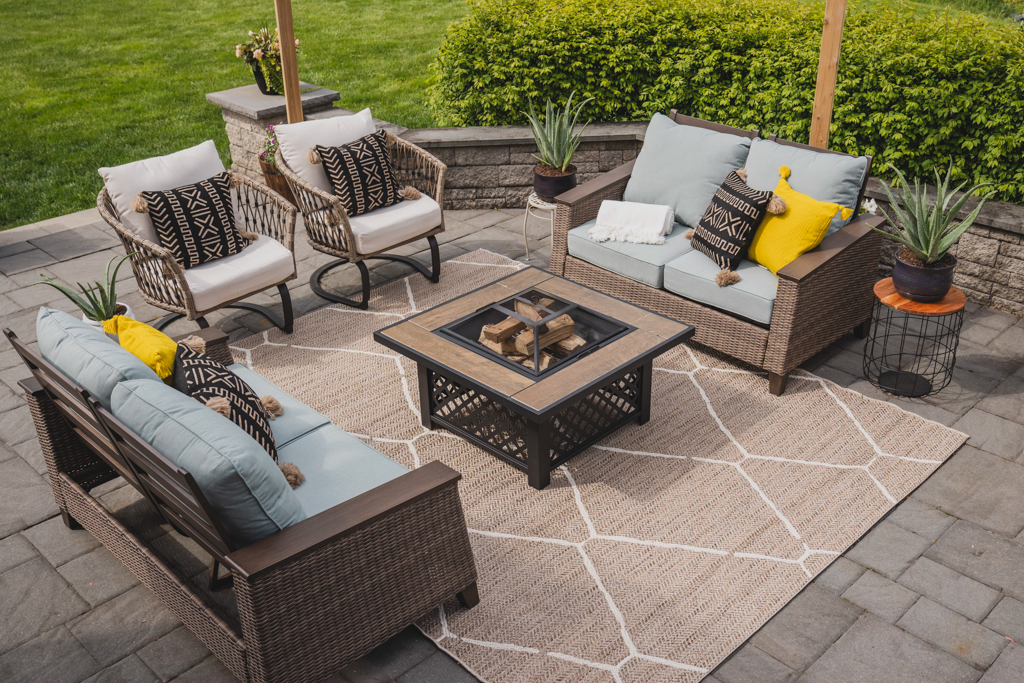
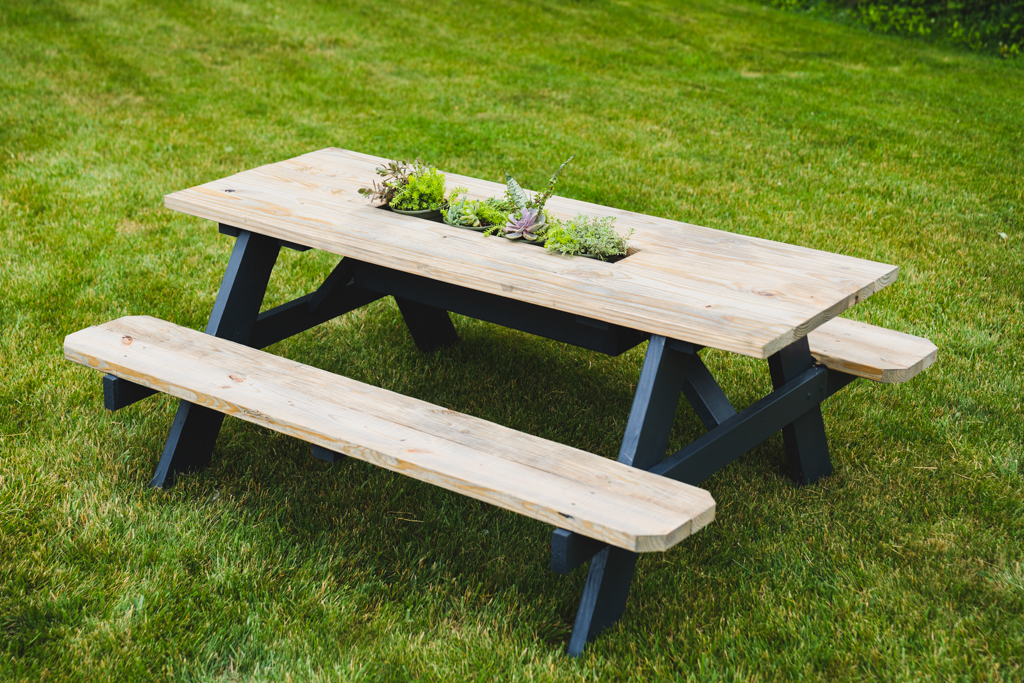
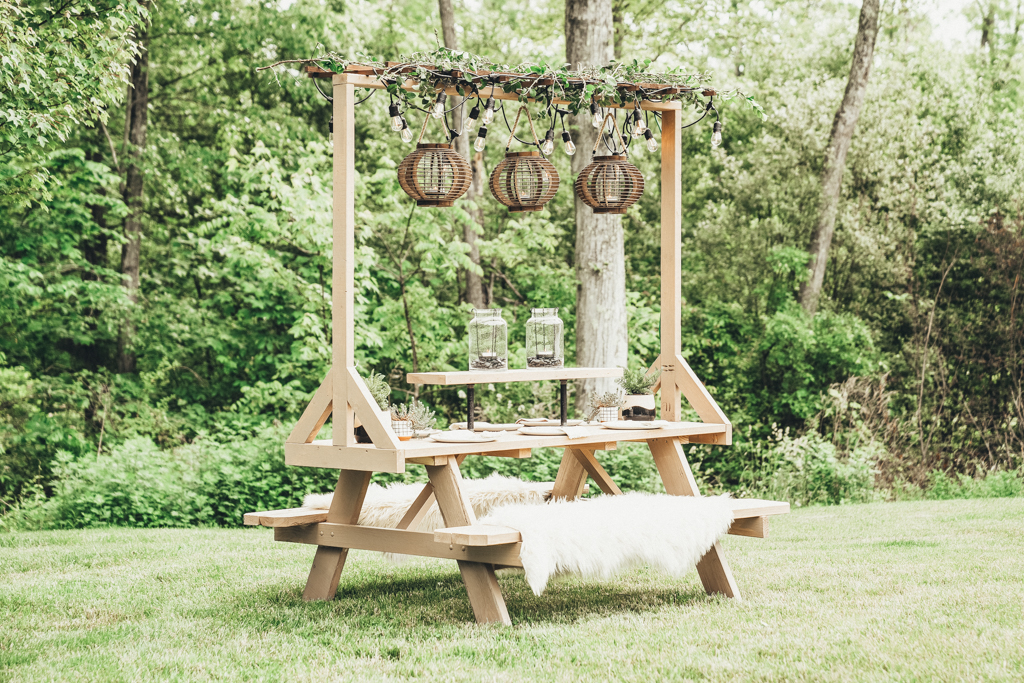
Saturday, May 18, 2013

Journey to a Vertical Garden Part 4 {Home Depot #DigIn}


This is a sponsored post brought to you by The Home Depot!  We love them for sponsoring CWTS and challenging us with this awesome project!
---------------------------------------------------------------------------------------------------
A few weeks ago, I introduced you to my vertical garden project - you can check out part 1 and 2 and 3 herehere, and here!

Today it's time to show you this bad boy!!  

Home Depot made it super simple with their written instructions and you can get all my tips and what I learned along the way in this post.

I love how unique this planter is! I've planted in containers for years now, but this is definitely the coolest one yet!


We have a lot of land, so space isn't an issue, but I could totally see this being perfect for a small yard or even in an urban home or apartment!

My final plan is to hang it on a tree near the front of our property that hurricane Sandy took down this past fall- right now, it's just a 10 foot tree stump, but I want to let the roots get stronger (about 3 weeks) before I mount it vertically.

My favorite part of the project is the irrigation system- it was such an easy thing to add, but now it's going to make sure that my don't die on me!


I loved taking on this challenge from The Home Depot and I hope it inspires you to think creatively this spring as your planting and making your yard look awesome!


I was all about planting, so last weekend Eric and I planted our very first garden too!!  Can't wait to see if it all grows!! Fingers Crossed!! 
Monica

It’s home improvement time, and The Home Depot has everything you need to #DigIn for Spring. No matter what projects you want to tackle, they have great values on all you need. They’re ready to help you with renovation ideas and expert advice, too.
Get over $300 in email exclusive savings each year, sneak peeks on new products, monthly lawn & garden ideas for your region and access to The Home Depot’s gardening experts. Click here to join the world’s largest garden community today! Or go to http://gardenclub.homedepot.com/ to see some of the many benefits of membership.
This is a sponsored post written by me on behalf of The Home Depot.


Wednesday, May 15, 2013

Journey to a Vertical Garden Part 3 {Home Depot #DigIn}


This is a sponsored post brought to you by The Home Depot!  We love them for sponsoring CWTS and challenging us with this awesome project!
---------------------------------------------------------------------------------------------------
A few weeks ago, I introduced you to my vertical garden project - you can check out part 1 and 2 here and here.
Today I finally get to show you HOW I made my vertical garden, and guess what?  It was pretty simple!!

Since Home Depot has done a great job with providing both a video and written instructions for this project, I'm not going to give you every step, but I will share some tips I learned along the way!


You definitely don't need a nail gun for this project, but it would have made it so much faster!! Ours was on set for Knock It Off, so I did it the old fashioned way!

I went with a variety of colors for this project- I usually avoid marigolds, but I liked the orange and yellow contrasted with the blue/purple of the petunias!

When I was working on the holes for my irrigation tubes (which is just simple PVC that lets water get down deep in the planter) I found that if I drilled my hole in one direction and then once the tip of the bit was through, flipped it over and came in from the other side, it helped me not have any of my wood splinter or crack.

This is one step I added on my own... I spray painted my lattice- Shocker right?!?  I know eventually it will be covered by plants, but in the meantime, I wanted it to look fun and colorful!

Once my box and frame were built, I gave them a coat of indoor/outdoor paint as well!

I love this color from Rust-Oleum (Blue Lagoon)- it's the same one we used on Jess' huge family artwork frame.

Once that was dry it was time to start planting!

I had an Oh Snap moment, when a realized that I forgot to buy the thin black meshing so all the dirt wouldn't fall out of my planter... thank goodness for the Home Depot Garden Community forums- I found out I could use some old material and it would work just fine!  Phew!

Even before I added my flowers, I knew I was in love! The fun colors totally sold me!!


Here's just a taste of the awesomeness that the flowers brought to this project!

Tomorrow's my final day of this journey and I'll show you the finished product and where I hung it!

Monica

It’s home improvement time, and The Home Depot has everything you need to #DigIn for Spring. No matter what projects you want to tackle, they have great values on all you need. They’re ready to help you with renovation ideas and expert advice, too.
Get over $300 in email exclusive savings each year, sneak peeks on new products, monthly lawn & garden ideas for your region and access to The Home Depot’s gardening experts. Click here to join the world’s largest garden community today! Or go to http://gardenclub.homedepot.com/ to see some of the many benefits of membership.
This is a sponsored post written by me on behalf of The Home Depot.


Friday, May 10, 2013

DIY-FO SHO! {Bench Renovation}

From time to time we talk here on the blog about how we try to make sure that we don't become self-absorbed or too focused on our own homes and stuff etc... It's a fine line when you're a home blogger.  One way that we try to do this is by using our skills to help others!  You might remember our first "Design it Forward Project"  

I've decided that I'm a DIYer, but I like to DIY-FO too...
Do-It-Yourself-For-Others
And just because I'm a little gangsta, I've now coined it...

Wouldn't it be so cool if we all became more than just DIYers, if we also loved to DIY-FO-SHO!!  (If you're really, really not gangsta it's a play on words "fo sho"= For Sure) I don't know about you, but I LOVE doing what I love to make someone else's day awesome!  

Here's the story behind the bench pictured above! 
So my Kenzie girl is obsessed with animals- I mean she really likes them more than people! 


She has been taking horseback riding lessons from an awesome trainer (Katrina) at All Seasons Stables for the last year.  If you're local we totally recommend them for lessons (tell them we sent you!)  

Anyhow, near the riding ring, there was this oh-so-sad looking bench that I sat on or near for about 9 months before it occurred to me that I needed to give it a little love (okay maybe a lot of love!) 

I told Katrina I was going to borrow her bench and I'd have it back the next day... she kind of looked at me like I had 3 heads as I dragged it over to my car and loaded it into the trunk.  I promised her it would be worth it!  

The hubs was 100% on board and we got right to work.  

The screws were crazy rusted, so we had to use our jigsaw to cut the boards in half...

Once they were split down the center, we took a hammer and literally banged them off! 

 See! I wasn't kidding. 
I sent Katrina a picture of the bench like this just to mess with her head a little! lol 

I worked on spray painting the metal frame with outdoor paint, and while  it dried, we worked on the new seat and backrest.

We replaced the old, rotten wood with new 1x3s.  

Instantly it was looking better! 

We painted all the wood a classic barn red to match the stables, and I decided it needed a little personalization.  Using my Silhouette I added their name.  


I taped around the edges to avoid bleeding and then got to work with my favorite Royal Design Studio stencil brush (I swear by this thing!) 


After letting it dry, Kira and I headed back to the farm to make our special delivery.  She hung out with a pony named Peaches, while I set up the bench.   

I think it looks a WHOLE lot better and Katrina and her family were really surprised and appreciated it so much.  

It's awesome to do a simple, little project that really makes someone else's day!  
It doesn't have to be a huge project, but it could still make a huge impact on someone else! 

So, what do you think of my new phrase?  
Are you ready to DIY-FO-SHO???

Monica
-----------------------------------------------------------------------------

Psssst. Did you hear our BIG NEWS?  

Click here for our announcement post with all the fun details!!
We can't wait for July 7th!! 


Related Posts Plugin for WordPress, Blogger...